If you’re in the mood for something decadent yet delightfully simple, Grandma’s Chocolate Caramels are the treat you absolutely need in your life. These beauties bring together that old-fashioned caramel chew with a rich, chocolaty hug, making each bite the perfect balance of sweet, buttery, and deep cocoa flavor. Whether you’re gifting them for the holidays or sneaking one with your afternoon coffee, these homemade caramels steal the show each and every time!
Ingredients You’ll Need
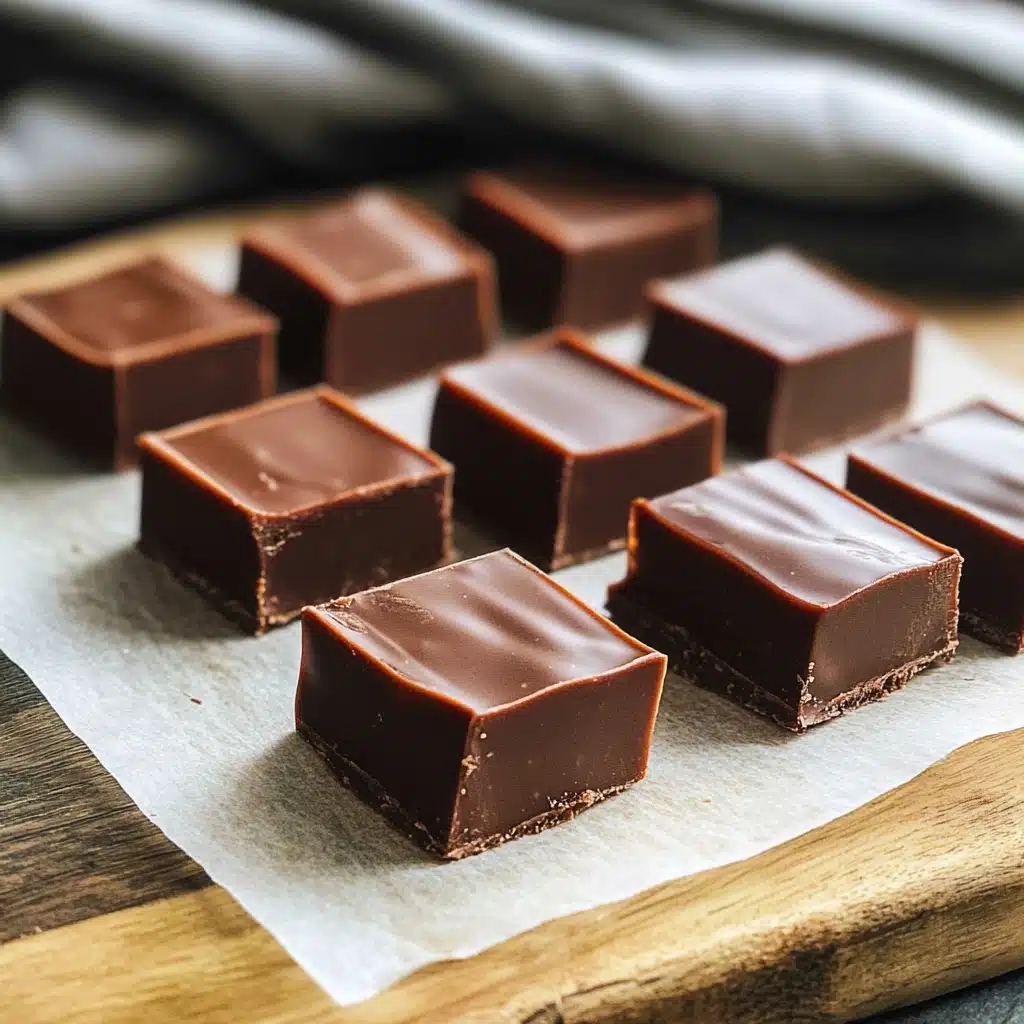
Let’s talk ingredients: every component here plays a starring role! From the silky richness of cream to the deeply satisfying bite of unsweetened chocolate, this simple list comes together for caramels that melt in your mouth. Choose the best quality you can, because each one makes a difference.
- Unsalted butter: Gives your caramels that classic, melt-away texture and a warm, buttery flavor in every bite.
- Heavy cream: The secret to a luscious, soft chew that sets these caramels apart from the rest.
- Corn syrup: Ensures a perfectly smooth caramel—no grittiness, just glossy, supple texture.
- Granulated sugar: Brings sweetness and helps build that signature caramel body when cooked to temperature.
- Unsweetened chocolate baking bar: Four ounces of pure chocolate flavor, transforming the caramels into something truly special.
- Pure vanilla extract: Rounds out the chocolatey richness with aromatic, floral notes.
- Chopped roasted & salted nuts (optional): For a bit of crunch and salty contrast—pecans or walnuts are divine here, but any favorite nut will do!
How to Make Chocolate Caramels
Step 1: Prepare Your Pan
Start by generously buttering a 9″ x 13″ pan—you don’t want your precious caramels getting stuck! Set it aside where it’s easy to reach when things are getting gooey.
Step 2: Combine the Base Ingredients
In a heavy-bottomed, medium-sized saucepan set over medium to medium-high heat, stir together your butter, heavy cream, corn syrup, granulated sugar, and chopped unsweetened chocolate. Watch as everything gradually melts into a glossy, chocolaty river.
Step 3: Cook to Perfection
Once your mixture is completely smooth, attach a candy or kitchen thermometer to your pan. This part is crucial—the right temperature ensures your Chocolate Caramels have just the right amount of chewiness! Gently and constantly stir the mixture until it reaches 240°F (also known as the soft-ball stage).
Step 4: Finish, Flavor, and Pour
As soon as you hit the magic 240°F mark, quickly take the pan off the heat. Stir in the pure vanilla extract for that unmistakable aroma. If you’re using nuts, go ahead and fold them in now. Pour the hot caramel into your buttered pan and let it cool to room temperature.
Step 5: Slice and Enjoy
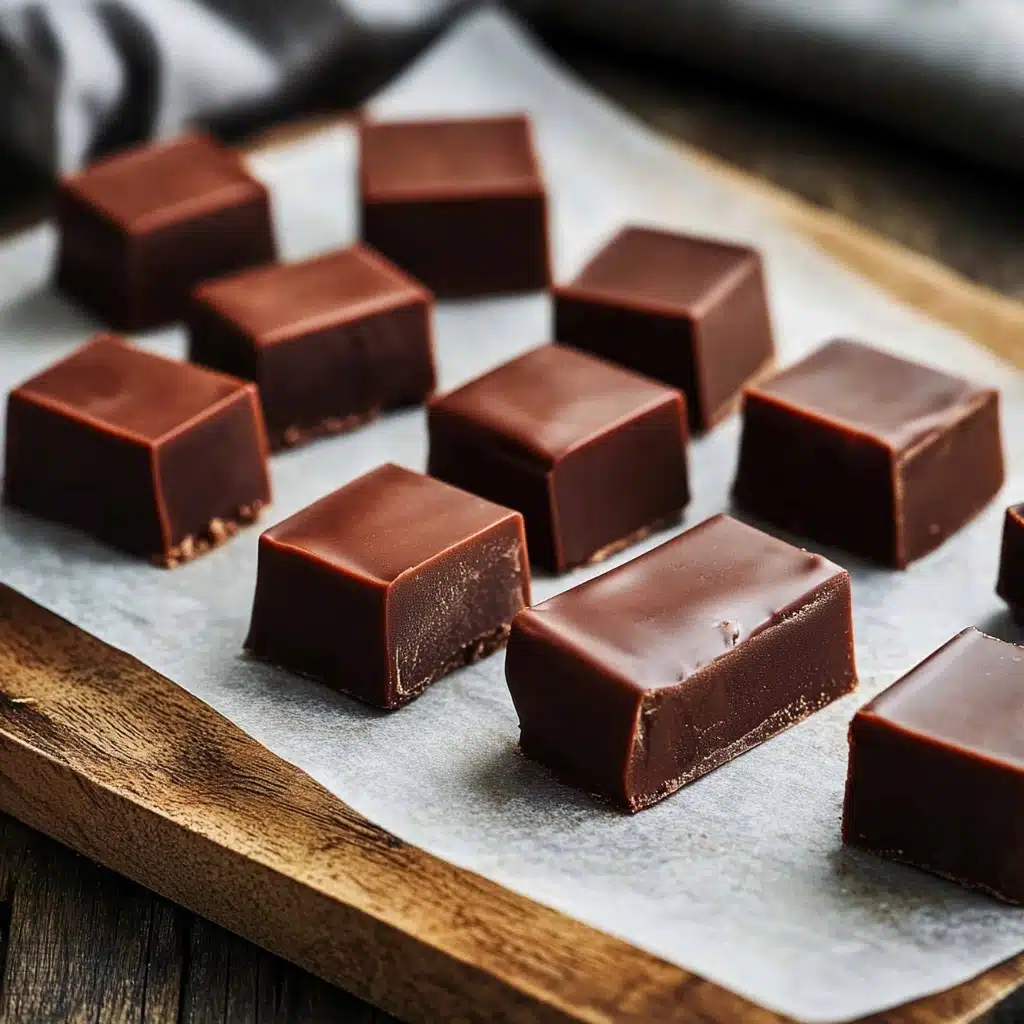
When the pan has cooled completely, use a long, sharp, non-serrated knife to cut your Chocolate Caramels into small rectangles or squares. Remember to wipe your knife clean between cuts for pristine pieces, and size them just the way you like!
How to Serve Chocolate Caramels
Garnishes
For a little extra flair, try sprinkling sea salt flakes over the top of your cut caramels—this not only looks stunning but heightens the deep chocolate flavor beautifully. If you’re feeling playful, try a dusting of cocoa powder, finely chopped nuts, or even a drizzle of white chocolate.
Side Dishes
Invite friends over and serve your Chocolate Caramels alongside good coffee or strong black tea—the bittersweetness pairs perfectly. They also sing on a dessert board with fresh berries, toasted nuts, and a few crisp shortbread cookies for contrast.
Creative Ways to Present
Wrap your caramels individually in parchment or wax paper, twist the ends, and tuck them into a pretty tin for a gorgeous homemade gift. Or, pile them high on a cake stand as a party centerpiece—watch them disappear! They’re also divine chopped and swirled into a bowl of vanilla ice cream.
Make Ahead and Storage
Storing Leftovers
Keep your cut Chocolate Caramels in an airtight container at room temperature, and they’ll stay fresh and chewy for up to two weeks. Slip a sheet of wax or parchment paper between layers to prevent them from sticking together.
Freezing
You can easily stash these away in the freezer for longer storage—just wrap each caramel piece in parchment, then seal them in a freezer bag. They’ll keep for up to three months, ready to brighten any day.
Reheating
If you prefer your caramels slightly softer, just let them come up to room temperature before enjoying. For a little extra gooeyness, a quick five-second zap in the microwave (unwrapped!) will bring them back to their melting best.
FAQs
Can I use milk chocolate instead of unsweetened chocolate?
You can swap in milk chocolate, but the caramels will be less intensely chocolaty and sweeter overall. For true Chocolate Caramels magic, stick with unsweetened or bittersweet chocolate.
Do I really need a candy thermometer?
Absolutely! Hitting that precise 240°F is crucial for getting the perfect caramel chew. Guesswork just doesn’t cut it here—your thermometer is your best friend.
Can I make Chocolate Caramels without nuts?
Yes, you can! The nuts are entirely optional. The caramels shine just as beautifully on their own, especially if you want a pure chocolate experience.
How do I keep the caramels from sticking together?
Always use parchment or wax paper between layers when storing. Also, make sure your caramels have cooled and set completely before cutting and wrapping.
Can I double the recipe?
Yes, but use a large, heavy pot and watch your cooking times—the larger batch can take a bit longer to reach the needed temperature, but the results are just as lovely.
Final Thoughts
If you’ve never tried making your own Chocolate Caramels, trust me—now’s the time! There’s something truly special about the rich chew and deep flavor of homemade caramels, and the process is half the fun. Gather your ingredients and treat yourself (and your loved ones) to a batch of pure chocolatey bliss!
Print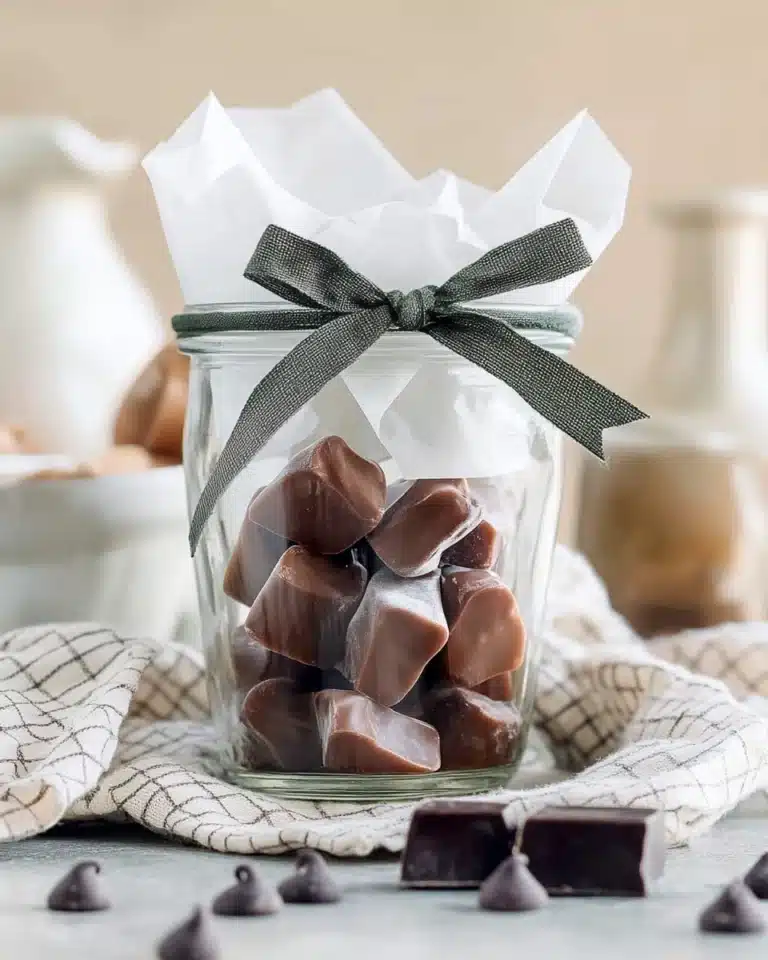
Chocolate Caramels Recipe
These homemade Chocolate Caramels are a beloved family recipe, known for their rich, buttery flavor and perfectly soft, chewy texture. Enhanced with chocolate and optionally studded with crunchy roasted nuts, they’re the ideal bite-sized treat for gifting, sharing, or indulging at home.
- Total Time: 35 minutes
- Yield: 48 pieces
Ingredients
Basic Caramel
- 1 cup unsalted butter, plus more for buttering the pan
- 1½ cups heavy cream
- 1½ cups corn syrup
- 2 cups granulated sugar
- 4 ounces unsweetened chocolate baking bar, roughly chopped
Flavor & Finishing
- 2 teaspoons pure vanilla extract
- 1½ cups chopped roasted & salted nuts, optional
Instructions
- Prepare the Pan: Generously butter a 9″ x 13″ pan to ensure the caramels don’t stick, then set the pan aside for later use.
- Combine and Heat: In a heavy-bottomed, medium-sized saucepan over medium to medium-high heat, stir together the butter, heavy cream, corn syrup, granulated sugar, and chopped chocolate. Continue stirring until everything is fully melted and combined.
- Add Thermometer and Cook: Place a candy or kitchen thermometer into the saucepan. Stir gently and constantly with a spatula or wooden spoon as the mixture heats.
- Reach Soft-Ball Stage: Continue stirring until the mixture just reaches 240°F (the soft-ball stage). This ensures the caramels will set with a chewy but soft texture. Immediately remove the saucepan from heat once this temperature is reached.
- Flavor & Finish: With the saucepan off the heat, stir in the vanilla extract. If you’d like to add chopped roasted and salted nuts, fold them in now for extra crunch and flavor.
- Pour and Cool: Carefully pour the hot caramel mixture into the prepared pan. Allow it to cool at room temperature until fully set.
- Cut into Pieces: Once completely cool, use a long, sharp (non-serrated) knife to cut the caramel into your preferred shapes (traditionally 0.75″ x 1.75″ pieces or 1″ x 1″ squares). Wipe the knife clean between cuts for neat edges.
Notes
- This recipe is passed down from Grandma Klein, originating with her dad’s sister, Victoria Sand.
- Use a heavy-bottomed saucepan to prevent scorching.
- Precision with the thermometer is crucial for achieving the perfect caramel texture.
- Butter the pan generously to make removing caramels easier.
- Optional nuts add a wonderful crunch, but the caramels are delicious without them, too.
- Store caramels in an airtight container at room temperature for up to two weeks.
- Prep Time: 10 minutes
- Cook Time: 25 minutes
- Category: Desserts
- Method: Stovetop
- Cuisine: American
- Diet: Vegetarian
Nutrition
- Serving Size: 1 piece
- Calories: 78
- Sugar: 8g
- Sodium: 12mg
- Fat: 5g
- Saturated Fat: 2g
- Unsaturated Fat: 2g
- Carbohydrates: 9g
- Protein: 1g
- Cholesterol: 9mg

