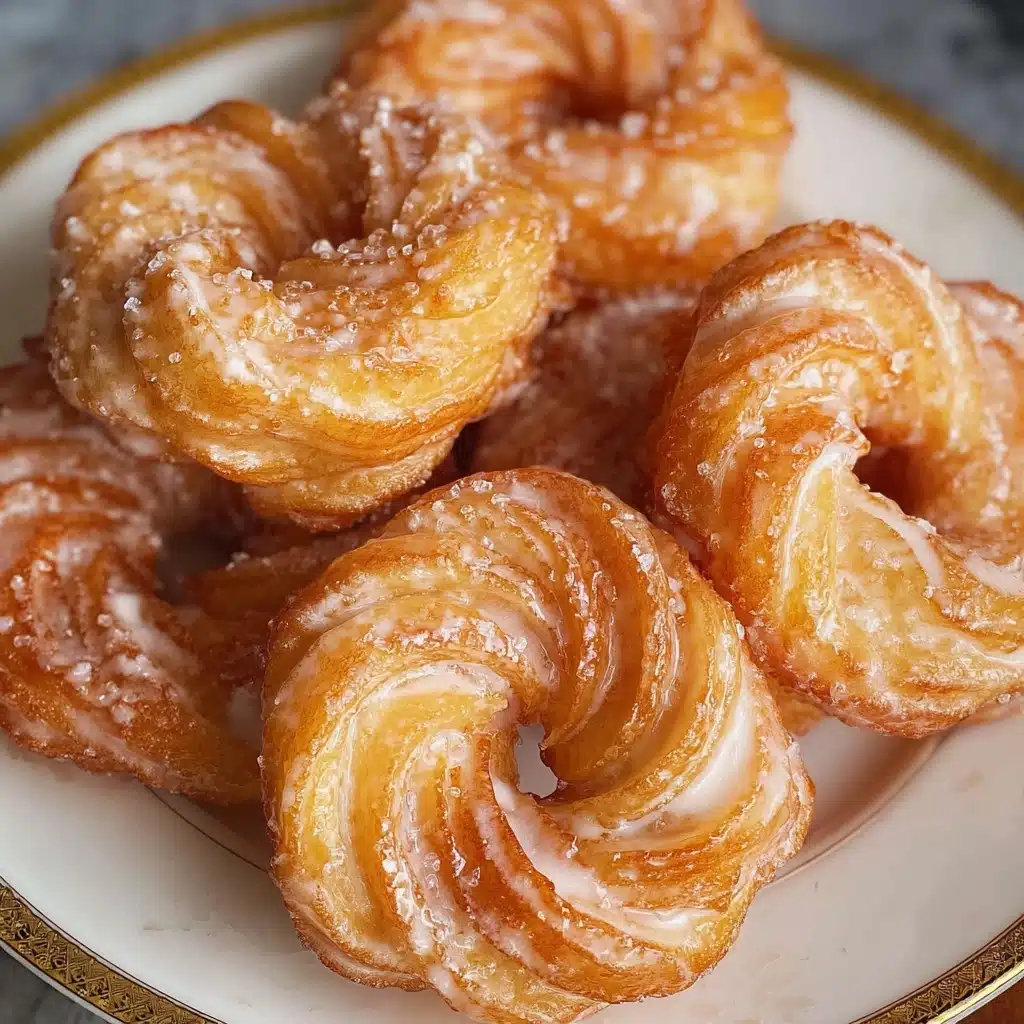
When you want to impress at brunch or bring a little Parisian café magic to your morning, this French Crullers Recipe is your golden ticket. With their signature ridged rings, airy interiors, and that shivery-sweet vanilla glaze, homemade crullers straddle the line between doughnut and cloud. Crullers are surprisingly easy to pull off at home, made from straightforward pantry staples, yet every bite is crispy perfection outside and pillowy softness within.
Ingredients You’ll Need
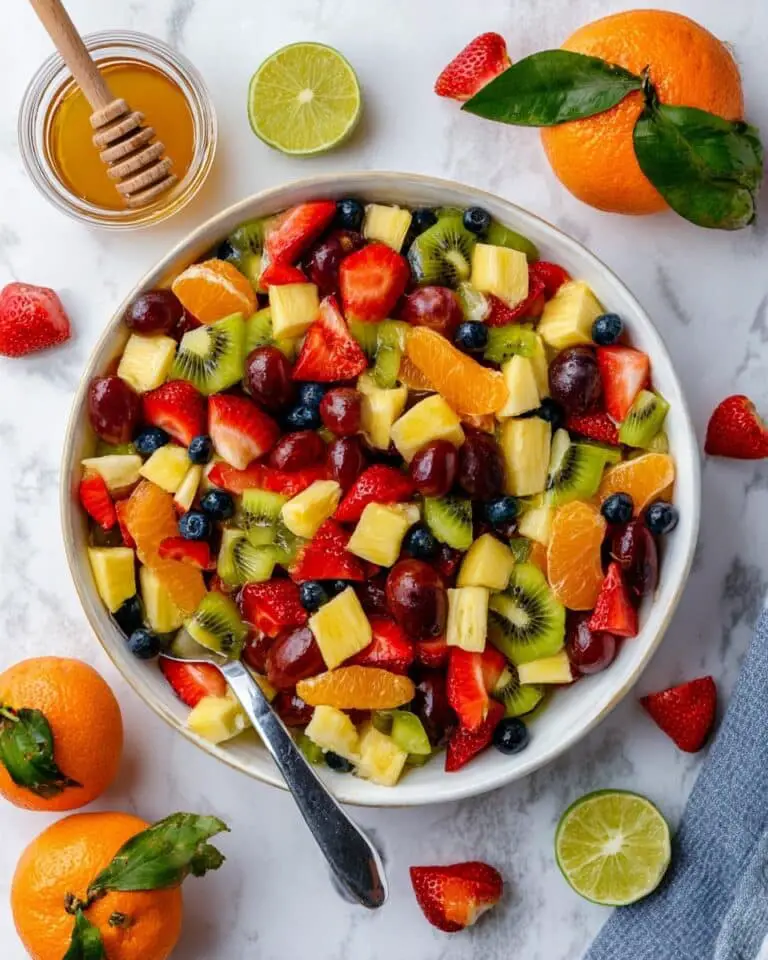
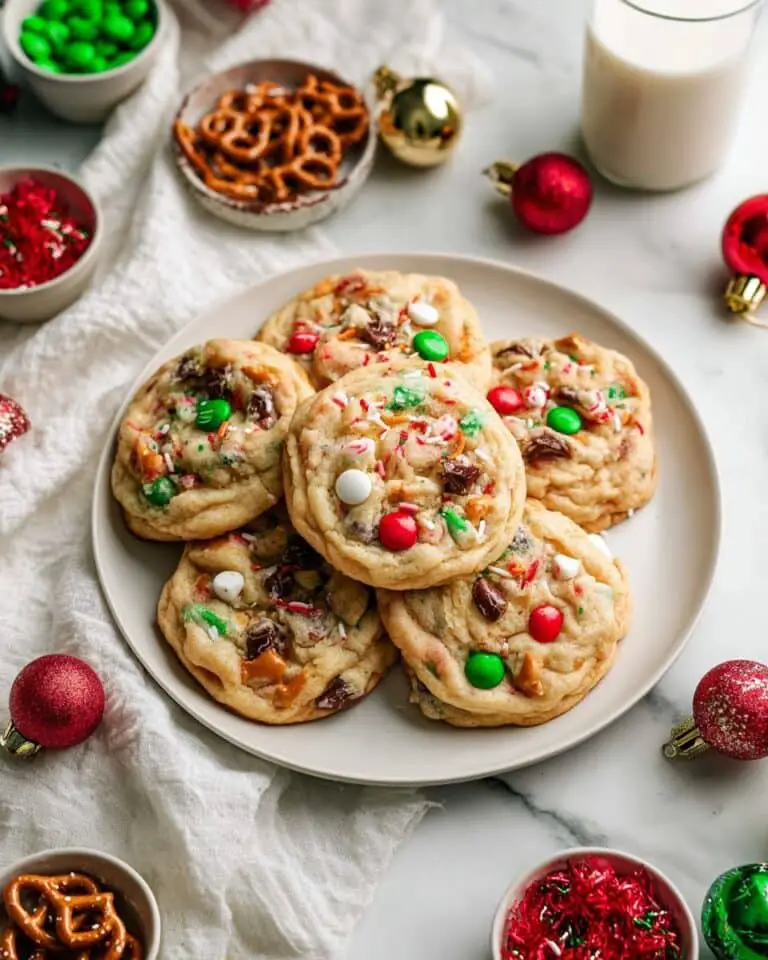
The beauty of this French Crullers Recipe shines in its simplicity—just a handful of key ingredients, each one carrying its weight in flavor and texture. Don’t skip or swap anything without thought: every component matters for achieving that classic cruller taste and irresistible texture.
- Water: The starting point for choux pastry, water helps achieve a light, puffy dough.
- Butter: Room temperature butter makes for a rich, tender base and adds flavor.
- Sugar: Just a hint sweetens the dough without overwhelming the delicate balance.
- Salt: Enhances all the other flavors and keeps the crullers from tasting flat.
- Vanilla: Adds classic warmth and aroma in both the dough and the glaze.
- Flour: The backbone of the choux—regular flour works, but a gluten-free blend makes for deliciously tender gluten-free crullers too.
- Eggs: The secret to that airy-light interior; don’t skimp or rush adding them in.
- Egg whites: Lighten the dough even more for the perfect delicate chew.
- Powdered sugar: Essential for a silky-smooth, melt-in-your-mouth glaze.
- Corn syrup: Gives the glaze glossy staying power so every cruller sparkles.
- Hot water: Loosens the glaze just enough for perfect dunking coverage.
How to Make French Crullers Recipe
Step 1: Prepare the Dough
Start by combining the water, butter, sugar, salt, and vanilla in a medium saucepan. Set it over medium heat and let the mixture come to a gentle boil. This not only melts the butter and dissolves the sugar and salt, but also creates the ideal environment for your flour to get absorbed—think of it as setting the stage for your French Crullers Recipe’s signature airiness.
Step 2: Incorporate the Flour
Immediately stir in all the flour at once. Dig in with a sturdy spatula and stir—don’t be shy! Keep cooking and mixing for about a minute until the dough pulls away from the sides and forms a smooth, cohesive ball. This step makes the choux dough elastic and sets up the perfect structure for those airy crullers.
Step 3: Cool and Beat in Eggs
Transfer the warm dough to the bowl of a mixer and let it cool for a couple minutes—just so you don’t scramble the eggs by accident. Beat in the eggs one at a time, then the extra whites, mixing well after each addition. The dough should transform from sticky and thick to smooth, glossy, and pipe-able.
Step 4: Shape the Crullers
Spoon the dough into a pastry bag fitted with a large star tip. Pipe out neat rings onto individual squares of parchment paper. These rings will become the beautiful, ridged shape classic to every French Crullers Recipe—no need for perfection, homemade charm always wins!
Step 5: Fry the Crullers
Heat oil in a deep pan to 375°F. Working a few at a time, place each parchment square, cruller-side down, in the oil. The parchment will loosen after a few seconds; use tongs to gently remove it. Fry until golden brown (about 2–3 minutes per side), then let the crullers drain on a wire rack while you finish the rest.
Step 6: Glaze and Finish
Mix together powdered sugar, corn syrup, hot water, and vanilla until the glaze is luxuriously smooth and just pourable. Still-warm crullers get dipped or brushed with this sweet, shiny finish—let the glaze set while you brew your favorite coffee. Voilà, you’ve just completed your own batch of French Crullers!
How to Serve French Crullers Recipe
Garnishes
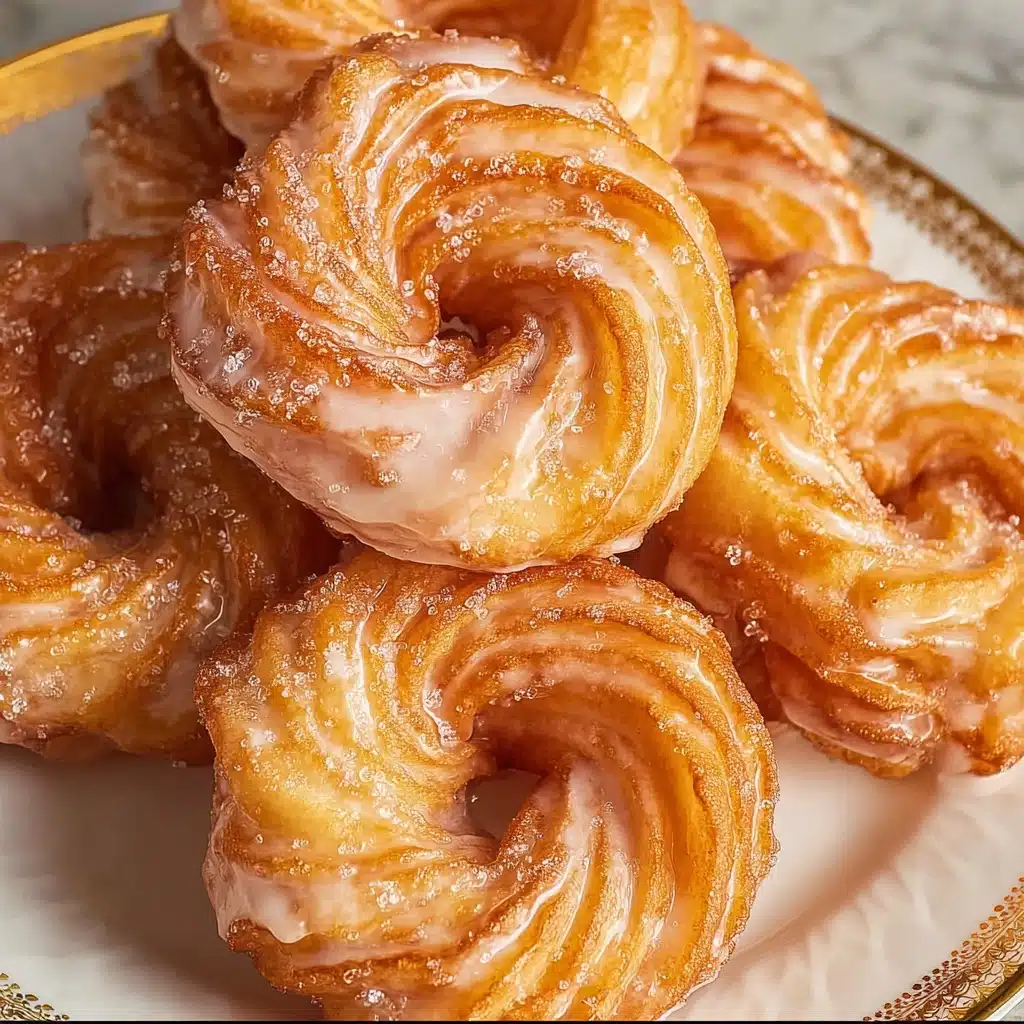
The classic is hard to beat: a generous dunk in vanilla glaze. But for extra flair, dust with a sprinkle of powdered sugar, drizzle on a touch of chocolate, or finish with a few toasted sliced almonds. Even a pinch of lemon zest or a scatter of edible flowers can make each serving of this French Crullers Recipe a showstopper.
Side Dishes
A plate of French Crullers lives its best life alongside freshly brewed coffee or tea. Want to make a true brunch spread? Pair with a platter of juicy berries, citrus salad, or a dollop of softly whipped cream. The crullers’ lightness balances beautifully with richer sides like a small espresso or creamy cappuccino.
Creative Ways to Present
Try stacking crullers in a pretty tower for a brunch centerpiece, or serve them in paper pastry bags for a Parisian street-food vibe. For extra fun, set up a DIY glaze bar—guests can dip their own crullers in vanilla, chocolate, or berry glaze. No one will ever forget your French Crullers Recipe presentation!
Make Ahead and Storage
Storing Leftovers
If you happen to have leftover French crullers, store them uncovered at room temperature for up to a day—they’re best enjoyed fresh but can sit out if you need to. To avoid sogginess, don’t cover them tightly and always let them cool fully before storing.
Freezing
For longer-term storage, freeze unglazed crullers in an airtight container or freezer bag. Just thaw at room temperature, then glaze right before serving for that same fresh-baked taste. Freezing the glaze separately (or making it fresh) keeps everything crisp.
Reheating
To revive your crullers’ light texture, warm them for a few minutes in a 300°F oven. This refreshes the crust and brings back that gentle crunch. Avoid microwaving, which can make them rubbery. Glaze after reheating for best results.
FAQs
Can I make the French Crullers Recipe gluten-free?
Absolutely! Swap in a high-quality gluten-free all-purpose flour blend that includes rice flour, tapioca starch, and potato starch. Add a teaspoon of xanthan gum for elasticity and expect a slightly more delicate dough—handle with care and you’ll still enjoy airy, gorgeous crullers.
Why won’t my crullers hold their shape when frying?
If your dough is too warm or too thin, the crullers can flatten or unravel in the oil. Make sure the dough cools before adding eggs, and don’t skip the star tip for piping—this helps create those signature ridges that withstand frying.
How do I know the oil is the right temperature?
Use a thermometer to check for 375°F. If you add the dough and the oil sizzles but doesn’t aggressively bubble, you’re on target. Too cool and the crullers will turn greasy, too hot and they may brown before cooking through.
Can I make the dough ahead of time?
You can make and refrigerate the dough for up to a day. Let it come back to room temperature before piping so it’s pliable. Freshly fried is always best, but a little advance prep never hurts when hosting!
Do I have to use a pastry bag and star tip?
While the classic shape comes from star-tipped piping, you can use a large zip-top bag with the corner snipped off for an easy alternative. Your French Crullers Recipe will still taste amazing, though the ridges may be less pronounced.
Final Thoughts
Once you’ve tasted the light, airy glory of a homemade French Crullers Recipe glistening with sweet glaze, you’ll want to make a batch every weekend. So roll up your sleeves, gather your ingredients, and invite friends or family to share in the delight—these French crullers bring a little French bakery magic right to your own kitchen!
Print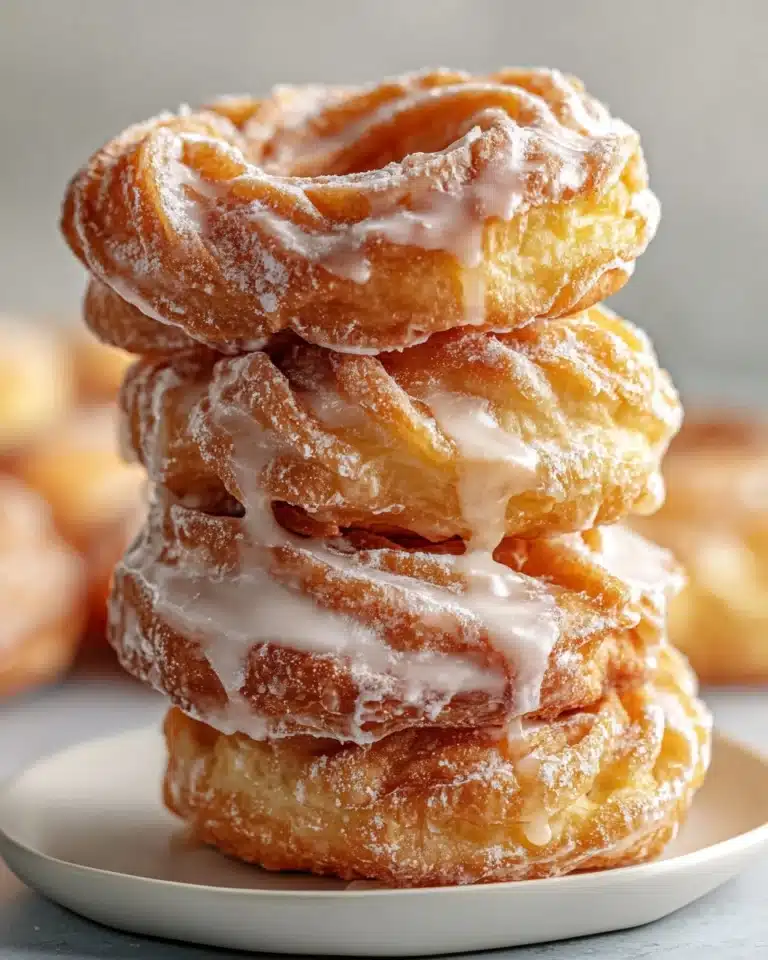
French Crullers Recipe
French Crullers are light-as-air donuts made from classic choux pastry, then shaped, fried, and dipped in a sweet vanilla glaze. With their signature ridged rings and melt-in-your-mouth texture, these airy pastries are a French bakery classic you can easily recreate at home. This recipe guides you through preparing, piping, frying, and glazing the crullers for a decadent breakfast treat, brunch centerpiece, or sweet snack.
- Total Time: 1 hour 35 minutes
- Yield: 16 crullers
Ingredients
For the Crullers
- 1 1/4 cups water
- 1/2 cup butter, room temperature
- 4 1/2 teaspoons sugar
- 1/2 teaspoon salt
- 1/2 teaspoon vanilla extract
- 1 1/4 cups all-purpose flour
- 4 eggs
- 2 egg whites
For the Glaze
- 2 cups powdered sugar
- 1 tablespoon corn syrup
- 2–3 teaspoons hot water
- 2 teaspoons vanilla extract
Instructions
- Prepare the Dough: In a medium saucepan, combine water, butter, sugar, salt, and vanilla. Bring the mixture to a boil over medium heat, allowing the butter to fully melt and incorporate. Once boiling, reduce heat to low and add the flour all at once, stirring vigorously until a ball of dough forms and pulls away from the sides of the pan. Continue to cook for another 1-2 minutes to slightly dry the dough, then transfer it to a stand mixer bowl and allow it to cool for a few minutes.
- Incorporate Eggs: With the mixer on low, beat in the eggs and egg whites, one at a time, making sure each egg is fully incorporated before adding the next. The dough should become thick, glossy, and smooth—able to hold its shape when piped but not runny.
- Shape the Crullers: Transfer the dough to a piping bag fitted with a large star tip. Cut parchment paper into 3×3-inch squares and pipe rings of dough onto each square. This shape gives the crullers their signature look and texture.
- Fry the Crullers: In a deep pot or Dutch oven, heat vegetable oil to 375°F (190°C). Carefully lower each parchment square with dough into the oil, dough-side down. After a few seconds, use tongs to peel off the parchment paper and continue frying. Fry each cruller for 1-2 minutes per side or until puffed and golden brown. Work in batches and avoid overcrowding the oil.
- Drain and Cool: Use a slotted spoon to transfer the fried crullers to a wire rack lined with paper towels. Allow them to cool slightly while you prepare the glaze.
- Prepare the Glaze: In a medium bowl, whisk together powdered sugar, corn syrup, hot water, and vanilla extract until smooth and pourable. Add additional hot water by the teaspoon, if needed, to reach your desired consistency.
- Glaze the Crullers: Dip the warm crullers, one at a time, into the glaze, turning to coat evenly. Let any excess glaze drip off before returning the crullers to the rack to set.
Notes
- For gluten-free crullers, substitute the all-purpose flour with a high-quality gluten-free all-purpose flour blend that includes rice flour, tapioca starch, and potato starch. Add 1 teaspoon of xanthan gum for structure.
- Use a piping bag with a large star tip to achieve the classic ridged texture of authentic crullers.
- Fried crullers are best enjoyed fresh on the day they’re made, as they lose their airy texture after sitting.
- Be gentle with gluten-free dough, as it may be more delicate than standard pate a choux.
- A kitchen thermometer is essential for maintaining the correct oil temperature—too low and the crullers will soak up excess oil, too high and they’ll brown too quickly.
- Prep Time: 1 hour 30 minutes
- Cook Time: 5 minutes
- Category: Desserts
- Method: Frying
- Cuisine: French
- Diet: Vegetarian
Nutrition
- Serving Size: 1 cruller
- Calories: 170
- Sugar: 14g
- Sodium: 70mg
- Fat: 7g
- Saturated Fat: 4g
- Unsaturated Fat: 2g
- Trans Fat: 0g
- Carbohydrates: 25g
- Fiber: 0g
- Protein: 2g
- Cholesterol: 50mg

