If you’ve ever found yourself craving the irresistible aroma and crispy-chewy bite of bakery-fresh bread, then this Artisan Bread Recipe is your gateway to bread nirvana, right from home. With just a handful of humble ingredients and no kneading required, you’ll transform your kitchen into an artisanal bakery, creating a rustic loaf with a beautifully golden crust and a soft, airy crumb. Whether you’re a baking novice or a seasoned home cook, this method promises fresh, wholesome bread that’s as simple as it is satisfying.
Ingredients You’ll Need
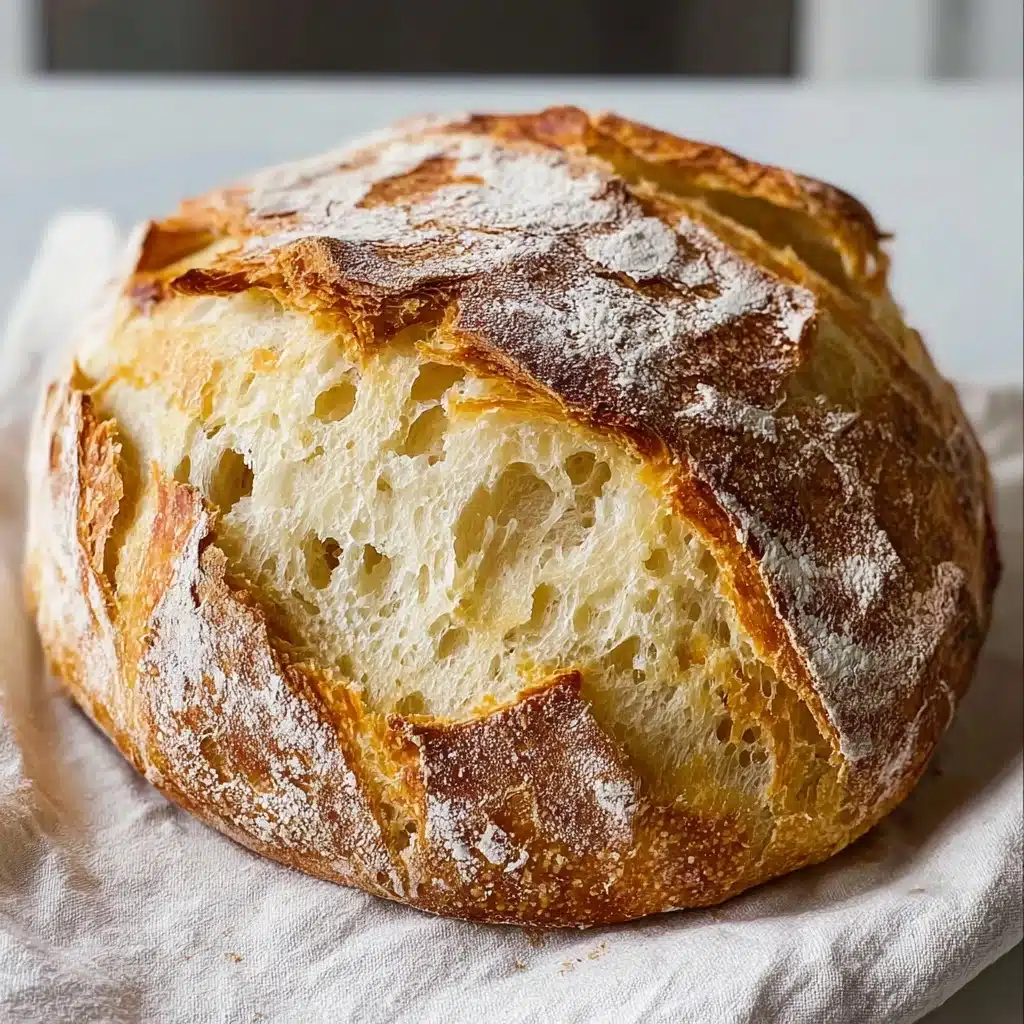
This simple bread comes together with just four pantry staples, each essential to flavor and structure. The magic happens when these basic elements blend and transform during a slow rise, creating incredible taste, that shatteringly crisp crust, and the classic Artisan Bread Recipe color.
- All-purpose or bread flour: The foundation of this loaf, providing structure and chew—bread flour yields extra protein for added spring, but all-purpose works beautifully, too.
- Kosher salt: Enhances flavor and helps regulate yeast activity so your bread tastes balanced, not bland.
- Instant or active dry yeast: Sparks the dough’s rise; instant yeast makes things extra simple, but active dry works just as well (no proofing necessary here!).
- Warm water: At about 105°F, it activates the yeast and combines everything into a sticky, lively dough.
How to Make Artisan Bread Recipe
Step 1: Mix the Dough
Begin by grabbing a big mixing bowl. Add your flour, salt, and yeast, then pour in that cozy-warm water. A few quick stirs with a sturdy spoon and you’ll see a sticky, shaggy mass come together. No kneading arms of steel required—the less you fuss, the better! The dough should feel sticky, but that’s exactly what helps form those gorgeous pockets in your finished loaf.
Step 2: Let It Rise
Cover the bowl with a clean towel or some plastic wrap, then let the magic happen right on your kitchen counter. The dough should rest for at least 2 hours, but if you have time, an overnight rise gives even richer flavor and beautiful texture (think of it as flavor-building while you sleep). You’ll know it’s ready when it’s doubled or even tripled, looking pillowy and bubbly at the edges.
Step 3: Shape Your Loaf
Sprinkle some flour on your counter and gently plop the dough out—wet hands help here to keep things from getting sticky. With a few soft folds, pull the edges inward to create a rough round, tucking the ends underneath. It doesn’t need to be perfect; those rustic ripples add to its homespun charm. If you prefer, divide the dough into two smaller loaves. Place it onto parchment and dust with a bit of flour for that signature artisan look.
Step 4: Score and Rest
Use a sharp bread knife to score a few lines across the top—this lets steam escape in the oven and creates impressive bakery-style patterns. Let your shaped dough rest uncovered for another 20 to 30 minutes, allowing the gluten to relax and the loaf to puff slightly—this final pause is the secret to a lofty rise and open crumb.
Step 5: Preheat Oven and Bake
Set your oven to a piping-hot 450°F and place a baking stone, Dutch oven, pizza stone, or iron skillet inside to heat up. This blazing-hot surface gives your loaf its signature crust. Just before baking, slide the dough (on its parchment) onto the hot pan, then quickly toss in a cup of hot water or a handful of ice cubes on the oven floor—this burst of steam is the Artisan Bread Recipe’s ticket to a shattery crust.
Step 6: Cool Completely
Bake for 25 to 30 minutes, until your kitchen smells irresistible and the bread looks deeply golden and crackly. Resist slicing right away! Let the loaf cool on a rack for at least 30 minutes—this rest allows the crumb to set, giving you slices that are sturdy yet tender.
How to Serve Artisan Bread Recipe
Garnishes
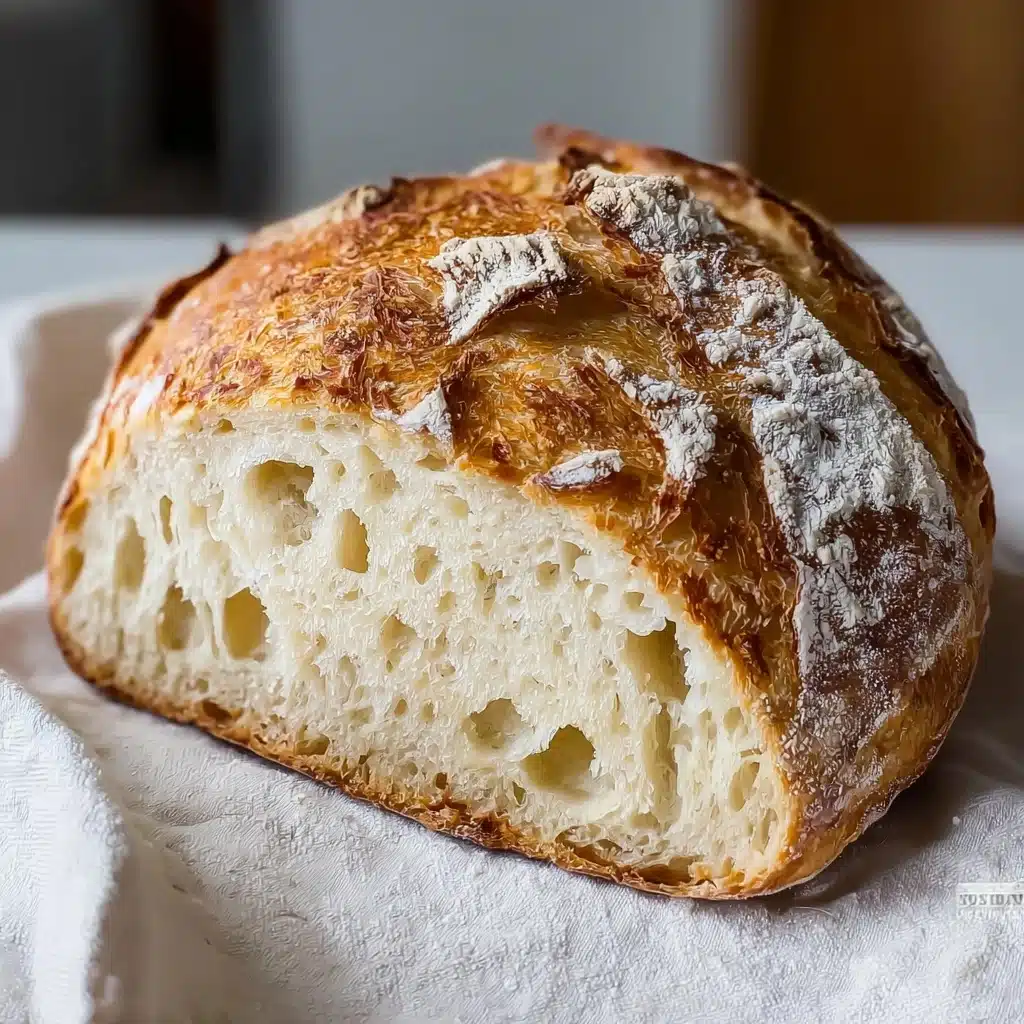
Bring your loaf to the next level by brushing the top with a bit of olive oil or softened butter as it cools, then showering it with flaky sea salt or fresh herbs like rosemary or thyme. For something extra, a sprinkle of toasted sesame or poppy seeds before baking adds color and crunch to your Artisan Bread Recipe.
Side Dishes
This bread is a natural partner to hearty soups, fresh salads, or even a simple platter of cheeses and olives. Use thick slices for robust sandwiches or as a rustic base for bruschetta. The chewy interior soaks up sauces and stews beautifully, while the crisp crust is stellar for dipping in olive oil or balsamic vinegar.
Creative Ways to Present
Try slicing your loaf into thick batons and toasting for crostini, or cube it for croutons that elevate any salad. Serve warm, whole loaves alongside a platter of dips, or turn leftovers into savory bread pudding or French toast—there’s truly no wrong turn with this versatile Artisan Bread Recipe.
Make Ahead and Storage
Storing Leftovers
Keep your bread at peak freshness by storing it loosely wrapped in a paper bag or clean towel at room temperature; this helps preserve the crust’s irresistibly crunchy texture for up to 2 days.
Freezing
If you want to enjoy bread anytime, slice your cooled loaf and pack it into an airtight bag or container. Freeze for up to 3 months—just pull a slice or two when the craving hits, and you’re only minutes away from fresh-baked bliss.
Reheating
To revive that just-baked crunch, pop slices right from the freezer or counter into a toaster or warm oven (350°F for 5 to 10 minutes). The crust will crisp right back up, and your kitchen will smell amazing all over again.
FAQs
Can I use whole wheat flour in the Artisan Bread Recipe?
Absolutely! Substitute whole wheat flour for up to half the all-purpose or bread flour for a heartier, nutty flavor and added fiber. You may need to add a touch more water, as whole wheat absorbs more liquid.
Is kneading necessary for this Artisan Bread Recipe?
No kneading required—a gentle fold or two during shaping is all you need. The long resting time develops the gluten naturally, giving you that classic chewy texture without all the work.
What can I add to customize my loaf?
Feel free to stir in chopped nuts, seeds, cheeses, herbs, or even olives before the first rise. These additions make the Artisan Bread Recipe endlessly versatile and perfect for matching any meal.
My bread crust isn’t as crisp—what can I do?
Steam is the secret! Be sure to add hot water or ice cubes to your oven for that crucial first 10 minutes of baking. This helps the crust form and crackle just like bakery bread.
Can I double the recipe?
Yes, you can easily double the Artisan Bread Recipe for larger gatherings or to have extra loaves on hand. Just be sure to give the dough room to rise and adjust your baking time if making bigger batches.
Final Thoughts
Bread baking doesn’t need to be complicated or fussy—this Artisan Bread Recipe proves you can create shockingly good homemade bread with minimal fuss and maximum flavor. Nothing beats the pride (and aroma!) of pulling your own golden loaf from the oven, so I truly hope you give it a try. You’ll be amazed at what you can achieve with such simple ingredients and a little kitchen magic!
Print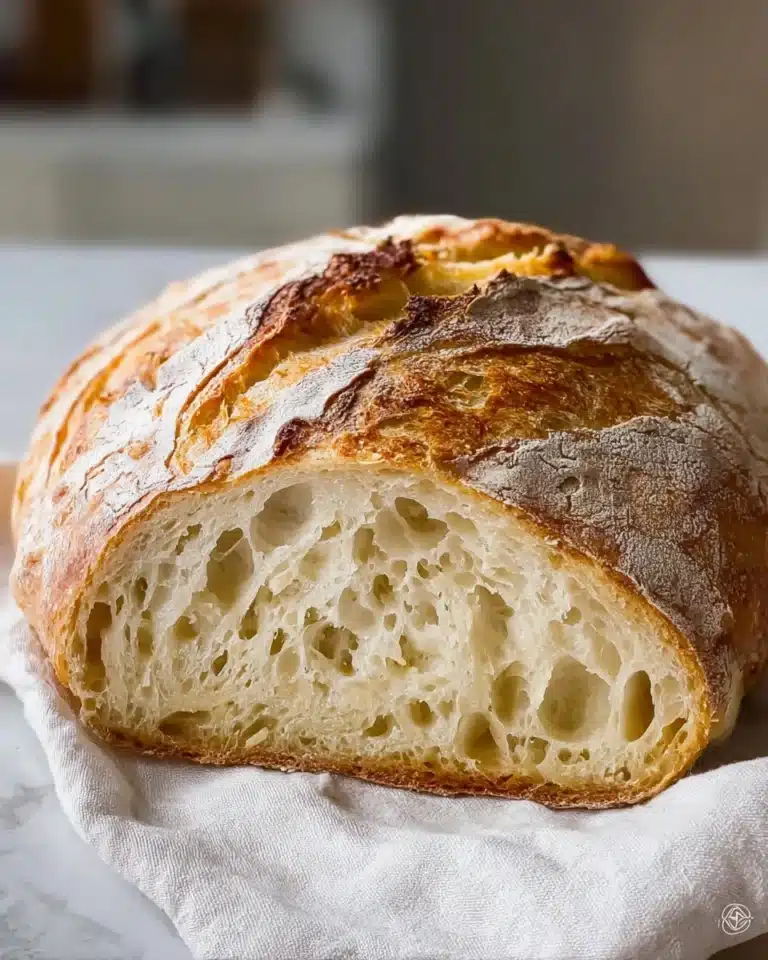
Artisan Bread Recipe
Learn how to make a delicious Artisan Bread using a simple no-knead baking method. This rustic bread recipe yields a crusty loaf with a soft interior, perfect for any meal or snack.
- Total Time: Approximately 2 hours 30 minutes
- Yield: 12 slices
Ingredients
Dry Ingredients:
- 3 cups (395 grams) all-purpose flour or bread flour
- ½ tablespoon kosher salt
- ¼ ounce instant or active dry yeast packet (or 2 ¼ teaspoons)
Wet Ingredients:
- 1 ½ cups warm water (105°F)
Instructions
- Combine Dry Ingredients: In a large bowl, mix flour, salt, and yeast.
- Add Wet Ingredients: Pour warm water over the dry ingredients and mix until combined to form a sticky dough.
- Rise: Cover the bowl and let the dough rise at room temperature for 2 to 10 hours or overnight.
- Shape: Turn the dough onto a floured surface, shape it into a loaf, and let it rest.
- Preheat and Bake: Preheat the oven with a baking stone, then bake the bread until golden brown.
- Cool and Store: Cool the bread on a rack before slicing and storing in a paper bag.
Notes
- Rest the dough for at least 2 hours for better flavor.
- Experiment with whole wheat flour or add various ingredients for flavor variations.
- Store bread properly to maintain freshness and crispness.
- Freeze sliced bread for longer storage and refresh in the oven when needed.
- Prep Time: 5 minutes
- Cook Time: 25-30 minutes
- Category: Bread
- Method: No-Knead Baking
- Cuisine: Artisan
- Diet: Vegetarian
Nutrition
- Serving Size: 1 slice
- Calories: 120
- Sugar: 0.1g
- Sodium: 200mg
- Fat: 0.5g
- Saturated Fat: 0.1g
- Unsaturated Fat: 0.3g
- Trans Fat: 0g
- Carbohydrates: 25g
- Fiber: 1g
- Protein: 4g
- Cholesterol: 0mg

