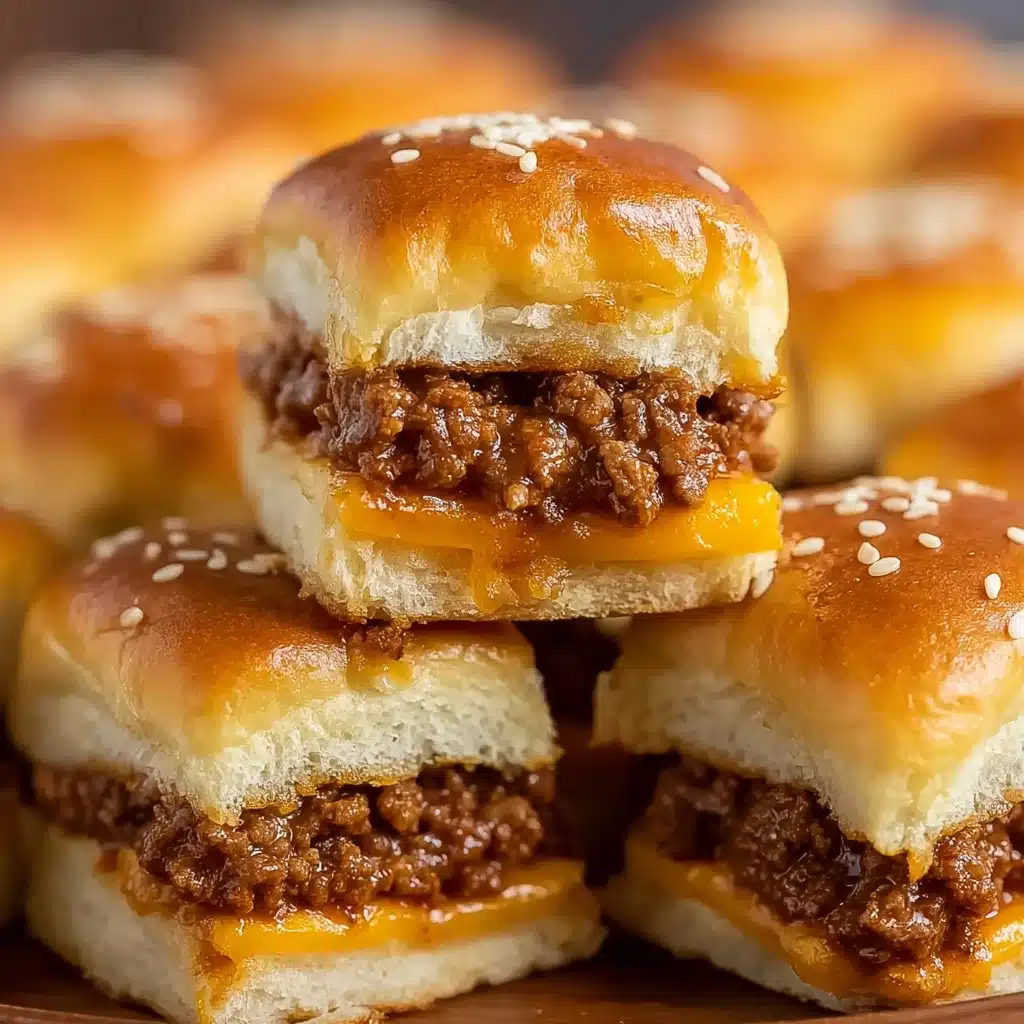
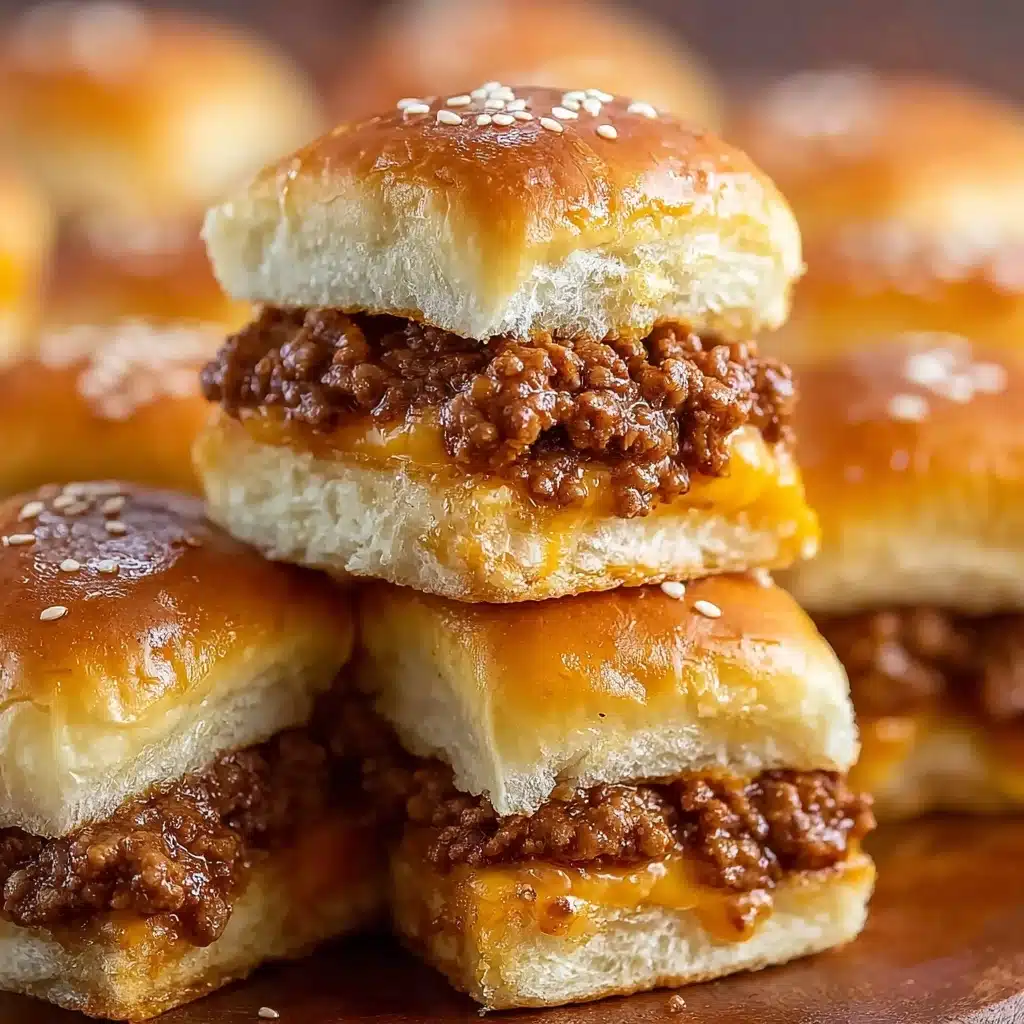
Cheeseburger Sliders are everything we love about classic burgers, bundled up into irresistibly soft, golden-topped mini sandwiches. Just imagine pulling a tray of these out of the oven: sizzling ground beef layered with melty cheddar, nestled between buttery rolls, and finished with a sprinkle of sesame seeds. This crowd-pleasing dish is a lifesaver for parties, potlucks, or even family game night when you want all the juicy, cheesy flavors of a burger but in a fun-to-share, bite-sized format.
Ingredients You’ll Need
This recipe keeps it simple and fuss-free, relying on just a handful of everyday ingredients to create big flavor. Each item brings something special—whether it’s the richness of the beef, the creamy kick from mayo, or the irresistible crunch of sesame seeds on a soft dinner roll.
- Lean ground beef (2 lb, 90/10 or 93/7): This ensures every slider is juicy without being greasy, perfect for that classic burger taste.
- Olive oil (1/2 Tbsp): Helps onions cook gently while adding a subtle richness to the beef mixture.
- Salt (1 tsp): Enhances all the savory beef and cheese flavors in every bite.
- Black pepper (1 tsp): Adds a gentle kick without overpowering the other flavors.
- Garlic powder (1 tsp): Brings a mellow, aromatic depth to the burger filling.
- Yellow onion (1/2 large, finely diced): Offers a sweet and aromatic base for the beef, creating a layered flavor profile.
- Mayonnaise (1/4 cup): The secret to ultra-creamy, moist beef that holds together beautifully in slider form.
- Cheddar cheese, sliced (8 slices): Provides that classic burger ooze and forms the first cheesy layer.
- Cheddar cheese, shredded (6 oz): Melts perfectly over the beef, giving these sliders that gooey cheese pull.
- Dinner rolls (24 rolls or 2 packs of 12): Soft, slightly sweet rolls hold everything together and provide the pillowy base and top.
- Unsalted butter (2 Tbsp, melted): Brushed on top for an irresistible, glossy finish and rich flavor.
- Sesame seeds (1 Tbsp): The finishing touch for classic burger vibes and a pleasant pop.
How to Make Cheeseburger Sliders
Step 1: Preheat and Prepare Your Baking Sheet
Preheat your oven to 350˚F (175˚C). Grab a rimmed baking sheet and brush the bottom generously with melted butter. This not only keeps the sliders from sticking but also infuses the rolls with a gentle, buttery flavor right from the start.
Step 2: Cook the Ground Beef Mixture
Set a large skillet over medium-high heat, then add the olive oil and diced onion. Sauté the onion until it softens, then crumble in the ground beef. Sprinkle over the salt, pepper, and garlic powder, stirring as you go. Break up the meat as it cooks until there’s no pink left and the mixture smells deliciously savory. Remove from heat once the beef is cooked through.
Step 3: Drain and Enrich
Tilt your skillet so the extra fat pools in one spot. Spoon off and discard this fat (this keeps the sliders light). Stir in the mayonnaise while the mixture is warm—this is your secret weapon for ultra-creamy, crave-worthy beef that doesn’t dry out in the oven.
Step 4: Prepare the Rolls and Cheese Layer
Slice the dinner rolls in half horizontally with a serrated knife, keeping each half connected in its pack for easy assembly. Lay the bottom halves on your buttered baking sheet. Arrange the cheddar cheese slices over the bottoms, covering every corner so every bite is extra cheesy.
Step 5: Assemble the Cheeseburger Sliders
Using a spatula, evenly spread the warm beef mixture over the cheese-layered rolls. Next, shower the beef layer with all the shredded cheddar; this turns bubbly and gooey in the oven, holding it all together.
Step 6: Top and Finish
Carefully place the top halves of the rolls onto the beef and cheese, cut side down. Brush them generously with melted butter right away and sprinkle sesame seeds all over for that classic burger look and extra flavor.
Step 7: Bake to Golden Perfection
Slide the whole tray into your preheated oven. Bake for 12 to 15 minutes, until the cheese melts and the tops are deeply golden brown. Remove from the oven, let them cool a couple of minutes (trust me, it’s worth the wait), then cut or pull apart and serve warm—watch them disappear!
How to Serve Cheeseburger Sliders
Garnishes
The best part? You can set out a platter of extras so everyone can dress their sliders just the way they like. Pile on classic toppings like thin pickle slices, ketchup, mustard, shredded lettuce, sliced fresh tomatoes, or a few rings of red onion for extra crunch and zing.
Side Dishes
Cheeseburger Sliders shine on their own, but they turn into a mini meal when paired with crispy fries, sweet potato wedges, or a crisp, refreshing coleslaw. For a lighter side, serve them with a big bowl of mixed greens tossed in a zippy vinaigrette.
Creative Ways to Present
Make Cheeseburger Sliders the star of your next party by tucking decorative toothpicks in each one for easy grabbing. Serve them platter-style with mini flags, or build a “slider bar” with a variety of toppings and sauces for guests to customize their own creations—it’s always a hit with kids and adults alike!
Make Ahead and Storage
Storing Leftovers
If you find yourself with leftover Cheeseburger Sliders (lucky you!), place them in an airtight container in the fridge. They’ll keep well for up to three days and are easy to grab for a quick lunch or snack.
Freezing
To freeze, let the sliders cool completely, then wrap them tightly in foil and pop them into a zip-top freezer bag. They’ll stay fresh and delicious for up to one month—just be sure to thaw before reheating for the best texture.
Reheating
To recapture that original fresh-baked magic, reheat your sliders in a 350˚F oven for about 8 to 10 minutes. This brings the rolls back to pillowy perfection without turning them soggy, and melts all that cheese again beautifully.
FAQs
Can I use a different kind of cheese?
Absolutely! While cheddar provides that classic, bold flavor in Cheeseburger Sliders, you can easily use American, Swiss, Monterey Jack, or even pepper jack for a spicy twist. Just be sure to choose a cheese that melts nicely.
Can I add toppings inside before baking?
Definitely! Layer thinly sliced pickles, sautéed mushrooms, or even crispy bacon between the beef and cheese before adding the tops. Just keep in mind that wetter toppings (like tomatoes) are best added after baking to avoid soggy rolls.
Can I make Cheeseburger Sliders in advance?
Yes! You can assemble the sliders up to a day ahead, then cover and refrigerate. Wait to brush on the butter and add the sesame seeds until just before baking for the best texture and flavor.
How do I keep the rolls from getting soggy?
Spreading a layer of sliced cheese directly on the bottom rolls acts as a barrier to moisture from the beef, so the bread stays wonderfully soft but not soggy. Using lean ground beef and draining the excess fat are key, too.
Are Cheeseburger Sliders halal?
They can be! Just make sure your ground beef and cheese are both halal-certified, and you’ll have the perfect sliders for everyone at the table to enjoy.
Final Thoughts
If you’re searching for an effortless way to delight your family or wow your party guests, you can’t go wrong with a batch of Cheeseburger Sliders. They’re everything you adore in a burger—melty, juicy, and totally fun to share. Go ahead and give them a try; I promise these little sliders will earn a permanent spot on your go-to recipe list!
Print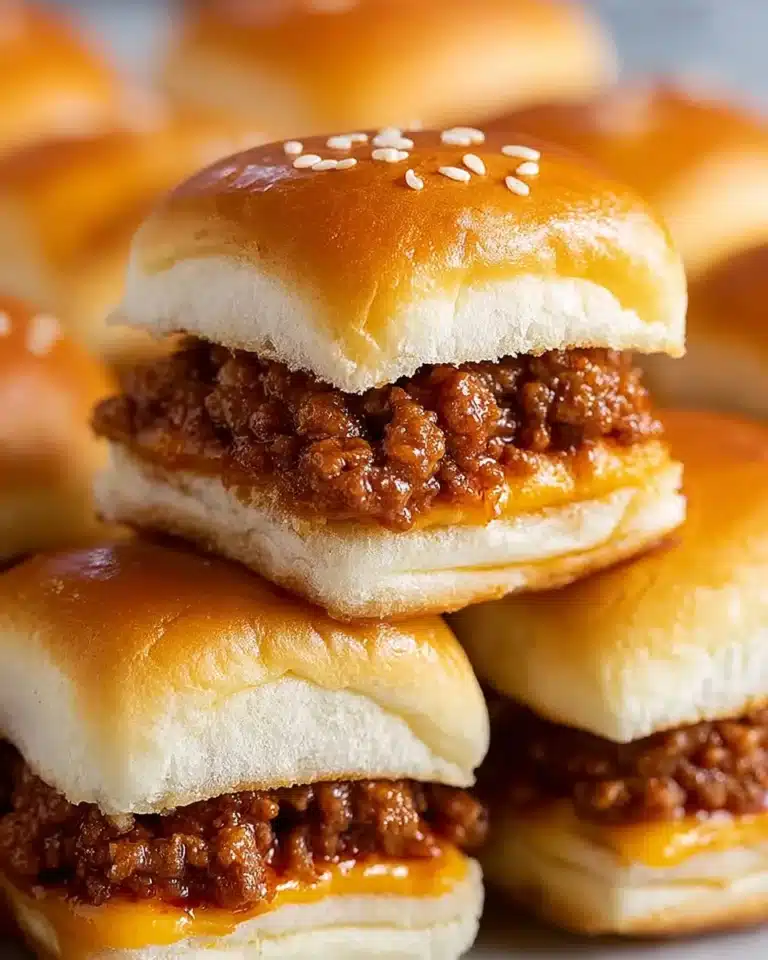
Cheeseburger Sliders Recipe
These delicious Cheeseburger Sliders are perfect for any gathering, with juicy beef, melted cheese, and savory seasonings all baked into soft dinner rolls.
- Total Time: 30 minutes
- Yield: 24 sliders
Ingredients
For the Beef
- 2 lb lean ground beef (90/10 or 93/7 fat content)
- 1/2 Tbsp olive oil
- 1 tsp salt
- 1 tsp black pepper
- 1 tsp garlic powder
- 1/2 large yellow onion, finely diced
- 1/4 cup mayonnaise
For Assembly
- 8 slices medium cheddar cheese
- 6 oz medium cheddar cheese, shredded (or more slices as preferred)
- 24 dinner rolls (or 2 packs of 12)
For Topping
- 2 Tbsp unsalted butter, melted (plus more for greasing the baking sheet)
- 1 Tbsp sesame seeds
Instructions
- Preheat & Prepare Baking Sheet: Preheat your oven to 350˚F (175˚C). Grease the bottom of a rimmed baking sheet with melted butter to prevent sticking.
- Cook Ground Beef: In a large skillet set over medium-high heat, add 1/2 Tbsp olive oil. Add the finely diced onion, then the ground beef. Season with salt, black pepper, and garlic powder. Sauté until cooked through; remove from heat.
- Remove Excess Fat & Add Mayo: Spoon off excess fat. Stir in mayonnaise for creaminess.
- Prepare the Rolls & Cheese Layer: Slice rolls; place bottoms on sheet. Add sliced cheddar cheese.
- Assemble the Sliders: Spread beef mixture over cheese, then add shredded cheddar.
- Top & Finish: Place top halves of rolls, brush with butter, sprinkle with sesame seeds.
- Bake: Bake for 12–15 minutes until cheese melts and tops are golden brown. Serve warm.
Notes
- Use lean ground beef to prevent excess grease.
- Customize sliders with pickles, ketchup, or mustard.
- Swap cheddar for other melty cheeses.
- Prep ahead and bake before serving.
- Leftovers can be reheated in the oven.
- Prep Time: 8 minutes
- Cook Time: 22 minutes
- Category: Main-course
- Method: Baking
- Cuisine: American
- Diet: Halal
Nutrition
- Serving Size: 1 slider
- Calories: 266
- Sugar: 4g
- Sodium: 360mg
- Fat: 13g
- Saturated Fat: 7g
- Unsaturated Fat: 5g
- Trans Fat: 0g
- Carbohydrates: 21g
- Fiber: 1g
- Protein: 16g
- Cholesterol: 55mg

