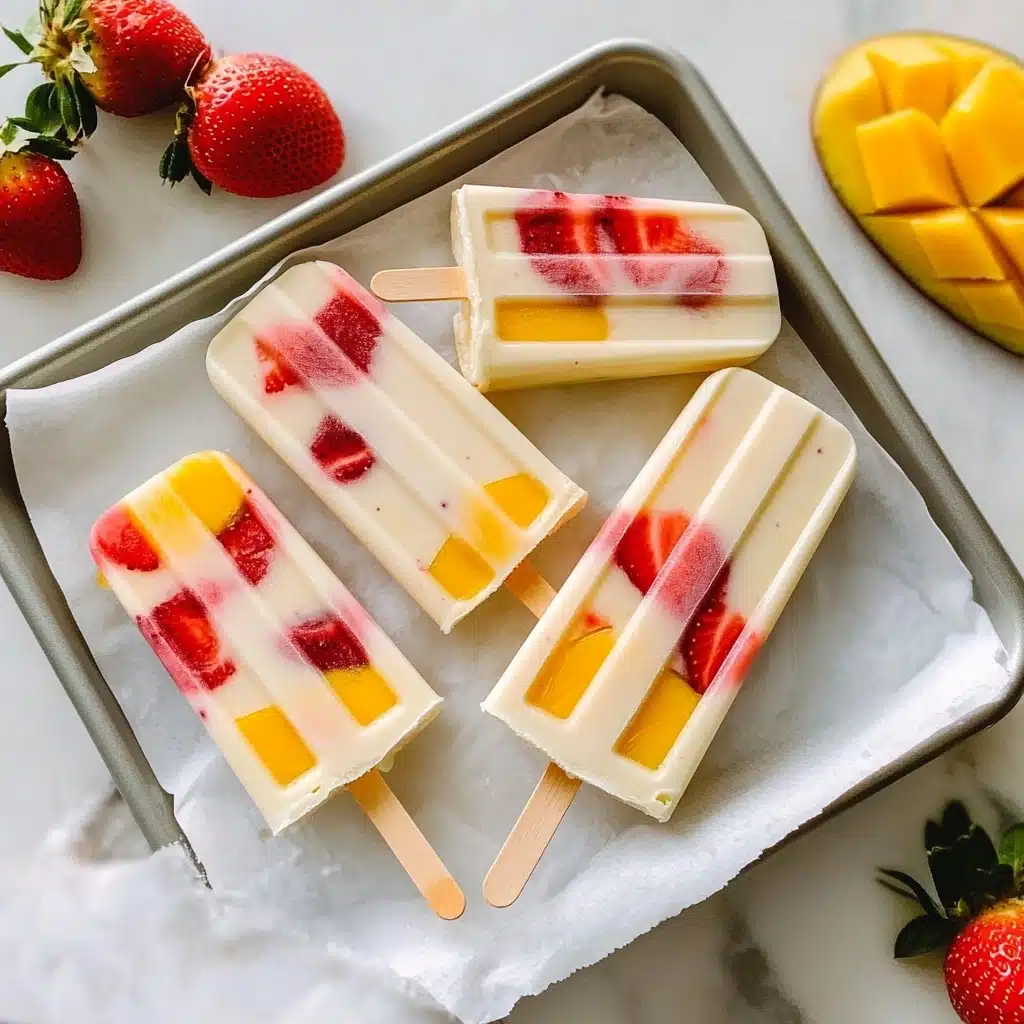
If you’re dreaming of a cool and refreshing snack that’s both healthy and totally irresistible, let me introduce you to 4-Ingredient Fruit & Yogurt Popsicles. This easy, homemade treat bursts with creamy yogurt, luscious fruit, a touch of honey, and just enough cream to make it all feel special. With only a handful of fresh ingredients and the simple magic of your freezer, you’ll have a crowd-pleasing snack that tastes as joyful as summer itself!
Ingredients You’ll Need
These popsicles come together with just four simple ingredients, but each one plays a vital role in the flavor, texture, and visual appeal. Here’s how they work together to build your next favorite frozen treat.
- Heavy Cream: A splash of this creamy luxury adds body and richness, making each bite soft and velvety instead of icy.
- Whole Milk Greek Yogurt: The tangy base gives structure and that classic satisfying yogurt flavor—plain for pure yogurt taste, vanilla for an extra layer of sweetness.
- Honey: The natural sweetener does double duty by enhancing flavor and keeping the popsicles perfectly scoopable straight from the freezer.
- Fruit of Your Choice (or fun add-ins): Berries, mango, chopped peaches, or even chocolate chips or mochi—this is your burst of color, flavor, and all the best summery vibes.
How to Make 4-Ingredient Fruit & Yogurt Popsicles
Step 1: Whip the Cream
Start by grabbing your cold heavy cream and a whisk, and give it a few moments of attention. Whip just until you can see lines forming, but stop shy of soft peaks—you want it thickened but not airy. This step is the secret behind that dreamy, creamy texture in your final popsicle, so don’t overdo it.
Step 2: Fold in Yogurt and Honey
With the cream ready, gently fold in your whole milk Greek yogurt and honey. Aim for a smooth, unified mixture, giving everything a little love as you combine. It’s best to start with the full amount of honey, then taste and adjust if your yogurt or fruit are especially tart.
Step 3: Stir in Fruit (and Extras!)
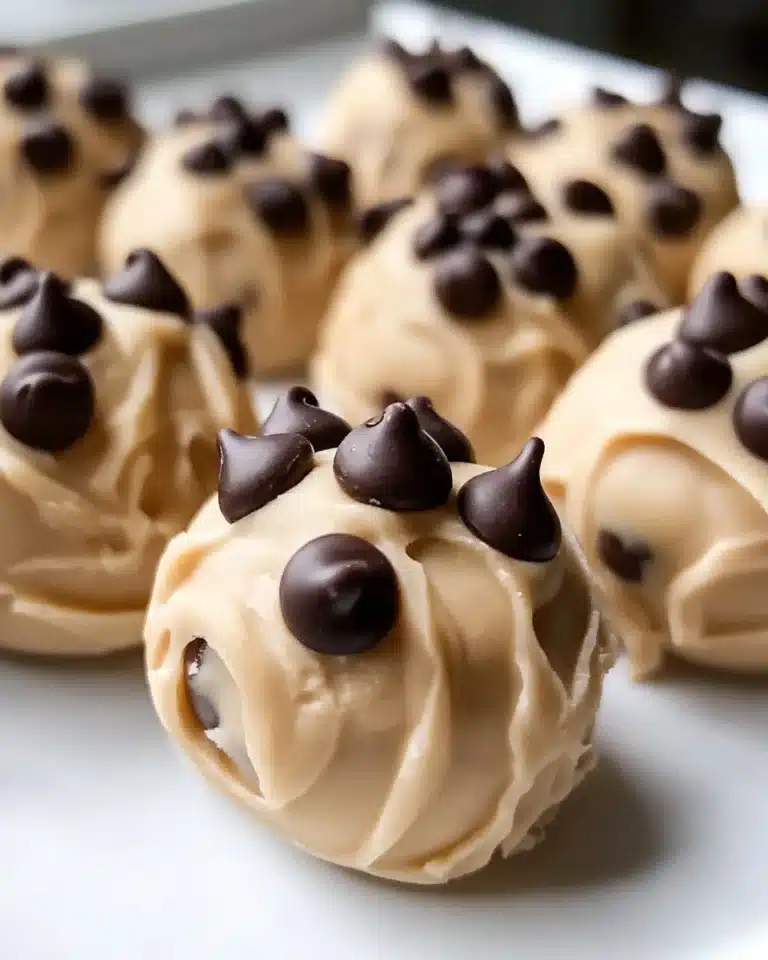
Now comes the fun part—adding those juicy chunks of fruit or any special add-ins you’ve dreamed up. Gently fold in your favorite selection, whether it’s berries, ripe peach slices, or even the occasional chopped Oreo, for a little extra excitement with every bite.
Step 4: Prepare Your Molds
Make sure your popsicle molds are bone dry; even a hint of water will create ice crystals that get in the way of that perfectly creamy finish. Use a thin cloth and a chopstick to dab up any hidden moisture before filling.
Step 5: Fill and Tap Out Air Bubbles
Carefully spoon your mixture into the molds. Don’t be shy about using a chopstick or popsicle stick to tamp down the mix and release any trapped air—this ensures your 4-Ingredient Fruit & Yogurt Popsicles are smooth and solid all the way through. Give the molds a little tap on the counter to finish the job.
Step 6: Freeze to Perfection
Insert the popsicle sticks right in the center, then slide the tray into your freezer. It’ll take at least four hours for your treats to fully set, but if you’re prepping for a party or want an easy grab-and-go snack, an overnight freeze is perfect.
How to Serve 4-Ingredient Fruit & Yogurt Popsicles
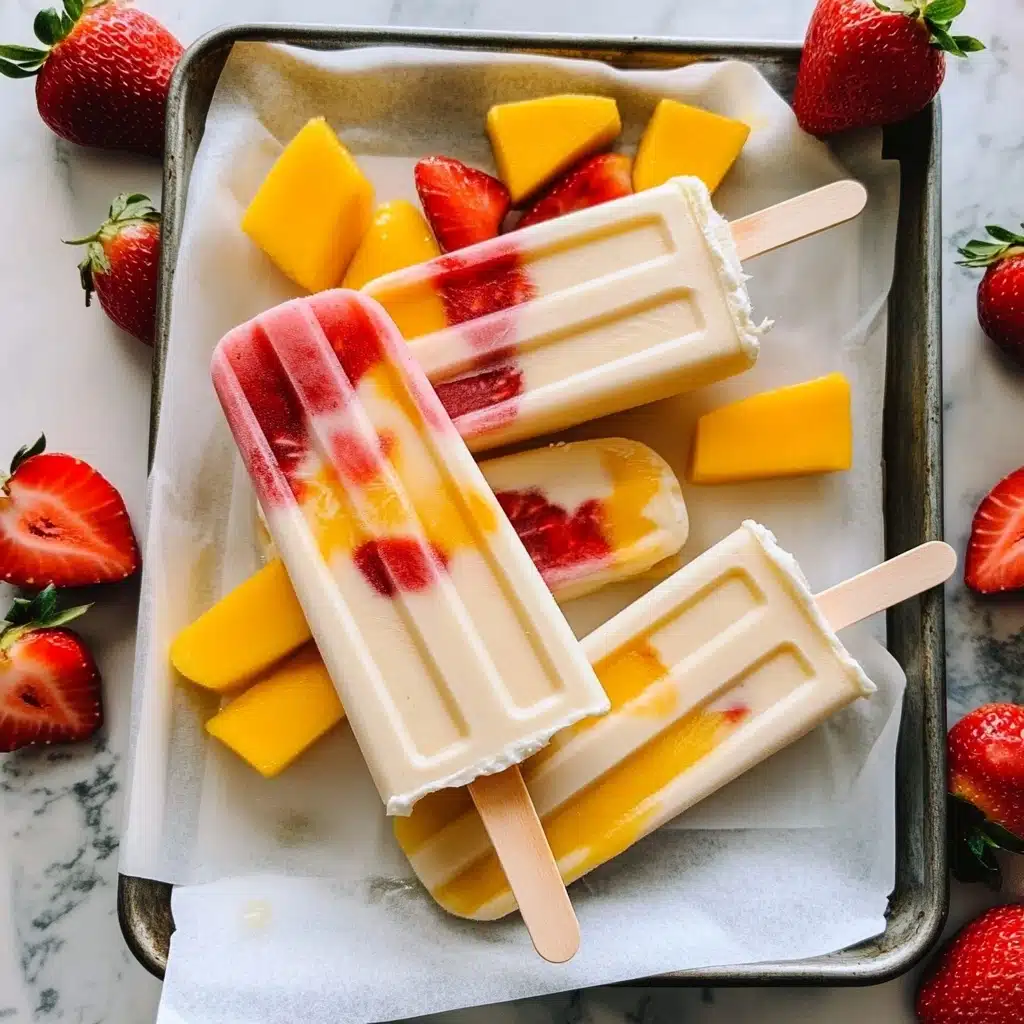
Garnishes
For an extra pop, dip your popsicles in a little melted chocolate, crushed nuts, or roll them in shredded coconut for a festive finish. A sprinkle of edible flowers or an artful drizzle of honey will make your 4-Ingredient Fruit & Yogurt Popsicles instantly “Instagrammable.”
Side Dishes
Pair these popsicles with a big bowl of fresh fruit salad or a few crisp cookies for a well-rounded summer dessert platter. They’re also wonderful alongside sparkling lemonade or homemade iced tea—maximum refreshment!
Creative Ways to Present
Try serving your 4-Ingredient Fruit & Yogurt Popsicles stuck into a bed of ice in a colorful tray for parties. Or bundle a few together with a ribbon as a sweet take-home favor for guests. Mini molds can turn these into ice pops on a stick, perfect for little hands or tasting flights.
Make Ahead and Storage
Storing Leftovers
Once frozen, these popsicles will keep beautifully in their molds for a week. If you need the molds for another batch, remove the frozen pops and store them in a zipper bag or airtight container to prevent any freezer odors sneaking in.
Freezing
4-Ingredient Fruit & Yogurt Popsicles are made for long-term freezing! Just make sure to freeze them in layers separated by wax paper if storing them together—this way, they won’t stick and always come out in perfect condition.
Reheating
There’s no reheating required but if your popsicles are stuck, simply let them sit at room temperature for 5 minutes or briefly run the molds under cool water. This will loosen them up for effortless release without turning them into puddles.
FAQs
Can I use non-dairy yogurt and substitute for cream?
Absolutely! If you’re avoiding dairy, coconut or almond-based yogurt and a non-dairy cream alternative work beautifully. You might notice a slight flavor or texture difference, but they’re still wonderfully creamy.
Which fruits work best in 4-Ingredient Fruit & Yogurt Popsicles?
Berries, mangos, peaches, pineapple, and even kiwi all work great. Softer fruits blend beautifully for swirls, while chunky fruits add texture—just avoid fruits with lots of water (like watermelon) since they may form ice crystals.
How can I make my popsicles sweeter or less sweet?
Taste your mixture before freezing! Adjust the honey to your liking, or try maple syrup or agave as alternatives. The ripeness of your fruit also makes a big difference in the final sweetness.
What if I don’t have a popsicle mold?
No problem! Use small paper cups, ice cube trays, or even silicone muffin cases. Cover with foil and poke wooden sticks through for a classic look minus the dedicated popsicle gear.
Can I double or halve the recipe?
Of course! This recipe is super flexible—halve it for just a few treats, or double for a party. The ratios remain the same, so just scale up or down to fit your freezer and your crowd.
Final Thoughts
There’s something downright magical about pulling a batch of 4-Ingredient Fruit & Yogurt Popsicles from the freezer on a hot afternoon! They’re simple, endlessly customizable, and guaranteed to bring smiles. Give them a try, and you might just find yourself making these light, creamy popsicles all year round.
Print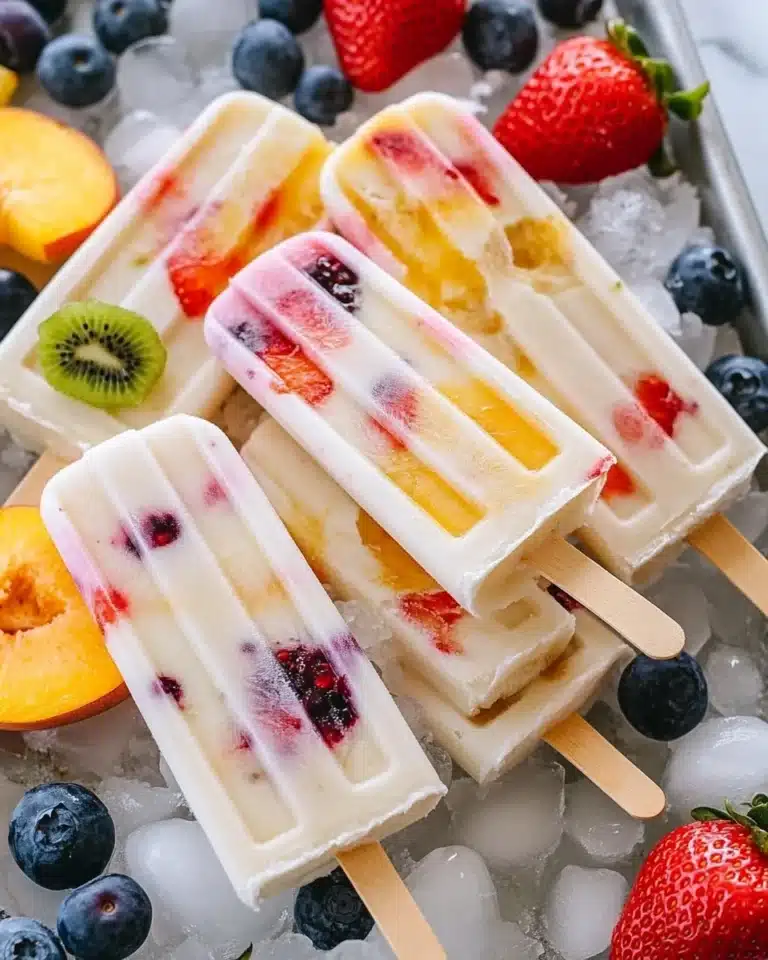
Easy 4-Ingredient Fruit & Yogurt Popsicles
These 4-Ingredient Fruit & Yogurt Popsicles are a creamy, refreshing, and guilt-free dessert made with luscious fruit, thick Greek yogurt, a touch of honey, and a splash of cream. Perfect for summer, they’re easy to customize with your favorite fruits or creative add-ins, and come together with minimal prep for a delicious frozen snack that’s wholesome and satisfying.
- Total Time: 8 hours 20 minutes (includes freezing time)
- Yield: 16 popsicles
Ingredients
Cream Base
- 1/2 cup cold heavy cream (or up to 1 cup, 120–240 ml; the more you add, the creamier your popsicle will be)
- 2 cups whole milk Greek yogurt (plain or vanilla)
- 1/3 cup honey (or to taste)
Mix-ins
- 3 cups fruit of your choice (e.g., berries, mango, kiwi, or mixed fruit)
- Optional: other additions such as chocolate chips, mochi, chopped Oreos, etc.
Instructions
- Whip the Cream: In a mixing bowl, whisk the cold heavy cream until it’s no longer liquid and you can see lines in the cream, but stop just before it reaches soft peaks. This gives the popsicles a creamy texture without adding too much air.
- Combine Yogurt, Honey, and Fruit: Gently fold the Greek yogurt and honey into the whipped cream. Once combined, add in your chosen fruit and any optional mix-ins, folding until evenly distributed.
- Prepare Popsicle Molds: Ensure your popsicle molds are completely dry to prevent ice crystals from forming. Use a thin cloth and a chopstick to dry inside the molds if necessary.
- Fill the Molds: Carefully pour or spoon the yogurt mixture into each popsicle mold, filling all the way up. Use a chopstick or extra popsicle stick to tamp down the mixture and eliminate any air pockets. Gently tap the molds on the counter to pop excess air bubbles.
- Freeze: Insert popsicle sticks into the center of each popsicle. Transfer the filled molds to the freezer and freeze for at least 4 hours, or until completely solid.
- Unmold and Serve: To remove the popsicles from their molds, let them stand at room temperature for 5 minutes or run under cool water. Gently loosen and enjoy immediately.
Notes
- This recipe yields about 16-18 popsicles, depending on mold size.
- The recipe is highly versatile—experiment with different fruits or fun additions like chocolate chips or chopped cookies.
- Do not rush unmolding; melting may occur if you force the popsicles out too quickly.
- For best texture, use full-fat yogurt and avoid over-whipping the cream.
- Prep Time: 20 minutes
- Cook Time: 0 minutes
- Category: Desserts
- Method: No-cook
- Cuisine: American
- Diet: Vegetarian
Nutrition
- Serving Size: 1 popsicle
- Calories: 75
- Sugar: 8g
- Sodium: 12mg
- Fat: 3g
- Saturated Fat: 2g
- Unsaturated Fat: 1g
- Trans Fat: 0g
- Carbohydrates: 9g
- Fiber: 1g
- Protein: 3g
- Cholesterol: 11mg


