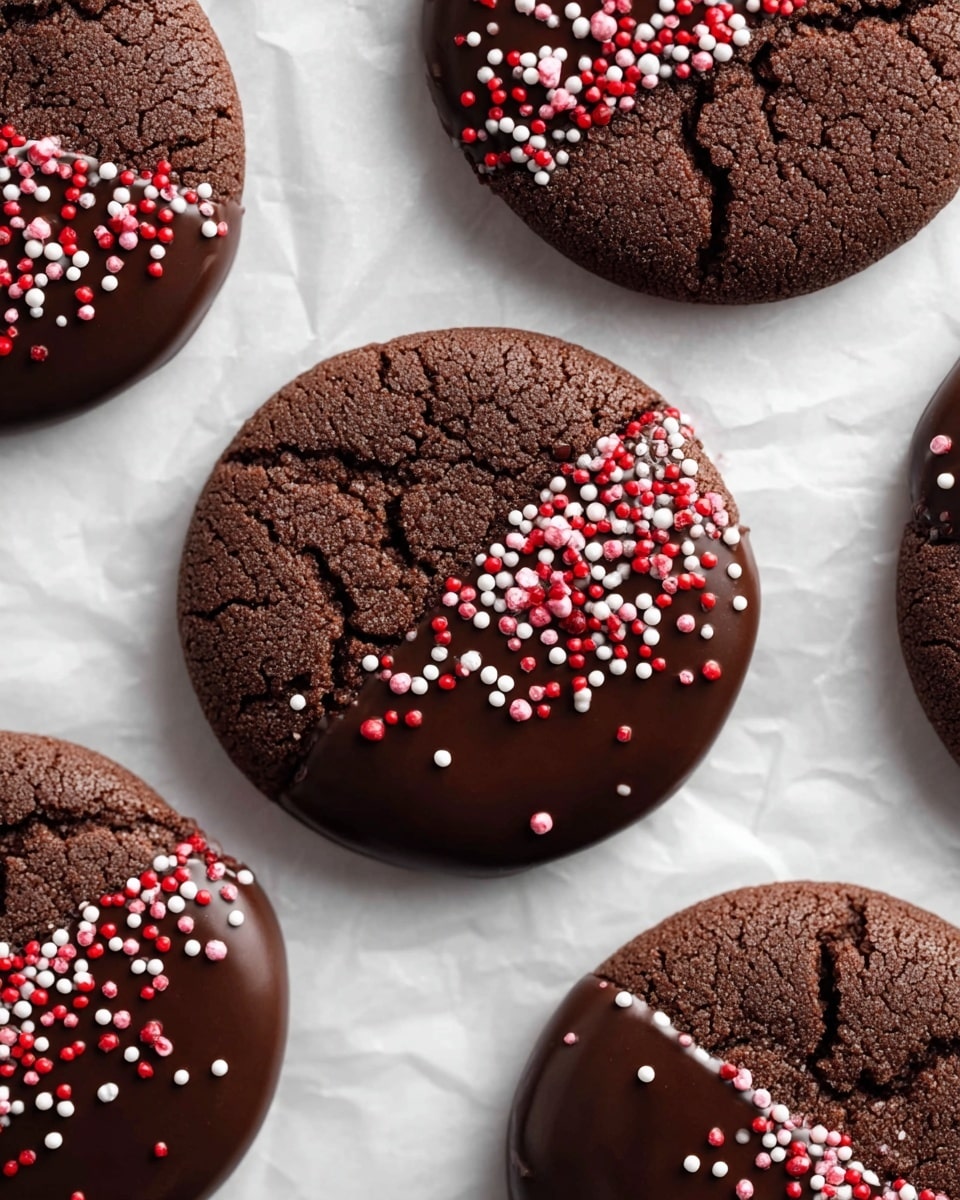
If you are on the hunt for a delightful treat that perfectly balances rich cocoa flavor with a satisfyingly crisp bite, let me introduce you to the irresistible Chocolate Sugar Cookies with Chocolate Coating Recipe. These cookies boast crispy edges and fudgy centers, all wrapped in a luscious chocolate coating that takes every bite to the next level. This recipe brings together simple, pantry-friendly ingredients without any long chill times, making it an absolute must-try for anyone craving a chocolatey indulgence whether it’s for everyday snacking or festive occasions.
Ingredients You’ll Need
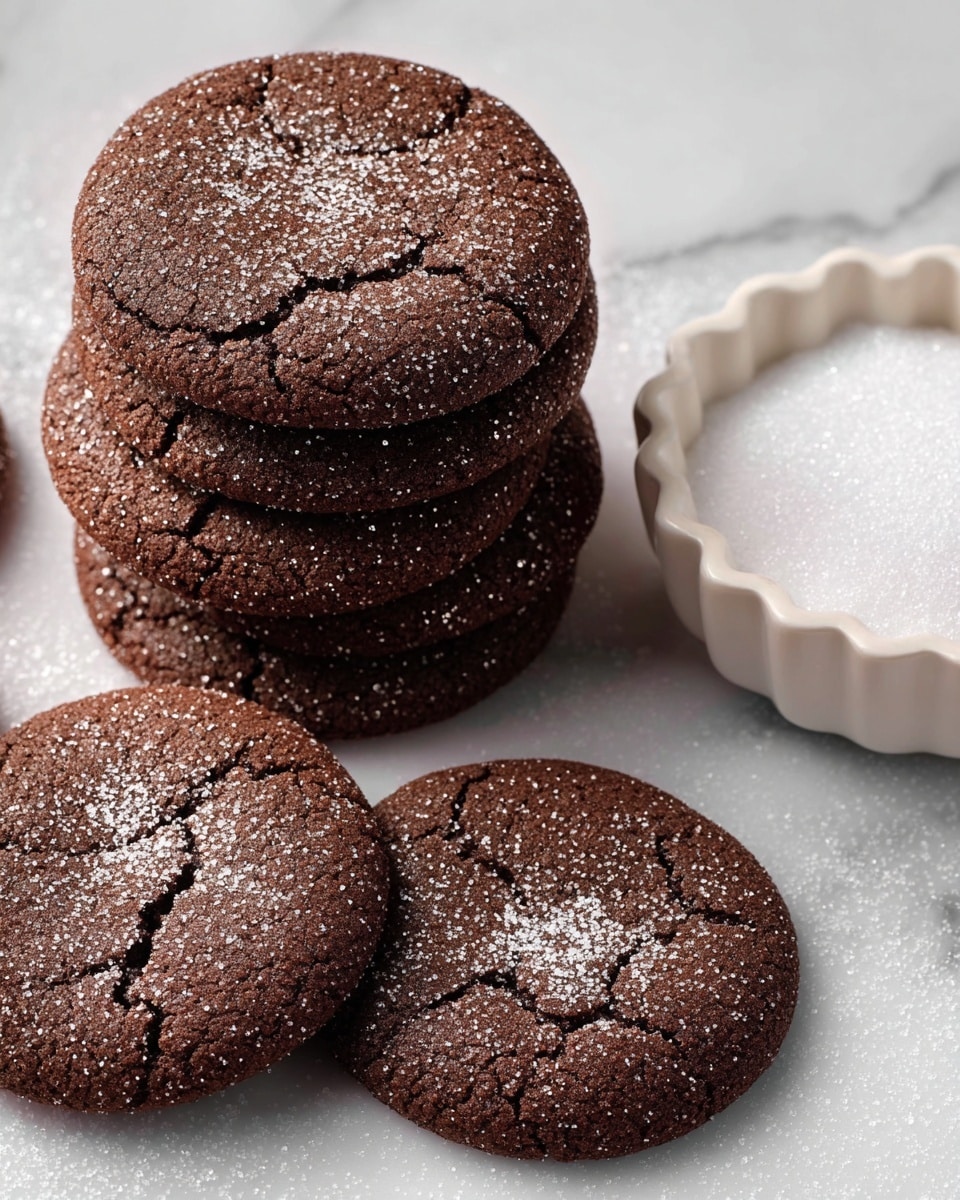
Every great cookie starts with a handful of simple ingredients that play key roles in crafting taste, texture, and that perfect chocolatey color. These essentials come together easily and offer wonderfully clear flavors that shine once baked and coated.
- Unsalted butter (3/4 cup, room temperature): Adds rich moisture and creates tender crumb texture in the cookie.
- Dark brown sugar (3/4 cup, packed): Provides deep caramel notes and chewiness to the finished cookie.
- Granulated sugar (1/4 cup + 1/3 cup for rolling): Balances sweetness and ensures a beautifully crisp exterior once rolled on the dough balls.
- Large egg (1, room temperature): Binds the ingredients and adds lift.
- Vanilla extract (1 teaspoon): Enhances the overall flavor profile with warmth and depth.
- Molasses (1 tablespoon): Boosts the chocolate richness and adds subtle complexity.
- All-purpose flour (2 cups, spooned and leveled): Provides structure and holds all of the cookie’s loveliness together.
- Unsweetened cocoa powder (1/2 cup, sifted): The star ingredient that delivers intense chocolate flavor and dark color.
- Baking soda (1 teaspoon): Produces lift and tenderness.
- Salt (1/2 teaspoon): Balances sweetness and enhances chocolate notes.
- Chocolate chips (1 cup, for coating): Creates that velvety finish on top and adds extra chocolate indulgence.
- Coconut or vegetable oil (1 teaspoon, for coating): Helps the chocolate coating set smoothly with just the right shine.
How to Make Chocolate Sugar Cookies with Chocolate Coating Recipe
Step 1: Prep Your Oven and Baking Sheets
Start by preheating your oven to 325°F and lining two large baking sheets with parchment paper. This ensures your cookies bake evenly without sticking, letting you focus on the fun part — making the dough.
Step 2: Cream Butter and Sugars
Using a stand mixer fitted with the paddle attachment, cream together the softened butter, dark brown sugar, and granulated sugar until the mixture is light and fluffy. This important step introduces air for that perfect cookie texture.
Step 3: Add Egg, Vanilla, and Molasses
Next, mix in the egg and vanilla extract, followed by the molasses. These ingredients enrich the dough with flavor and moisture, setting up a cookie that’s chewy and full of character.
Step 4: Combine the Dry Ingredients
Whisk together the all-purpose flour, sifted cocoa powder, baking soda, and salt in a separate bowl. This mix is what brings structure and chocolate intensity to your cookies.
Step 5: Mix Dry and Wet Ingredients
Add the dry ingredient mixture to your creamed butter mixture in three parts, mixing gently after each addition until fully incorporated. To avoid a messy kitchen, drape a kitchen towel over your mixer to prevent cocoa powder from flying everywhere. Make sure to scrape down the sides to blend everything fully — no white streaks left behind!
Step 6: Shape and Sugar-Coat the Cookie Dough
Using a large cookie scoop, portion out dough balls weighing around 1.8 to 2 ounces. Roll each ball generously in the extra granulated sugar to create a sparkling sugar coating. Place them spaced on the baking sheet and gently press down with your hand or the bottom of a measuring cup, just enough to flatten without squashing. Sprinkle a touch more sugar on top to emphasize that perfect crunch.
Step 7: Bake Your Cookies
Bake cookies on the center rack of your oven for 10 to 11 minutes until edges are firm and tops show those signature cracks. They will look soft but will firm up as they cool.
Step 8: Cool Completely Before Coating
Allow your cookies to cool on the baking sheet for about 10 minutes, then transfer them to a wire rack until they are completely cooled to room temperature — this is key before adding the luscious chocolate coating.
Step 9: Prepare and Apply the Chocolate Coating
In a microwave-safe bowl, combine chocolate chips with coconut or vegetable oil and heat in 30-second increments until smooth and melted. Dip half of each cooled cookie into the warm chocolate, letting the excess drip off. Place them back on the wire rack and optionally sprinkle with chopped nuts or festive sprinkles. Let the chocolate set at room temperature for about an hour.
How to Serve Chocolate Sugar Cookies with Chocolate Coating Recipe
Garnishes
To boost flavor and visual appeal, consider garnishing your dipped cookies with chopped toasted nuts like pecans or almonds, a sprinkle of sea salt for a sweet-savory twist, or colorful sugar sprinkles to brighten up any gathering. These options add texture and flair without overwhelming the chocolate’s richness.
Side Dishes
These cookies pair beautifully with a cup of freshly brewed coffee, creamy hot chocolate, or chilled milk. For an adult twist, serve alongside a glass of port or a rich dessert wine to complement the deep cocoa notes in the cookies.
Creative Ways to Present
Try stacking these cookies in a glass jar layered with parchment for gifting, arranging them on a rustic wooden board with some fresh berries, or even using them as a decadent garnish on top of ice cream sundaes. Their chocolaty appeal makes them versatile showstoppers for any occasion.
Make Ahead and Storage
Storing Leftovers
Once your cookies are fully coated and the chocolate is set, store any leftovers in an airtight container at room temperature for up to five days. Layer with parchment paper to keep them from sticking or losing their crunch.
Freezing
If you want to save these goodies for later, freeze the uncoated cookie dough balls first on a baking sheet, then transfer to a freezer bag for up to three months. When ready, bake straight from frozen, adding an extra minute or two. For baked and coated cookies, freeze individually wrapped in plastic wrap and place in a freezer-safe container for up to a month.
Reheating
To refresh frozen baked cookies, thaw at room temperature then warm slightly in a 300°F oven for 5 minutes to restore the fresh-baked feel. Avoid microwaving, as it can melt the chocolate coating and alter the texture.
FAQs
Can I use milk chocolate instead of dark chocolate for the coating?
Absolutely! Milk chocolate will give a sweeter and creamier coating. Just be sure to adjust the sugar in the cookie accordingly if you want to keep the balance in sweetness.
Why is molasses included in this chocolate sugar cookie recipe?
Molasses adds subtle depth to the chocolate flavor and contributes to the moisture and chewiness of the cookie. It’s a secret ingredient that elevates these cookies beyond ordinary cocoa treats.
Do I need to chill the dough before baking?
One of the best things about this recipe is that no chill time is required. The dough is easy to handle and ready to bake as soon as it’s mixed, ideal when you’re craving cookies without the wait.
What is the best way to avoid spreading during baking?
Rolling the dough balls generously in granulated sugar helps create a crisp crust that limits spreading. Also, baking at 325°F helps control the temperatures to keep edges firm while centers remain fudgy.
Can I make these cookies gluten-free?
With some adjustments, yes! Swap the all-purpose flour for a gluten-free blend designed for baking. Just check that your cocoa powder and other ingredients are certified gluten-free for safe results.
Final Thoughts
The joy of baking can often be found in simple, heartfelt recipes that turn everyday ingredients into memorable treats. This Chocolate Sugar Cookies with Chocolate Coating Recipe does just that, delivering incredible chocolate flavor, texture contrasts, and a touch of elegance with the chocolate coating. Whether you’re an experienced baker or just starting out, these cookies promise smiles with every bite. Grab your ingredients and get baking — your new favorite chocolate sugar cookie awaits!
Print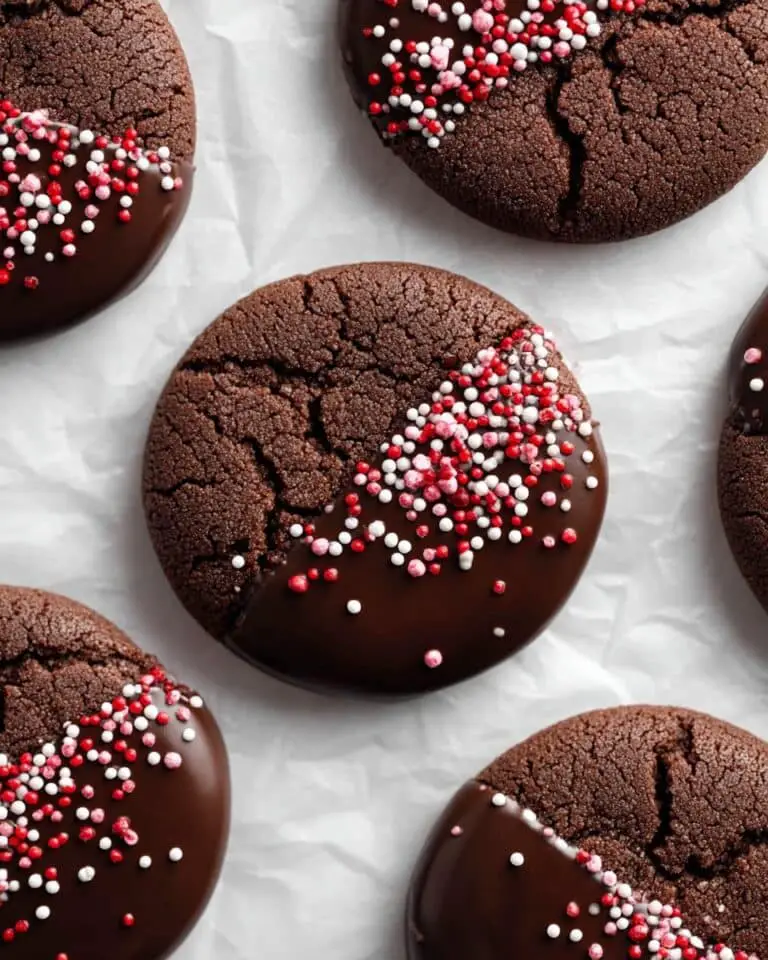
Chocolate Sugar Cookies with Chocolate Coating Recipe
These classic chocolate sugar cookies feature crispy edges, fudgy centers, and rich chocolate flavor. Made with a few simple ingredients and no chilling required, they bake quickly and are perfect for any occasion. Optionally dipped in a glossy chocolate coating for extra indulgence.
- Total Time: 20 minutes
- Yield: 12 to 14 cookies
Ingredients
Cookie Dough
- 3/4 cup (170 g) unsalted butter, room temperature
- 3/4 cup (150 g) dark brown sugar, packed
- 1/4 cup (50 g) granulated sugar
- 1 large egg, room temperature
- 1 teaspoon vanilla extract
- 1 tablespoon molasses
- 2 cups (250 g) all-purpose flour, spooned and leveled
- 1/2 cup (45 g) unsweetened cocoa powder, sifted
- 1 teaspoon baking soda
- 1/2 teaspoon salt
- 1/3 cup (66 g) granulated sugar, for rolling dough
Chocolate Coating
- 1 cup dark or semi-sweet chocolate chips
- 1 teaspoon coconut or vegetable oil
Instructions
- Preheat and prepare baking sheets: Preheat your oven to 325°F (163°C) and line two large baking sheets with parchment paper for easy cookie transfer and cleanup.
- Cream butter and sugars: In a stand mixer fitted with the paddle attachment, beat the softened butter with dark brown sugar and granulated sugar until the mixture turns light and fluffy, about 2 to 3 minutes. Scrape the bowl sides to ensure even mixing.
- Add wet ingredients: Mix in the egg and vanilla extract until combined, then add the molasses and mix on low speed just until incorporated. Scrape down the bowl sides again to ensure thorough mixing.
- Combine dry ingredients: In a separate bowl, whisk together the all-purpose flour, sifted cocoa powder, baking soda, and salt until evenly mixed.
- Incorporate dry ingredients into wet: Gradually add the dry mixture to the butter mixture in three additions, mixing until fully combined. Use a kitchen towel over the mixer to prevent cocoa powder from dusting the kitchen. Scrape the bowl to ensure no flour streaks remain.
- Shape and sugar coat the dough balls: Use a large cookie scoop to portion dough into 1.8 to 2-ounce balls. Roll each ball between your hands, then coat generously with the remaining 1/3 cup granulated sugar. Place the coated balls on the prepared baking sheets spaced 2-3 inches apart. Gently press down on each with your hand or the flat bottom of a measuring cup to slightly flatten without overdoing it. Sprinkle a little extra granulated sugar on top for texture.
- Bake the cookies: Place the baking sheets on the oven’s center rack and bake for 10 to 11 minutes. The cookies should have set edges and cracked tops when done.
- Cool on sheet: Remove the cookies and allow them to cool on the baking sheet for 10 minutes to firm up and deflate slightly.
- Melt chocolate coating: In a medium heat-safe bowl, combine the chocolate chips and coconut or vegetable oil. Microwave in 30-second intervals, stirring between each, until melted and smooth.
- Dip cookies in chocolate: Once the cookies are completely cooled to room temperature, dip half of each cookie into the melted chocolate, letting excess drip off. Place dipped cookies on a wire rack and optionally top with sprinkles or chopped nuts. Let set at room temperature for about an hour before serving.
Notes
- Allow cookies to cool completely before dipping in chocolate to prevent melting and messiness.
- Use parchment paper-lined baking sheets for easy cleanup and to prevent sticking.
- The dough does not require chilling, saving preparation time.
- Molasses adds depth and moistness to the cookies’ flavor.
- Adjust baking time slightly based on oven calibration and cookie size for desired texture.
- Store dipped cookies in an airtight container at room temperature for up to 3 days or refrigerate for longer freshness.
- Prep Time: 10 minutes
- Cook Time: 10 minutes
- Category: Dessert
- Method: Baking
- Cuisine: American

