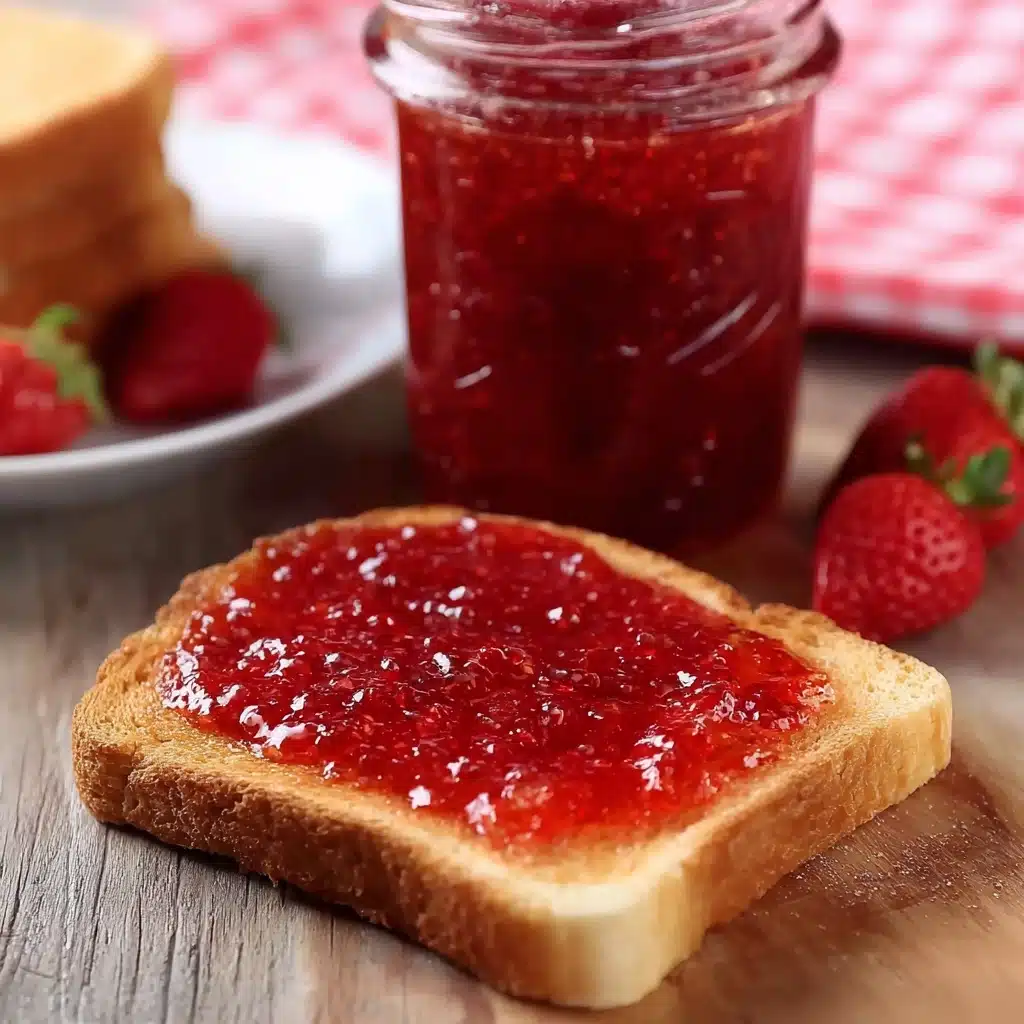
There’s nothing quite like the sweet, nostalgic taste of homemade strawberry jam slathered over warm toast on a lazy morning. This Homemade Strawberry Jam Recipe is everything you love about summer’s best berries—simple, vibrant, and bursting with fresh, fruity flavor. Plus, making it yourself isn’t just rewarding, but delightfully easy! With just a handful of everyday ingredients, you’ll capture the essence of ripe strawberries in a jar, creating a condiment that makes breakfast and snacks truly special.
Ingredients You’ll Need
The beauty of this Homemade Strawberry Jam Recipe is its simplicity. With just three main ingredients, each one works its magic to create a jam that’s bright, sweet, and perfectly spreadable. Here’s how each ingredient plays a starring role:
- Fresh Strawberries: The heart and soul of this recipe—pick the ripest, sweetest berries you can find for the best flavor and lush color.
- Granulated Sugar: Not just for sweetness, sugar helps the jam set and keeps it shelf-stable for longer.
- Fresh-Squeezed Lemon Juice: Adds a bright, tangy boost and naturally helps the jam gel.
How to Make Homemade Strawberry Jam Recipe
Step 1: Sterilize Your Jars
Start by sterilizing your mason jars in boiling water, then dry them thoroughly. It’s a quick step that ensures your jarred jam stays fresh and safe to eat, plus you’ll feel oh-so-professional prepping real jam jars for your homemade creation.
Step 2: Prep the Strawberries
Hull the strawberries, removing the green tops and any tough bits. Dice your berries for a chunkier jam, or, if you prefer a smoother texture, blend them first (I personally adore a bit of fruit in every bite!).
Step 3: Mix the Ingredients
Add the diced strawberries, granulated sugar, and lemon juice into a large pot or deep saucepan. Stir everything together so the berries are evenly coated with sugar, awakening their juices and starting the magical transformation.
Step 4: Macerate the Strawberries
Let the strawberry-sugar mixture rest for 10-15 minutes. This draws out the juices and helps the fruit soften, making the next steps easier and adding even more flavor depth to your homemade strawberry jam recipe.
Step 5: Dissolve the Sugar
Turn the heat to medium-low and gently stir until every last granule of sugar is dissolved. Pay special attention to the sides of the pot and spatula—undissolved sugar can make your jam gritty, so keep scraping and stirring.
Step 6: Simmer and Mash
Simmer the mixture for 10-15 minutes, stirring often and mashing the strawberries with a potato masher as they soften. This step releases all their juicy goodness, creating that classic jammy consistency.
Step 7: Boil and Thicken
Bring the mixture to a full, rolling boil and continue cooking until it reaches 220°F. Consistent stirring here is key; you don’t want any burning! Once the jam thickens and reaches temperature, you’re just about there.
Step 8: Jar the Jam
Remove the pot from heat. If you see any foam on top, skim it off for a clearer jam. Pour the jam into your prepared jar, leaving about 1/4 inch room at the top, and seal with the lid. Let it cool to room temperature, then refrigerate until fully set and ready to enjoy.
How to Serve Homemade Strawberry Jam Recipe
Garnishes
Brighten up your jam with a twist of lemon zest or a sprinkle of chopped fresh basil to bring out the berries’ natural sweetness. You can also add a few extra sliced strawberries right on top when serving, for that homemade touch.
Side Dishes
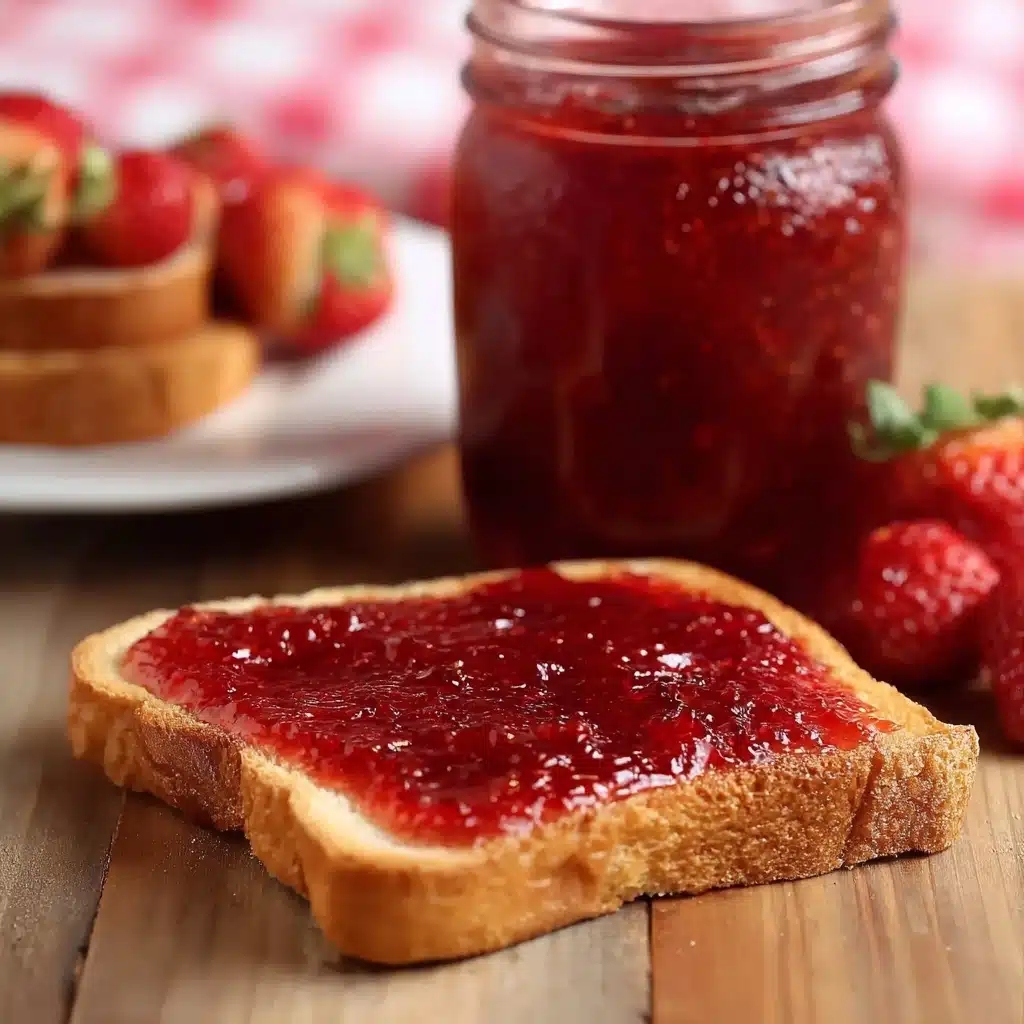
This jam is incredibly versatile! Spread it on toast, swirl it into Greek yogurt, spoon over pancakes, or sandwich it inside a warm, buttery biscuit. It also pairs deliciously with soft cheeses like brie or goat cheese for an elegant brunch addition.
Creative Ways to Present
Gift your Homemade Strawberry Jam Recipe in cute mason jars tied with ribbon for birthdays, holidays, or just because. Or, use it as a surprise filling for cupcakes, thumbprint cookies, or crepes—your friends and family will be positively wowed!
Make Ahead and Storage
Storing Leftovers
Keep your jam in a sealed jar in the refrigerator, where it will stay fresh for up to two weeks. The tight seal locks in flavor and keeps your homemade treat ready for whenever cravings strike.
Freezing
If you want to keep your Homemade Strawberry Jam Recipe even longer, freeze it! Use freezer-safe containers, leave a little space for expansion, and store for up to 6 months. Thaw overnight in the fridge and give it a good stir before serving.
Reheating
This jam doesn’t really require reheating, but if it stiffens up in the fridge, a few seconds in the microwave or a quick stir at room temperature brings it right back to spreadable perfection.
FAQs
Can I use frozen strawberries instead of fresh?
Yes! Frozen strawberries work beautifully in this Homemade Strawberry Jam Recipe. Thaw them first and drain any excess liquid before cooking to avoid a watery jam.
How do I know when the jam has set?
The jam sets at 220°F on a candy thermometer. Without a thermometer, place a spoonful on a chilled plate; if it wrinkles when you push it after cooling, you’re good to go!
Is it necessary to remove the foam from the top?
It’s not strictly necessary, but skimming off the foam gives you a clearer, glossier jam. It’s mostly for appearance, so feel free to leave it if you’re in a hurry!
Can I reduce the sugar in the jam?
You can reduce it slightly, but sugar not only sweetens the jam but helps it set and preserves it. Reducing it too much may result in a runnier, less stable jam, but you can experiment to find your sweet spot.
What do I do if my jam is too runny?
No worries—just return it to the pot and cook a few minutes longer, checking frequently. Sometimes berries vary in juiciness, so extra simmering usually does the trick.
Final Thoughts
I truly hope you’ll give this Homemade Strawberry Jam Recipe a try. There’s just something magical about capturing the taste of summer in every spoonful, and once you make your own, you’ll wonder why you ever bought store-bought! Enjoy every sweet, juicy bite and share it with those you love.
Print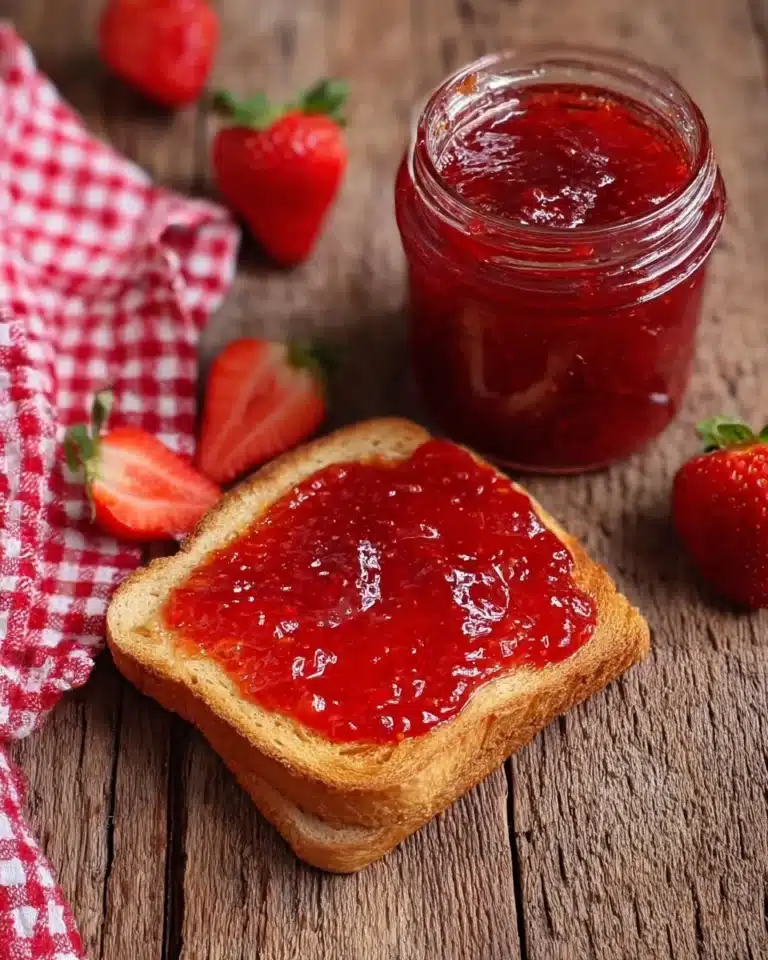
Homemade Strawberry Jam Recipe
This homemade strawberry jam is the perfect small-batch, no-pectin recipe for capturing the vibrant, sweet-tart flavor of fresh strawberries. Made with just a few simple ingredients—strawberries, sugar, and lemon juice—this easy stovetop jam comes together in under an hour, resulting in a rich, spreadable preserve that’s just right for toast, biscuits, or your favorite breakfast treats.
- Total Time: 40 minutes
- Yield: About 2 cups (24 servings)
Ingredients
Main Ingredients
- 1 lb fresh strawberries, washed and stems removed
- 1¼ cups granulated sugar
- 1–2 tablespoons fresh-squeezed lemon juice
For Storing
- 1 mason jar (large enough to hold 2 cups), sterilized
Instructions
- Sterilize the Jar: Place your mason jar in boiling water for a few minutes to sterilize it. Remove carefully and allow to dry completely. Set aside for later use.
- Prep the Strawberries: Remove the stems from the strawberries and dice the berries into small pieces. For a smoother jam, you can puree the strawberries in a blender before cooking.
- Combine Ingredients: In a large pot or deep saucepan, add the diced (or pureed) strawberries, lemon juice, and granulated sugar. Stir well to coat the strawberries in sugar.
- Macarate: Let the mixture sit for 10-15 minutes until the strawberries begin to release their natural juices.
- Dissolve Sugar: Turn the heat to medium-low and stir gently with a rubber spatula. Make sure all the sugar has dissolved completely by scraping the sides of the pot. This helps prevent any crystalization in the finished jam.
- Cook and Mash: Simmer the mixture for 10-15 minutes, stirring frequently. As the strawberries soften, mash them with a potato masher to your desired texture.
- Boil Jam: Increase the heat and bring the mixture to a full rolling boil. Continue to stir constantly and cook until the mixture reaches 220°F (use a candy thermometer). This ensures the jam will set properly.
- Remove from Heat and Skim: Take the pot off the heat. If desired, skim off any foam that has formed on top for a clearer jam.
- Jar the Jam: Carefully pour the hot jam into your prepared mason jar. Leave about 1/4 inch of space at the top. Immediately seal the jar with the lid.
- Cool and Store: Let the jar cool at room temperature. Once cool, refrigerate the jam until firm. This homemade jam will keep in the fridge for up to two weeks.
Notes
- For a chunkier jam, simply dice the strawberries. For a smoother jam, blend the strawberries before cooking.
- Be sure to completely dissolve the sugar before boiling to avoid gritty texture.
- You can use more or less lemon juice according to your taste; lemon helps the jam set and enhances flavor.
- This is a refrigerator jam and is not shelf stable. For long-term storage, follow proper canning procedures.
- The jam thickens as it cools, so don’t worry if it’s a bit loose when hot.
- Prep Time: 10 minutes
- Cook Time: 30 minutes
- Category: Sauces-condiments
- Method: Stovetop
- Cuisine: American, Southern
- Diet: Vegetarian
Nutrition
- Serving Size: 1 tablespoon
- Calories: 37
- Sugar: 9g
- Sodium: 0mg
- Fat: 0g
- Saturated Fat: 0g
- Unsaturated Fat: 0g
- Trans Fat: 0g
- Carbohydrates: 10g
- Fiber: 0.3g
- Protein: 0.1g
- Cholesterol: 0mg

