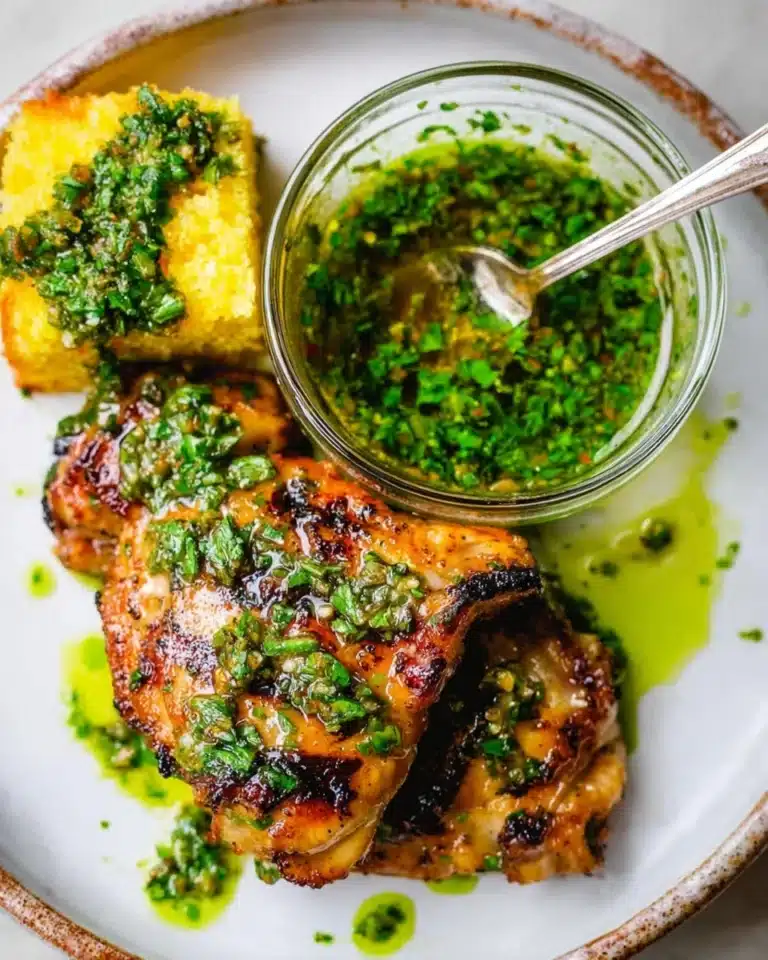
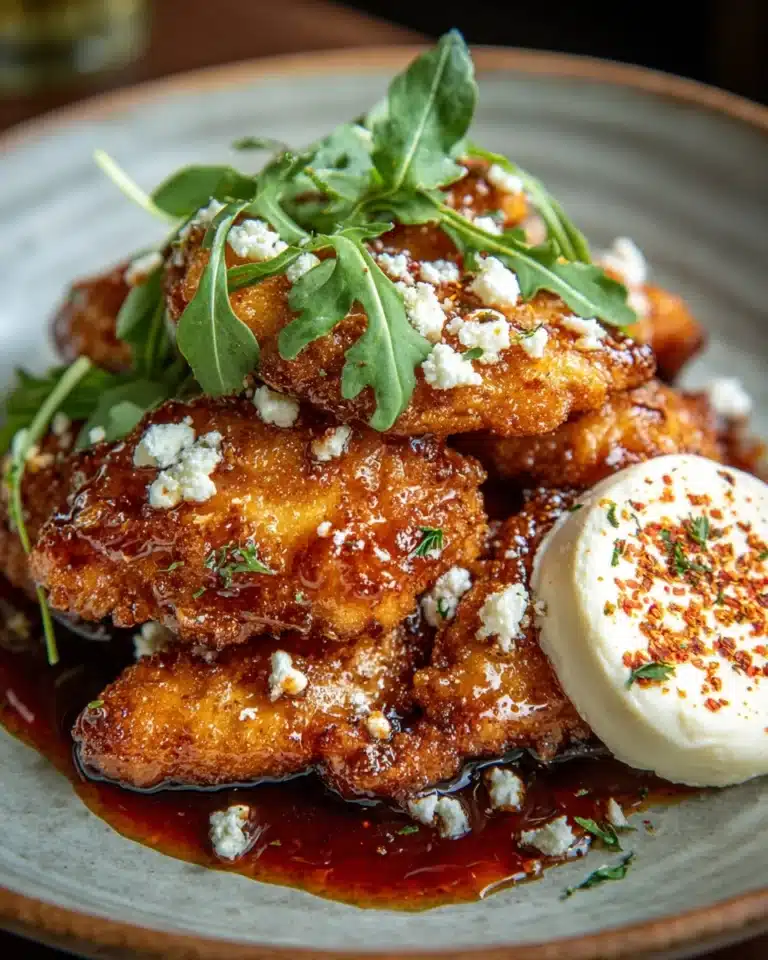
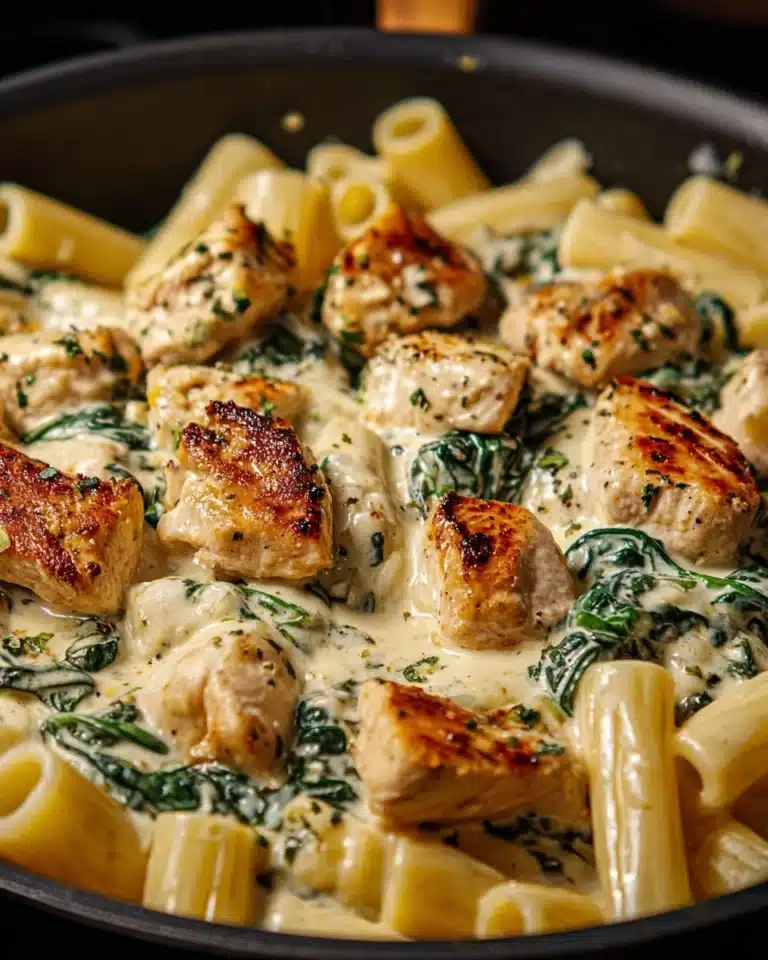
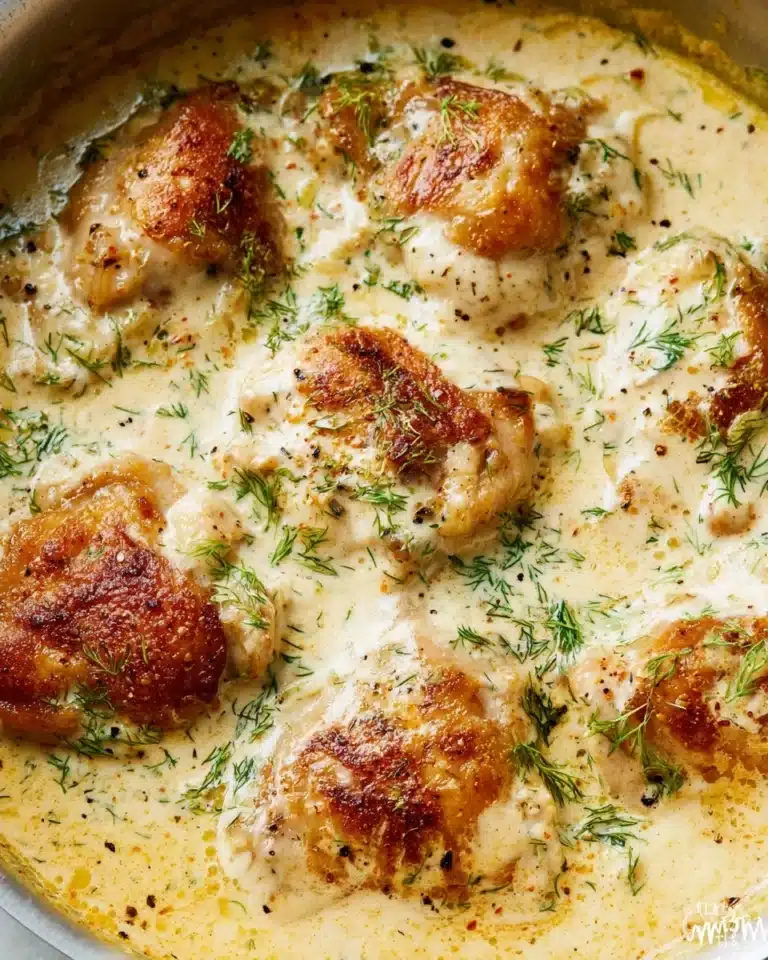
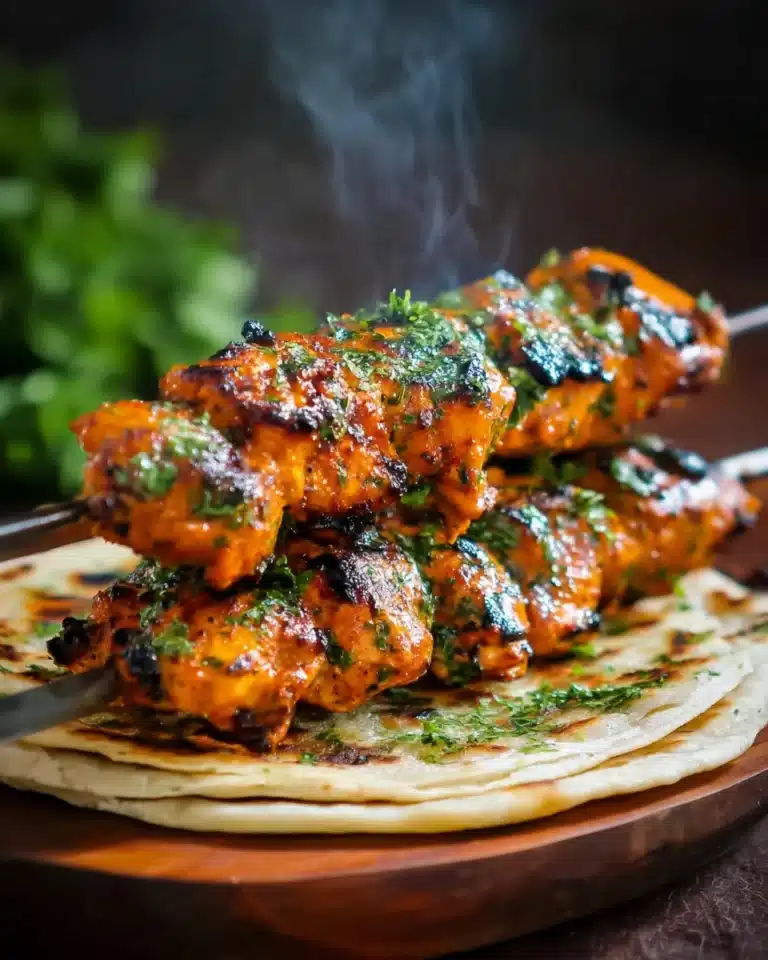
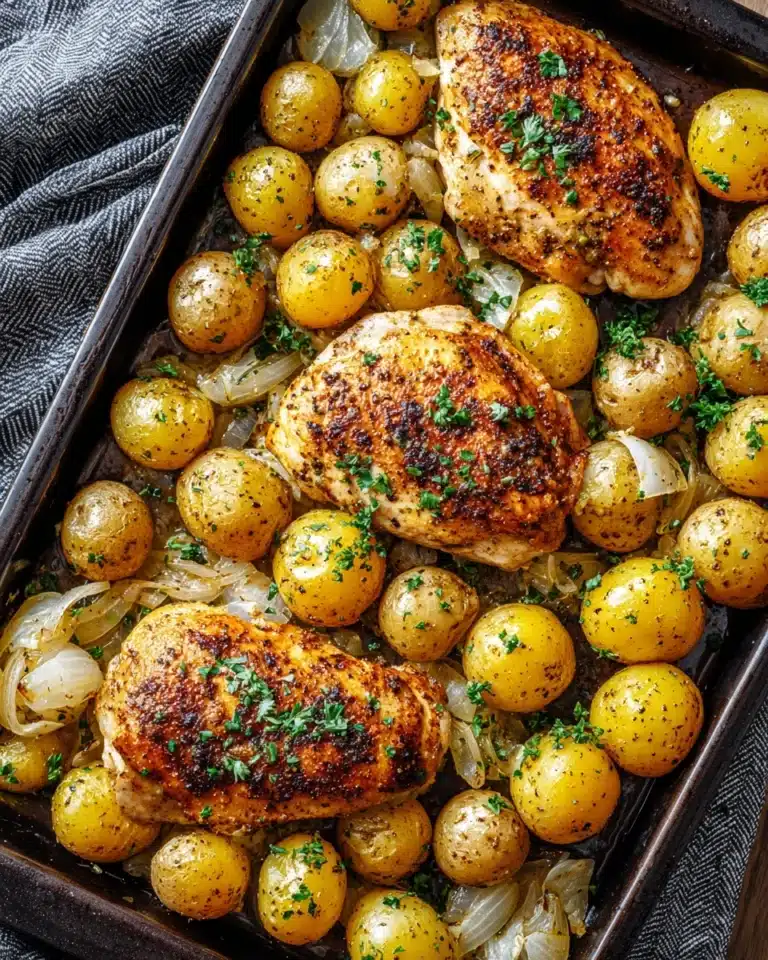
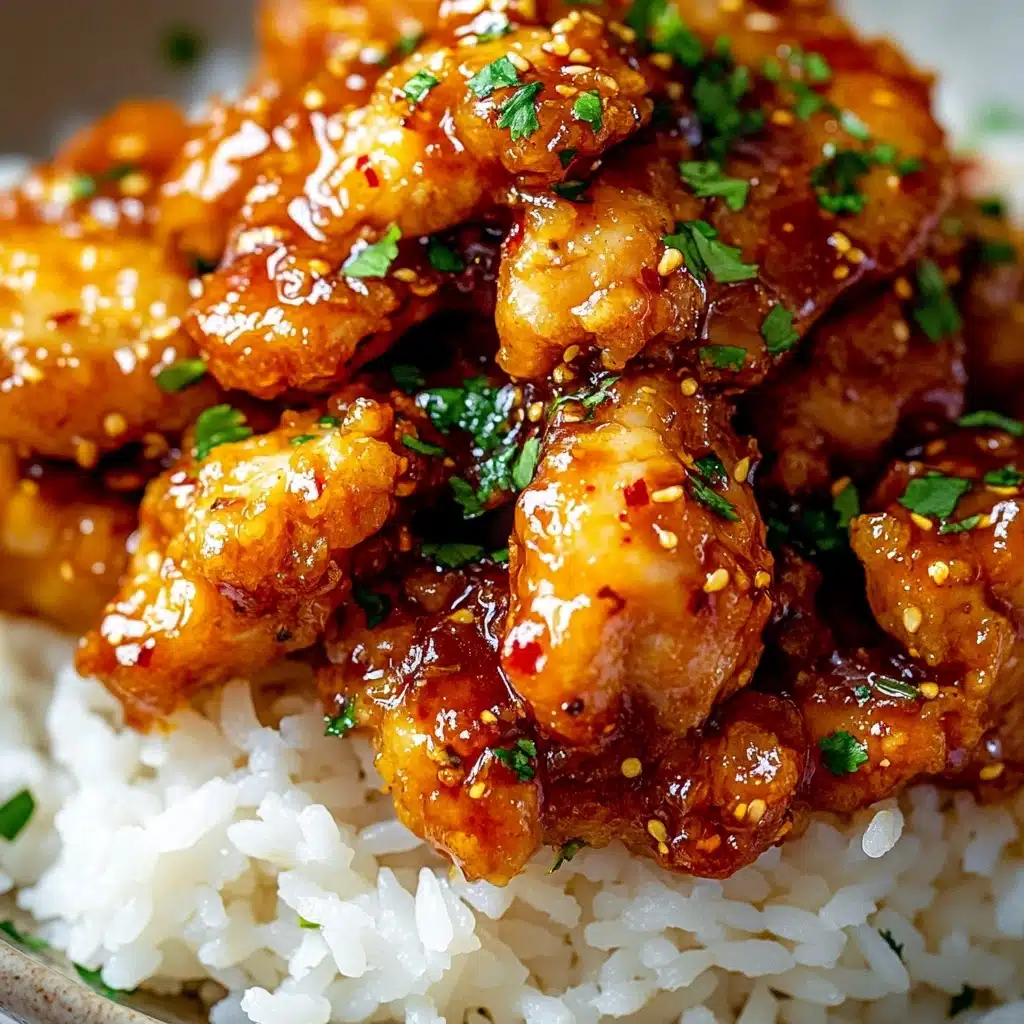
If you’re chasing that perfect combination of sweet, savory, and just a touch of tang, then you’re in for a treat with this Honey Garlic Chicken Recipe. Imagine tender, golden-brown chicken thighs drenched in a glossy garlic, soy, and honey glaze that clings to every bite—ready in just twenty minutes! Whether you’re feeding the family on a busy weeknight or looking to impress friends, this dish effortlessly transforms a handful of simple ingredients into something truly crave-worthy. Give this Honey Garlic Chicken Recipe a try, and watch it disappear faster than you imagined!
Ingredients You’ll Need
This Honey Garlic Chicken Recipe proves that you don’t need a laundry list of ingredients for a bold, unforgettable meal. Each element has its own starring role—some bringing sweet caramel notes, others packing umami or a gentle pop of color and freshness. Here’s what you’ll need (and a few little tips along the way):
- Chicken thighs (skinless and boneless): Juicy and quick-cooking, they become incredibly tender and soak up the sauce beautifully.
- Cornflour (cornstarch): Creates a light crust on the chicken, giving it just the right hint of crispness and helping the sauce cling to each piece.
- Salt: Enhances every savory element and balances out the honey’s sweetness.
- Pepper: Adds a gentle background heat and depth to the dish.
- Vegetable oil: Perfect for high-heat frying, ensuring your chicken caramelizes nicely without smoking.
- Unsalted butter: Brings richness and silkiness to the sauce for a melt-in-your-mouth finish.
- Minced garlic: The heart of this recipe—fragrant, punchy, and totally irresistible once sautéed.
- Honey: Your secret to that sticky, glossy glaze—sweet and golden.
- Chicken stock: Adds a subtle savory backbone that rounds everything out.
- Rice vinegar: Just a splash lifts the sauce with subtle acidity to keep every bite bright, not cloying.
- Light soy sauce: Infuses the dish with deep umami and a lovely, balanced saltiness.
- Fresh parsley (finely chopped): For a pop of freshness and a dash of color at the finish.
- Chilli flakes: Optional but highly recommended—just a pinch to awaken the flavors.
- Boiled rice: The perfect blank canvas for soaking up every drop of that luscious sauce.
How to Make Honey Garlic Chicken Recipe
Step 1: Coat the Chicken
Start by placing your chicken thighs in a big mixing bowl. Dust them with the cornflour, salt, and pepper, then toss everything together until the thighs are thoroughly coated. The cornflour forms a delicate, crisp crust while the salt and pepper season every nook and cranny of the chicken—this short step packs tons of flavor into every bite and guarantees a perfect texture once pan-fried.
Step 2: Sear the Chicken Thighs
Add the vegetable oil to a large frying pan and heat it over high heat until shimmering. Carefully lay in the coated chicken thighs, letting them sizzle undisturbed until golden and caramelized on one side (about 4–5 minutes). Flip the thighs and cook for another 2 minutes. This gives you a beautiful, lightly crisp exterior that will soak up all the gorgeous sauce later.
Step 3: Add Butter and Garlic
Drop in the unsalted butter and let it melt, swirling gently to coat the bottom of the pan. Add the minced garlic next—stirring constantly, turn the heat down a notch so those flavorful bits don’t scorch. The garlic becomes wonderfully fragrant, infusing the butter and preparing the skillet for your sauce. That aroma means you’re on the right track!
Step 4: Mix Up the Sauce
While the garlic cooks, whisk together honey, chicken stock, rice vinegar, and light soy sauce in a small bowl. This combo is truly the backbone of the Honey Garlic Chicken Recipe—balancing sweet with tangy and savory in every spoonful. Don’t skip the whisking! Blending these ingredients first ensures your sauce comes together smoothly once it hits the pan.
Step 5: Simmer and Glaze
Pour the sauce mixture into the pan, cranking the heat back up to bring it all to a bubbly boil. Let everything simmer briskly for 4–5 minutes—this is where the magic happens. Watch as the sauce reduces and thickens, expertly clinging to the chicken. Check your chicken is cooked through (and no longer pink inside), then get ready for the grand finale.
Step 6: Garnish and Serve
Finish everything off with a shower of finely chopped fresh parsley and a delicate sprinkle of chilli flakes (if you like a little heat!). Serve the glossy chicken straight over fluffy boiled rice, and don’t forget to spoon over every last drop of that honey garlic glaze. Your Honey Garlic Chicken Recipe is now ready for its big debut!
How to Serve Honey Garlic Chicken Recipe
Garnishes
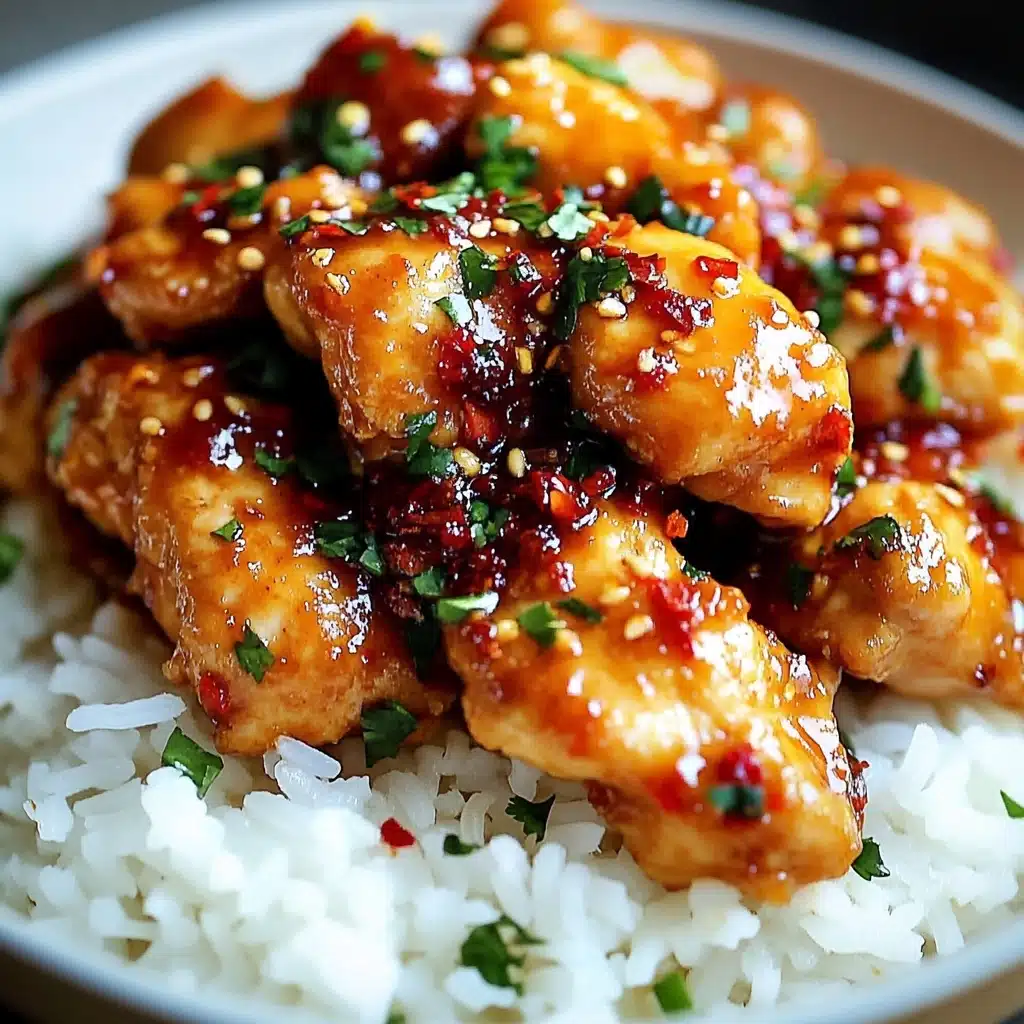
Let your creativity (and taste buds) guide you with finishing touches. A scattering of fresh parsley adds color and a hint of herby brightness, while chilli flakes bring gentle heat and visual pop. Don’t hesitate to dust with thinly sliced green onions or sesame seeds for even more crunch and character—the sauce clings beautifully to all!
Side Dishes
This is a dish made for sharing (and soaking sauces). Serve your Honey Garlic Chicken Recipe with steamed jasmine or basmati rice—simple, fluffy, and perfect for mopping up. For a classic bistro feel, add a plate of crisp, simply dressed green beans or sautéed broccoli. Want extra elegance? Try it alongside lightly pickled cucumbers or steamed bok choy for freshness.
Creative Ways to Present
Give your dinner some restaurant-worthy flair! Serve the chicken atop rice in individual bowls, allowing the golden sauce to gently cascade over each piece. Or, make them bite-sized by slicing the cooked thighs and arranging them on skewers for a party platter. The Honey Garlic Chicken Recipe is also fabulous as a warm filling in lettuce cups or spooned over a vibrant salad.
Make Ahead and Storage
Storing Leftovers
If you’re lucky enough to have leftovers, store the cooled chicken and sauce together in an airtight container in the refrigerator for up to three days. The sauce will keep the chicken moist and flavorful, making it just as tempting the next day for lunch or dinner.
Freezing
For longer storage, freeze the cooked chicken (with its sauce) in a well-sealed, freezer-safe container. While the chicken may not be quite as tender upon reheating, the flavors will remain spot-on. Thaw overnight in the refrigerator before you reheat, and you’ll have a delicious homemade meal ready when you need it most.
Reheating
To ensure your Honey Garlic Chicken Recipe doesn’t dry out, reheat the chicken gently in a covered oven-proof dish at 180°C (350°F) for 12–15 minutes, or until piping hot throughout. Covering with foil helps lock in moisture. If you’re in a hurry, you can also reheat portions in the microwave—just add a splash of water or stock to maintain that miraculous sauciness.
FAQs
Can I use chicken breast instead of thighs?
Absolutely! Chicken breast is a wonderful substitute if you prefer a leaner cut. Just slice it into thick strips or flatten with a rolling pin for even cooking. It won’t be quite as juicy as thigh meat, but with that signature honey garlic glaze, you definitely won’t miss out on flavor.
Can the Honey Garlic Chicken Recipe be made gluten free?
Yes, and it’s easy! Swap the soy sauce with tamari, and use gluten free chicken stock. Always double-check your rice vinegar label for hidden gluten. With just these tweaks, everyone around the table can dig in worry-free.
What other vinegars can I use if I don’t have rice vinegar?
No rice vinegar on hand? White wine vinegar or apple cider vinegar make excellent substitutions; just add a tiny pinch of sugar (about 1/4 teaspoon) to mimic the gentle sweetness rice vinegar brings to the sauce.
What oils work best for searing the chicken?
Vegetable oil is ideal for high-heat cooking in this recipe, but you can use any neutral oil with a high smoke point, such as sunflower, rapeseed, or even ghee. These ensure you get that glorious golden-brown sear without burning.
Can I double the Honey Garlic Chicken Recipe for a crowd?
You absolutely can! If you’re cooking for a bigger group, simply double all ingredients and cook the chicken in batches to avoid overcrowding the pan. Keep the first batch warm in the oven while finishing the rest, then toss everything in the luscious sauce before serving family-style.
Final Thoughts
If you’re searching for a new “keeper” dinner, this Honey Garlic Chicken Recipe was made for you. It’s quick, packed with flavor, and almost impossible to resist. I hope it becomes as much a favorite for you as it has for me—don’t wait, give it a try tonight and see the smiles around your table!
Print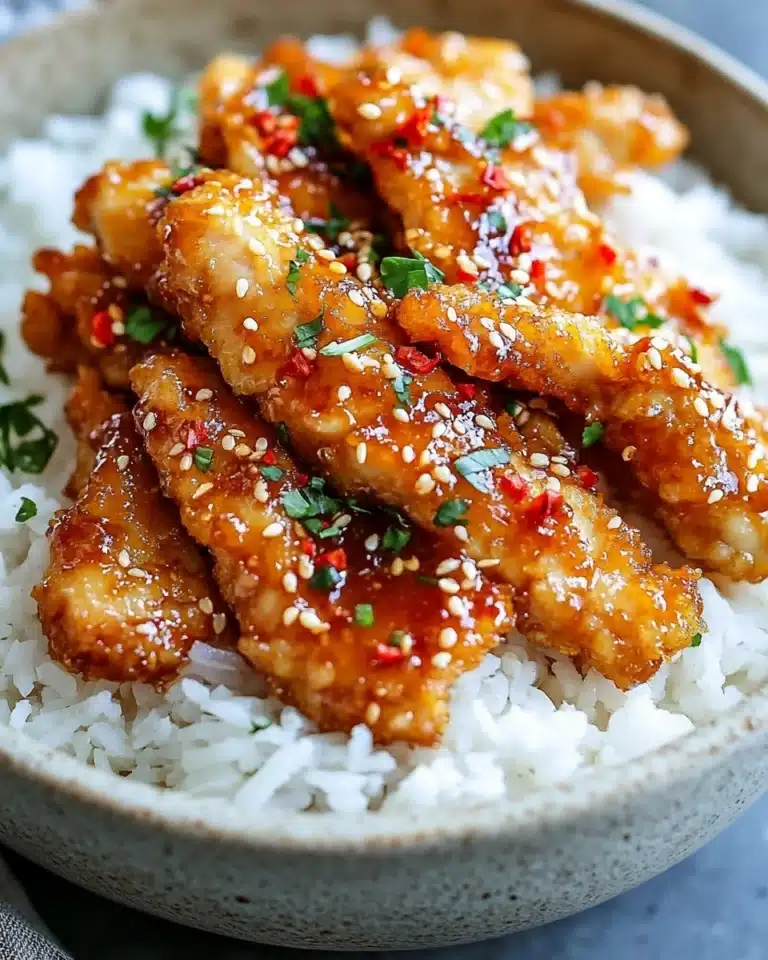
Honey Garlic Chicken Recipe
This Honey Garlic Chicken is a quick and delicious recipe featuring sticky, tender chicken thighs in a sweet and savory garlic, soy, and honey sauce. With minimal ingredients and a simple stovetop method, this dish is ready to impress in just 20 minutes—perfect for busy weeknights or whenever you crave Asian-inspired comfort food.
- Total Time: 20 minutes
- Yield: 4 servings
Ingredients
Main Ingredients
- 8 chicken thighs (skinless and boneless)
- 2 tbsp cornflour (cornstarch)
- ½ tsp salt
- ½ tsp pepper
- 2 tbsp vegetable oil
- 1 tbsp unsalted butter
- 4 cloves garlic, minced
Sauce
- 110 g (1/3 cup) honey
- 80 ml (1/3 cup) chicken stock
- 1 tbsp rice vinegar
- 1 tbsp light soy sauce
To Serve
- 1 tbsp finely chopped fresh parsley
- ½ tsp chili flakes
- Boiled rice, for serving
Instructions
- Coat the Chicken: Place the chicken thighs in a bowl and add the cornflour, salt, and pepper. Toss well until the chicken is fully coated with the mixture.
- Sear the Chicken: Heat the vegetable oil in a large frying pan over high heat. Add the chicken thighs and cook on one side until golden brown, about 4–5 minutes. Flip and cook for an additional 2 minutes on the other side.
- Add Garlic and Butter: Reduce the heat to medium. Add the unsalted butter to the pan and let it melt, then stir in the minced garlic. Stir everything together, ensuring the garlic becomes fragrant but does not burn.
- Mix the Sauce: In a separate bowl, combine the honey, chicken stock, rice vinegar, and light soy sauce. Stir until well blended.
- Simmer the Chicken: Pour the sauce mixture over the chicken in the pan. Increase the heat and bring the sauce to a boil, then reduce to a simmer. Let cook for 4–5 minutes, or until the sauce thickens and the chicken is cooked through (no longer pink in the middle).
- Garnish and Serve: Sprinkle the finished chicken with chopped parsley and chili flakes. Serve hot over boiled rice for a complete meal.
Notes
- You can substitute chicken breasts for thighs: slice them into thick strips or flatten with a rolling pin to ensure even cooking.
- To make this dish gluten-free: use tamari instead of soy sauce, gluten-free chicken stock, and ensure your rice vinegar is gluten-free.
- This dish can be frozen or made ahead; reheat covered in the oven at 180°C/350°F for 12–15 minutes until piping hot.
- If you don’t have rice vinegar, substitute with apple cider vinegar or white wine vinegar plus 1/4 tsp sugar.
- Vegetable oil can be swapped for any neutral, high-heat cooking oil like sunflower or rapeseed oil.
- Nutritional information provided excludes rice and is approximate.
- Prep Time: 5 minutes
- Cook Time: 15 minutes
- Category: Main-course
- Method: Stovetop
- Cuisine: Asian, Chinese
- Diet: Halal
Nutrition
- Serving Size: 1/4 of recipe (excluding rice)
- Calories: 472 kcal
- Sugar: 24 g
- Sodium: 804 mg
- Fat: 19 g
- Saturated Fat: 10 g
- Unsaturated Fat: 9 g
- Trans Fat: 0 g
- Carbohydrates: 29 g
- Fiber: 1 g
- Protein: 45 g
- Cholesterol: 223 mg

