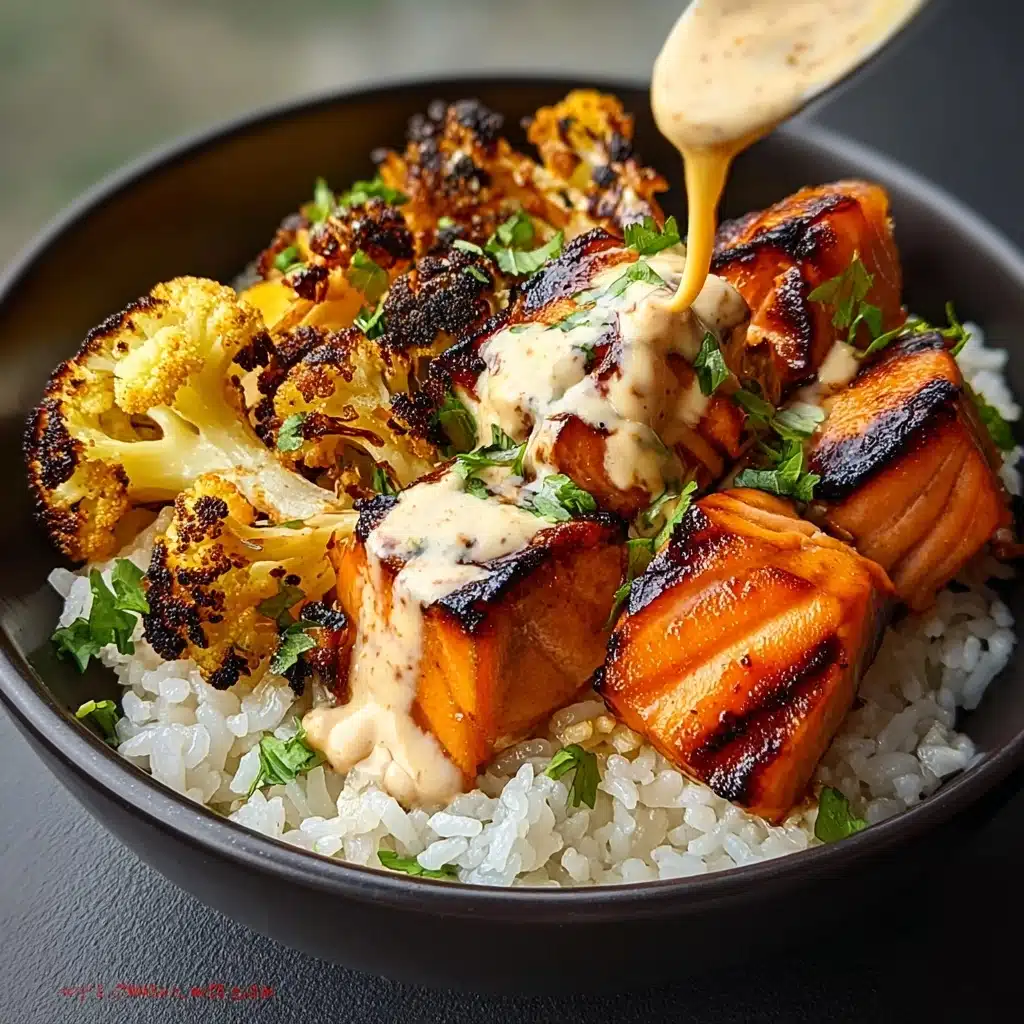
Salmon Sushi Bake is a dream come true for anyone who loves sushi but wants something easier, warmer, and frankly, even cozier than rolling individual pieces. This crowd-pleasing dish layers savory, seasoned sushi rice with creamy, spicy salmon, crunchy panko, and a confetti of toppings you’d expect in your favorite sushi restaurant—only it’s oven-baked and spooned straight from the pan. Whether you’re craving takeout flavors at home or need something irresistibly shareable for your next get-together, this Salmon Sushi Bake delivers feel-good comfort and bold taste in every bite.
Ingredients You’ll Need
The beauty of Salmon Sushi Bake is in its simplicity—each ingredient plays a flavorful role, contributing to the dish’s signature textures and colorful appeal. Gather these kitchen staples for a fuss-free version that never sacrifices on taste.
- Sushi rice: Short-grain rice gives that classic sticky sushi texture; rinse well for fluffier, not gummy, results.
- Water: Precise measurement ensures the rice cooks perfectly tender and not too wet or dry.
- Rice vinegar: This brings the distinctly tangy-sweet flavor every good sushi rice needs.
- Sugar: Balances the vinegar’s sharpness and adds that gentle, mellow sweetness.
- Salt: Helps round out all of the other flavors, so don’t skip it!
- Cream cheese: Softened for easy mixing, it melts into the salmon and creates ultimate creaminess.
- Cooked salmon (or canned): Use leftovers, store-bought, or even canned—just make sure it’s flaked up well.
- Mayonnaise: Traditional or Japanese Kewpie mayo adds major richness to the topping.
- Sriracha (optional): For a daring hit of heat that brightens the creamy salmon layer.
- Nori sheets: These seaweed sheets, cut into small bits, deliver that unmistakable ocean-kissed flavor.
- Green onions: Toss in for freshness, vibrant color, and a gentle oniony bite.
- Panko breadcrumbs: Extra crunchy, these brown up beautifully in the oven.
- Sesame seeds: Sprinkle over for a delicious nutty finish and a little visual flair.
How to Make Salmon Sushi Bake
Step 1: Prepare the Sushi Rice
Start by rinsing your sushi rice under cold water in a fine-mesh sieve, swirling with your hand, until the water runs almost clear. This removes excess starch and gives your rice that light, fluffy texture. Then, combine the rice and water in a saucepan, bring to a boil, reduce the heat to low, cover, and let it steam for about 20 minutes. Once done, let it sit off the heat (lid on) so it finishes absorbing moisture—no peeking!
Step 2: Season the Rice
While the rice rests, mix together rice vinegar, sugar, and salt in a small bowl until dissolved. When the rice is ready, gently fluff it with a spatula and pour the vinegar mixture evenly over top. Fold everything together carefully (don’t mash!), then let the seasoned rice cool to room temperature. This step builds the bright, tangy backbone of your Salmon Sushi Bake.
Step 3: Make the Salmon Topping
In a mixing bowl, blend the softened cream cheese, flaked salmon, mayonnaise, sriracha if you want some fire, and chopped green onions. Mix until creamy and well combined, tasting and adjusting for seasoning as you go. The blend should smell incredible and feel irresistible to sneak a spoonful of!
Step 4: Assemble the Layers
Lightly grease a baking dish, then press the cooled sushi rice evenly into the bottom to create a solid base. Gently spoon your salmon mixture over the rice, spreading it in an even layer. Sprinkle the nori pieces over this, then follow with a generous dusting of panko breadcrumbs for crunch. Every layer plays its part here, so don’t rush and enjoy the assembly.
Step 5: Bake Until Golden
Preheat your oven to 350°F (175°C). Slide your dish onto the middle rack and bake for 25 to 30 minutes, or until the breadcrumbs are crisp and golden-brown and the filling is bubbling at the edges. Let it cool for a few minutes out of the oven before digging in—this helps everything set and makes slicing or spooning easier.
Step 6: Finish and Serve
Right out of the oven, shower the top with sesame seeds. They’ll toast slightly from residual heat and add a pop of nutty aroma. Slice your Salmon Sushi Bake into portions or let everyone help themselves at the table. Serve with extra nori sheets, a drizzle of sriracha or spicy mayo, and prepare for smiles all around.
How to Serve Salmon Sushi Bake
Garnishes
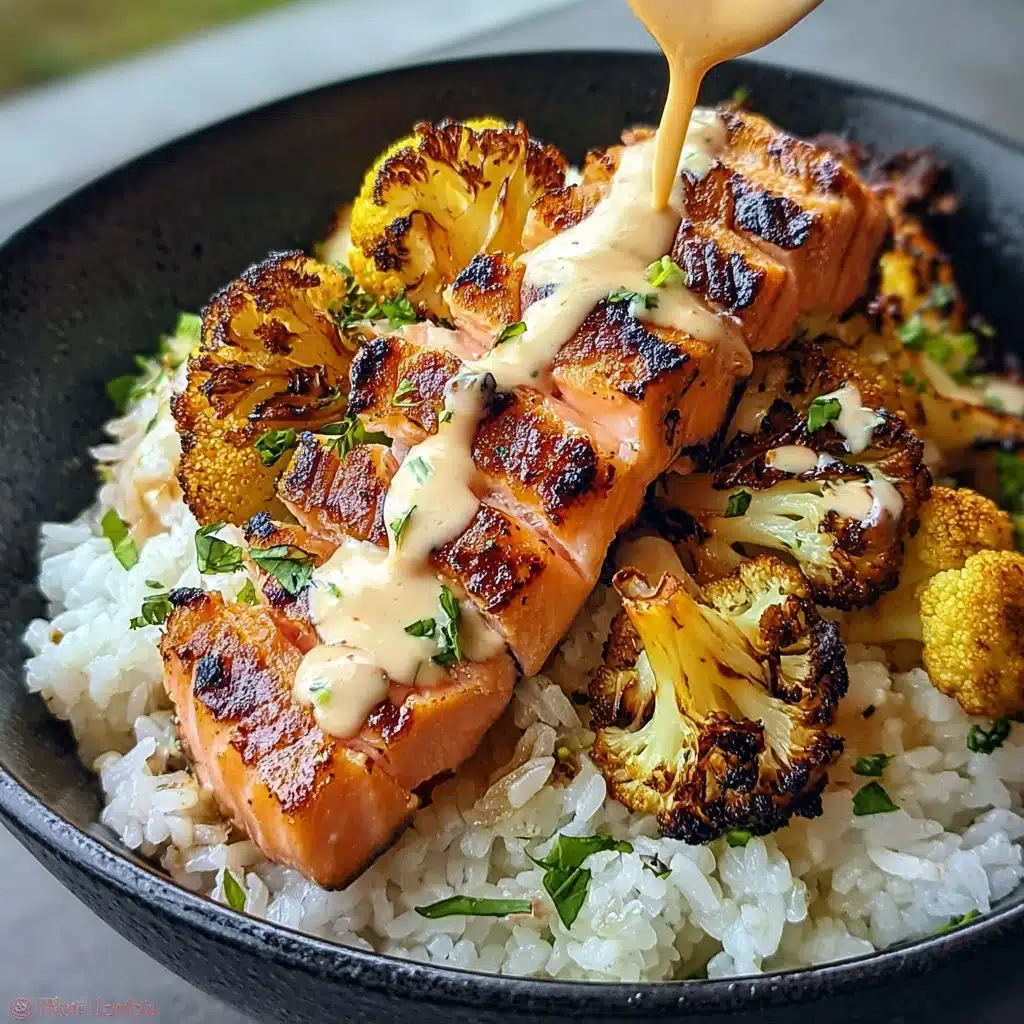
This dish loves a final flurry of toppings! Sesame seeds, extra chopped green onions, or a quick drizzle of spicy mayo take it right over the top. A few pieces of sliced avocado or fresh cucumber on the side also add beautiful color and keep things refreshing.
Side Dishes
Round out your Salmon Sushi Bake meal with a crisp green salad, miso soup, or a tangle of quick-pickled vegetables. Edamame pods and simple steamed greens work wonders, too—think fresh, bright flavors that contrast the richness of the bake.
Creative Ways to Present
Turn serving into an experience! Scoop the bake onto pieces of roasted seaweed for sushi “tacos” or make hand rolls with a nori square, a dollop of bake, and a little cucumber. For parties, bake in individual ramekins for personalized portions—perfect for a potluck or sushi night with friends.
Make Ahead and Storage
Storing Leftovers
Cool the Salmon Sushi Bake to room temperature before covering tightly with plastic wrap or transferring to an airtight container. It will keep well in the refrigerator for up to three days without losing its flavor or texture.
Freezing
For longer storage, wrap tightly and freeze portions of your Salmon Sushi Bake for up to one month. Thaw overnight in the fridge before reheating. Freezing is great for meal prep or for when sushi cravings strike unexpectedly!
Reheating
To bring leftovers back to life, reheat in a 350°F (175°C) oven, covered loosely with foil, until warmed through. For extra crunch, remove the foil near the end and let the panko topping crisp up again. The microwave works in a pinch, but the oven gives the best texture.
FAQs
Can I use canned salmon for Salmon Sushi Bake?
Absolutely! Canned salmon is a time-saving swap and works perfectly here—just drain it well and flake before mixing with the other ingredients. You can even use leftover grilled salmon for a smokier flavor.
Is it possible to make Salmon Sushi Bake dairy-free?
You can easily use a dairy-free cream cheese substitute in place of the regular cream cheese, and the bake will still turn out creamy and delicious. Make sure to check the rest of your ingredients for any hidden dairy if allergies are a concern.
What kind of mayonnaise is best?
Use your favorite regular mayonnaise or try Japanese Kewpie mayo for extra tang and richness—it’s a staple in many sushi dishes and brings this bake closer to restaurant-style flavor.
Can I add other fillings to the Salmon Sushi Bake?
This recipe is endlessly customizable, so feel free to toss in diced avocado, crab meat, or spicy tuna for extra flavors. Just keep the ratio of creamy to chunky ingredients balanced so every bite stays rich and satisfying.
Do I need a special pan to make this?
No special bakeware required! Any oven-safe baking dish works: a square pan, casserole dish, or even individual gratin dishes for mini servings. Just adjust baking time for smaller portions, since they’ll brown up faster.
Final Thoughts
Whether you’re new to homemade sushi or a seasoned pro, Salmon Sushi Bake is the kind of feel-good comfort food that wins hearts and starts great conversations. Pull this together for your next family dinner or gathering, and watch everyone scoop up seconds—don’t be surprised when they ask for the recipe on their way out!
Print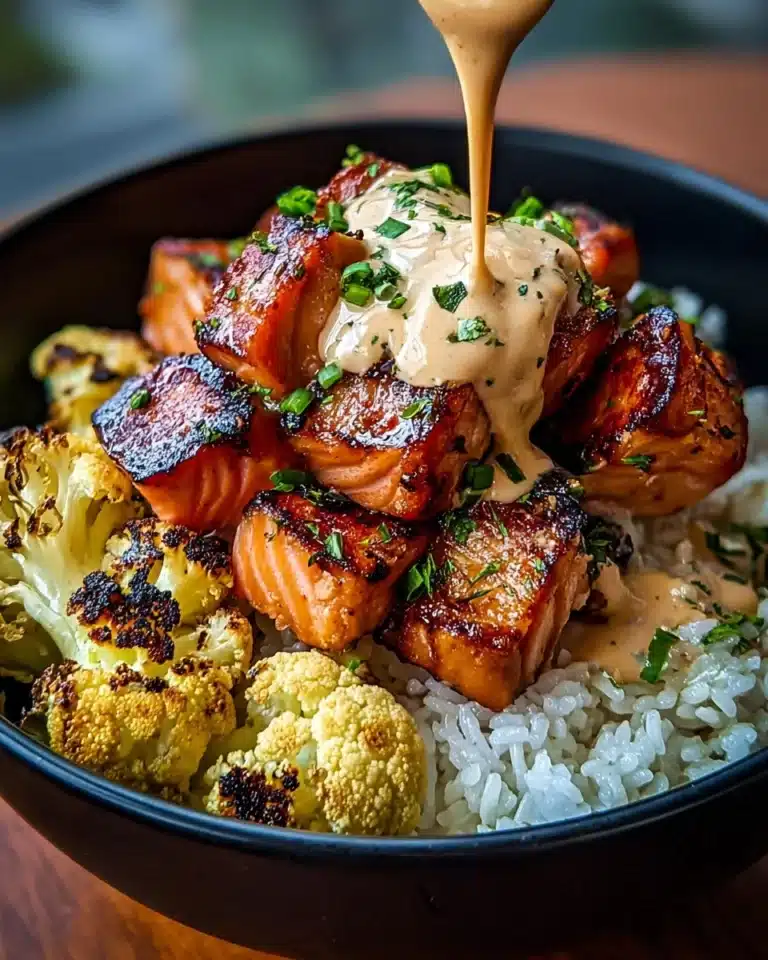
Salmon Sushi Bake Recipe
Salmon Sushi Bake is a delicious and easy-to-make casserole-style dish that combines the flavors of sushi in a comforting baked form. Creamy and savory, with a crispy topping, it’s sure to be a hit at any gathering.
- Total Time: 45 minutes
Ingredients
Sushi Rice:
- 2 cups sushi rice
- 2 ½ cups water
- 1/4 cup rice vinegar
- 2 tablespoons sugar
- 1 teaspoon salt
Salmon Mixture:
- 8 oz cream cheese, softened
- 1 cup cooked salmon, flaked (or canned salmon)
- 2 tablespoons mayonnaise
- 1 tablespoon sriracha (optional)
- 2 sheets nori, cut into small pieces
- 1/4 cup green onions, chopped
- 1/2 cup panko breadcrumbs
- 1 tablespoon sesame seeds
Instructions
- Preheat Oven: Preheat your oven to 350°F (175°C).
- Cook Rice: Rinse sushi rice and cook with water. Mix rice vinegar, sugar, and salt into the cooked rice.
- Prepare Salmon Mixture: Combine cream cheese, salmon, mayonnaise, sriracha, and green onions.
- Assemble: Spread sushi rice in a baking dish, top with salmon mixture, nori, and breadcrumbs.
- Bake: Bake for 25-30 minutes until golden and crispy.
- Serve: Garnish with sesame seeds and allow to cool slightly before serving.
- Prep Time: 15 minutes
- Cook Time: 30 minutes
- Category: Main Dish
- Method: Baking
- Cuisine: Japanese
- Diet: Pescatarian
Nutrition
- Serving Size: 1 serving
- Calories: 380
- Sugar: 4g
- Sodium: 580mg
- Fat: 16g
- Saturated Fat: 6g
- Unsaturated Fat: 8g
- Trans Fat: 0g
- Carbohydrates: 45g
- Fiber: 2g
- Protein: 15g
- Cholesterol: 45mg

