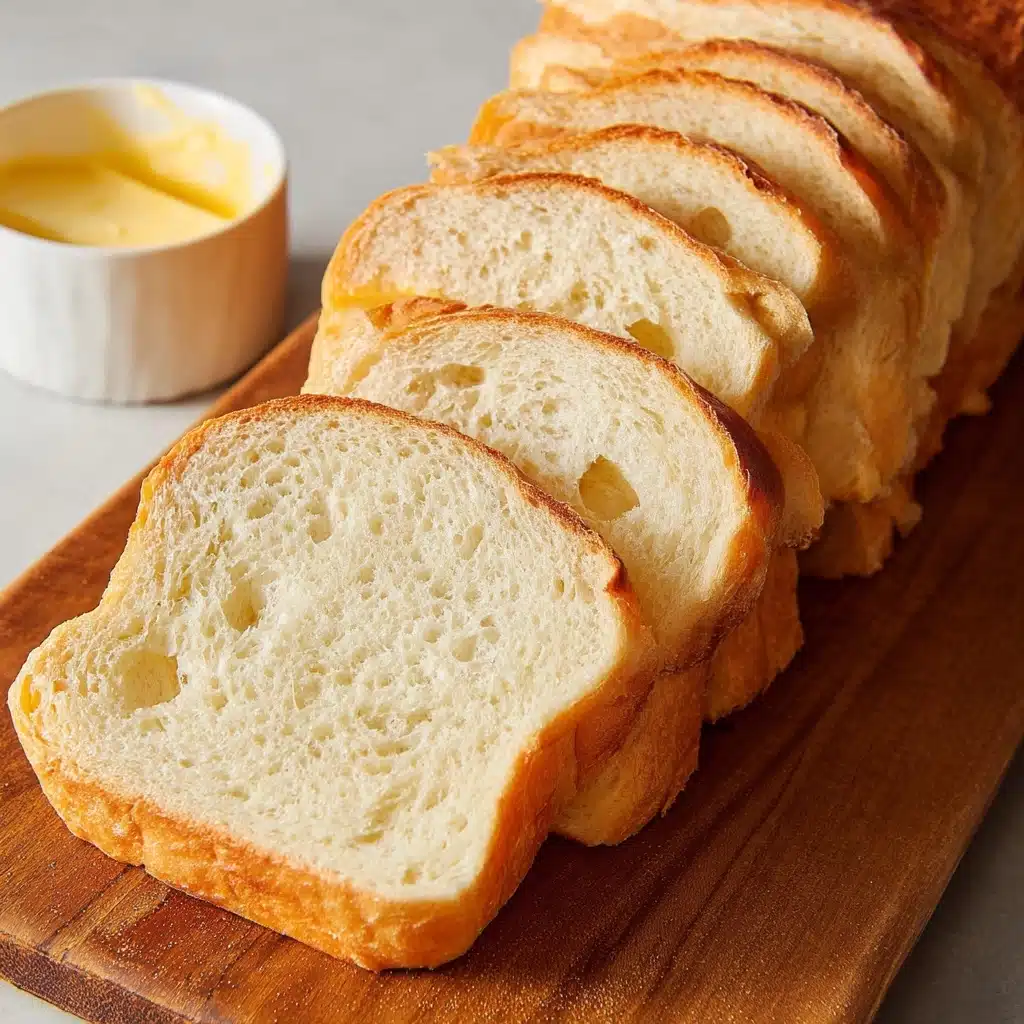
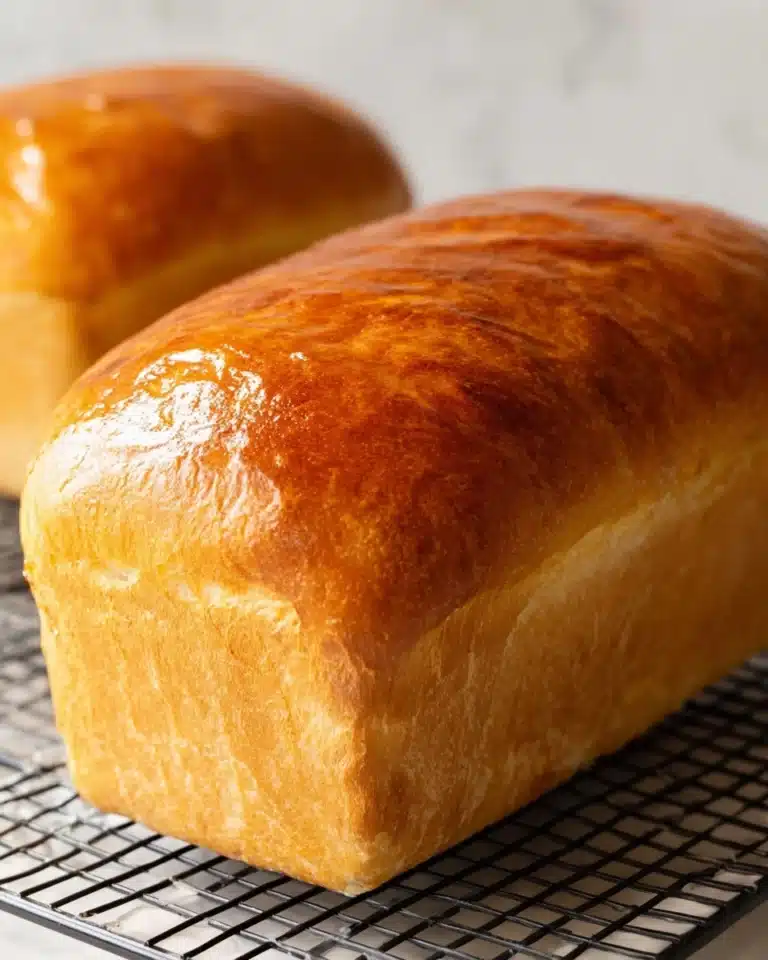
Say hello to your new favorite kitchen staple: Sandwich Bread. Pillowy soft with a golden, buttery crust, this loaf strikes the perfect balance between wholesome homemade goodness and the kind of bakery-fresh slice you dream about. Whether you’re building the best BLT, piling up grilled cheese, or simply savoring a slab with good butter, this is a bread worth making from scratch. The aroma alone will gather everyone in your home to the kitchen, eager for just one more slice of warm Sandwich Bread.

Ingredients You’ll Need
The beauty of Sandwich Bread comes from a lineup of simple, classic ingredients, each playing a star role in creating texture, crumb, and depth of flavor. Here’s what you’ll need, plus a few extra tips so you turn out an irresistible loaf every time.
- Bread Flour: Higher in protein than all-purpose, this gives Sandwich Bread its signature chewy but tender texture and helps it rise tall.
- Lukewarm Water: Using water at just the right temp activates the yeast without killing it; sub with half milk for extra rich and tender bread.
- Unsalted Butter (softened): Adds richness and softness; make sure it’s at room temp to fully blend into the dough.
- Honey: Just a touch balances the flavor and feeds the yeast, giving the crust a warm golden color.
- Instant Yeast: No blooming required, making your bread rise reliably every time and speeding up prep.
- Sea Salt: Deepens flavor and strengthens gluten structure for a loaf that’s both flavorful and well-shaped.
- Butter for Brushing: Brushing melted butter on your hot loaf keeps the crust ultra soft and adds extra flavor.
- Butter for the Loaf Tins: Greasing the tins with butter makes for easy removal and an irresistibly golden crust.
How to Make Sandwich Bread
Step 1: Mix the Dry Ingredients
Start by measuring your bread flour, instant yeast, and sea salt into the bowl of a stand mixer—accuracy matters here, so use a kitchen scale if you have one. Each of these components sets the foundation: the flour for structure, the salt for flavor, and the yeast to bring your dough to life.
Step 2: Knead in the Wet Ingredients
With your mixer running on low, gradually pour in the lukewarm water (or the water-milk combo), softened butter, and honey. Watch as the magic begins: the mixture transforms from a ragged mess to a pillowy, tacky dough that pulls away from the bowl’s sides. After five to seven minutes of gentle kneading, check the dough—it should be smooth and just a bit tacky, not overly sticky.
Step 3: First Rise (Bulk Fermentation)
Now shape your dough into a ball and return it to the mixing bowl. Drizzle the edges and dough with a little oil to prevent sticking. Cover tightly with plastic wrap and let it rest somewhere warm for two hours, or until it’s doubled in size. This quiet proof is where all that flavor and softness gets its start—don’t rush it!
Step 4: Prepare Loaf Tins and Shape the Loaves
Generously butter your 1lb loaf tins to guarantee easy release and that lovely golden crust. Punch down your risen dough and divide it evenly in two—using a scale gives you two perfectly matched loaves. Flatten each half into a rectangle, roll it up, then fold the sides in and keep rolling to make a neat log. Pinch the seam closed, then place the dough seam-side-down into the prepared tins.
Step 5: Second Rise (Proofing)
Cover your filled loaf tins loosely with plastic wrap and let them rise 40 to 60 minutes, just until the dough puffs over the tin’s edge. This second rise, or proof, ensures your Sandwich Bread bakes up high and light.
Step 6: Bake and Finish with Butter
Preheat your oven to 350°F (176°C). Pull off the plastic wrap and slide your loaves into the center of the oven. Bake for 40 to 42 minutes, watching for that deep golden color. Once out, brush the hot tops with melted butter for an extra soft, flavorful crust. Allow to cool at least 10 minutes in the tin, then transfer to a rack to finish cooling completely before slicing.
How to Serve Sandwich Bread

Garnishes
For maximum enjoyment, spread warm slices of Sandwich Bread with a pat of salted butter, a drizzle of local honey, or even a slather of homemade jam. If you want to go savory, try a swipe of garlic butter or even a sprinkle of flaky sea salt.
Side Dishes
Serve your freshly baked Sandwich Bread alongside hearty soups, bright salads, or even with classic egg dishes for breakfast. Its soft crumb and rich flavor make it the perfect partner for almost every meal, from a simple snack to a full Sunday brunch.
Creative Ways to Present
Turn Sandwich Bread into sandwiches loaded with crisp lettuce, juicy tomatoes, and your favorite fillings. Cut thick slices for French toast or grilled cheese, dice it for homemade croutons, or toast and top with avocado and eggs for a morning treat. For gatherings, cut into small cubes and serve with dips or cheese boards.
Make Ahead and Storage
Storing Leftovers
Once completely cooled, keep your Sandwich Bread at room temperature in a sealed container, a bread bag, or even tightly wrapped in a clean kitchen towel. It’ll stay soft and delicious for up to three days—just be sure to keep it out of the fridge, as chilling bread dries it out faster.
Freezing
Freezing is the best way to preserve homemade Sandwich Bread’s freshness for longer. Slice the cooled loaf, wrap slices tightly, and store in a freezer-safe bag for up to a month. You can grab a slice or two whenever you need, and it’s perfect for instant toast or sandwiches.
Reheating
Craving warm bread again? Just pop a slice in the toaster for a minute or two, or wrap it in foil and heat in a 325°F oven for about five minutes. This brings some of the fresh-baked softness right back, making each bite comforting and irresistible.
FAQs
Can I use all-purpose flour instead of bread flour?
You can substitute all-purpose flour if that’s what you have on hand, but your Sandwich Bread may turn out a bit less chewy and substantial. Bread flour’s higher protein content gives that classic structure and softness many people love.
Do I really have to let the dough rise twice?
Yes! The double rise gives Sandwich Bread its light, even crumb and allows deep flavor to develop. The first rise builds structure, while the second ensures the bread bakes up beautifully airy and full.
Is it okay to use active dry yeast instead of instant yeast?
Absolutely—just remember to “bloom” the active dry yeast in a bit of lukewarm water and sugar before mixing it into the dough. This ensures the yeast is active for a strong, reliable rise every time.
How do I know when the bread is fully baked?
A properly baked Sandwich Bread loaf will be deeply golden on top and sound hollow when tapped on the bottom. If you have a thermometer, the loaf’s internal temp should register about 200°F (93°C).
How should I slice Sandwich Bread without crushing it?
Make sure your loaf is completely cool before slicing; use a sharp serrated bread knife for clean, easy cuts that keep every slice fluffy and intact.
Final Thoughts
If you’ve never made Sandwich Bread from scratch, this recipe is the perfect place to start. The results are deeply rewarding: warm, fragrant loaves that elevate any meal and make even the simplest sandwich taste like a treat. Trust me, once you taste your own fresh-baked bread, you’ll want to keep a loaf on hand at all times!
Print
Sandwich Bread Recipe
Learn how to make delicious and fluffy sandwich bread at home with this easy recipe. This homemade bread is perfect for sandwiches or toasting!
- Total Time: 4 hours
- Yield: 15 servings
Ingredients
Dry Ingredients:
- 6½ cups bread flour
- 3 teaspoons instant yeast
- 3 teaspoons sea salt
Wet Ingredients:
- 2 cups lukewarm water (may substitute with 1 cup of milk and 1 cup of water)
- 4 Tablespoons unsalted butter, softened
- 2 Tablespoons honey
- 1 Tablespoon unsalted butter for brushing on the bread
- 1 Tablespoon unsalted butter for the loaf tins
Instructions
- Add the dry ingredients into a stand mixer bowl. Use the dough hook attachment. While the mixer is on, slowly add the water, butter, and honey. Knead on slow speed for 5-7 minutes until fully incorporated and smooth.
- Remove the dough, form into a round shape, and let it rise for 2 hours. Prepare loaf tins with butter.
- Divide and shape the dough into loaves, let rise for 40 minutes, then bake at 350°F for 40-42 minutes. Brush with butter and cool on a rack.
Notes
- If using active dry yeast, proof it first. See detailed instructions for yeast activation.
- Measure flour by weight for accuracy. Do not scoop directly from the bag.
- Store bread at room temperature or freeze for later use. Avoid refrigeration.
- Prep Time: 20 minutes
- Cook Time: 40 minutes
- Category: Baking
- Method: Baking
- Cuisine: American
- Diet: Vegetarian
Nutrition
- Serving Size: 1 slice
- Calories: 252 kcal
- Sugar: 2g
- Sodium: 468mg
- Fat: 6g
- Saturated Fat: 3g
- Unsaturated Fat: 2g
- Trans Fat: 0.2g
- Carbohydrates: 43g
- Fiber: 2g
- Protein: 8g
- Cholesterol: 12mg


