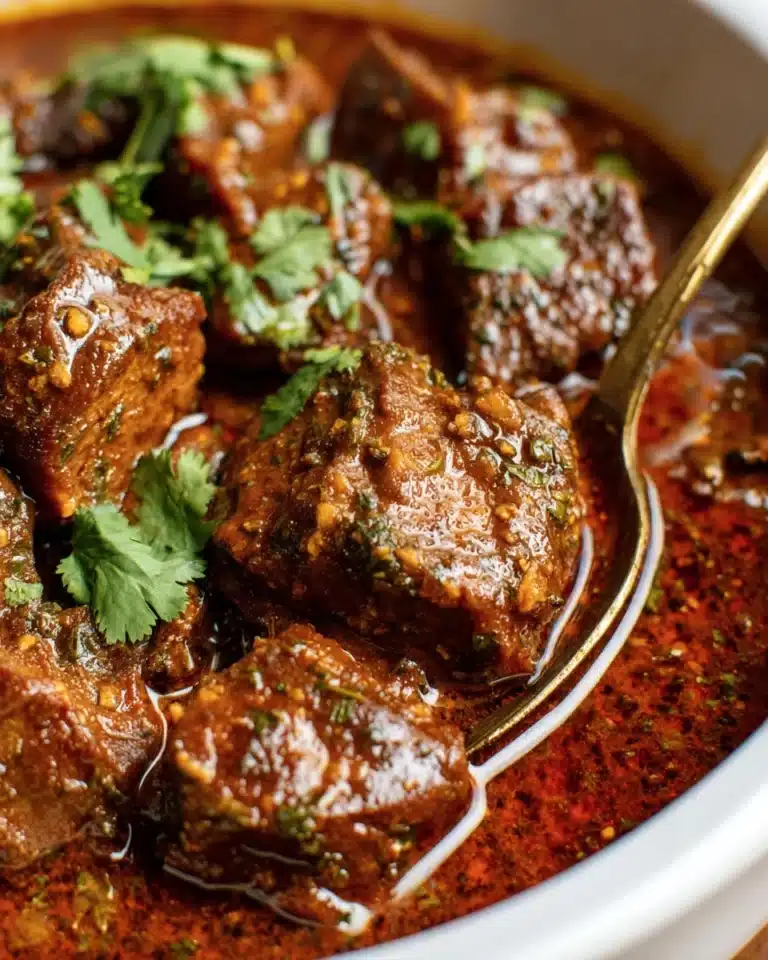
If you crave crispy, flavorful chicken but want to skip the deep frying mess, this Dill Brined Oven Fried Chicken Recipe is an absolute game-changer. The magic starts with a fragrant dill-infused brine that tenderizes and seasons each morsel of chicken, giving it a depth of flavor you won’t forget. Then, a perfectly crunchy coating baked to golden-brown perfection makes every bite irresistibly delicious and lighter than traditional fried chicken. Trust me, once you try this recipe, it’s going to be your new favorite way to enjoy oven-fried chicken with a fresh, herbaceous twist.
Ingredients You’ll Need

The beauty of this Dill Brined Oven Fried Chicken Recipe lies in its simple yet carefully selected ingredients. Each one plays a key role, from the savory brine that infuses the chicken with moisture and flavor, to the crispy panko crumbs that give it that much-loved crunch and golden color.
- 2 quarts cool water: Essential for creating a brine that hydrates and flavors the chicken throughout.
- 1/2 cup kosher salt: Helps tenderize the meat and enhances all the other flavors.
- 1/4 cup packed brown sugar: Adds a subtle sweetness that balances the savory notes and aids caramelization.
- 3 tablespoons plus 1 teaspoon dried dill weed: The star herb that gives this dish its signature fresh, slightly tangy aroma.
- 4 chicken drumsticks and 4 chicken thighs: Perfect cuts that stay juicy and cook evenly in the oven.
- 1/2 cup avocado oil: Used for a healthier fat option that withstands oven heat and crisps the coating nicely.
- 1/2 cup all-purpose flour: Creates the first layer to help the egg and crumbs adhere securely.
- 1 egg: Binds the flour and breading together for that classic fried texture.
- 1/4 cup milk: Lightens the egg mixture and ensures a smooth coating process.
- 2 cups panko bread crumbs: These Japanese-style crumbs give the chicken that super crunchy, flaky finish.
- 1/2 teaspoon salt: Balanced seasoning to enhance the breading.
How to Make Dill Brined Oven Fried Chicken Recipe
Step 1: Prepare the Flavorful Dill Brine
Start by heating 1 quart of water with kosher salt, brown sugar, and 3 tablespoons of dried dill in a pan over medium heat. Stir gently until the salt and sugar dissolve completely. Then, remove the pan from heat and add the remaining quart of cool water to bring the brine to room temperature. This brine isn’t just a soak; it’s the secret to juicy, flavorful chicken that tastes nothing like any oven-fried chicken you’ve tried before.
Step 2: Brine the Chicken
Place the drumsticks and thighs into a gallon-sized resealable plastic bag, then nestle this bag inside a large bowl to catch any leaks. Pour the cooled dill brine over the chicken, seal the bag tightly, and refrigerate for at least two hours but no longer than four hours. This timing keeps the chicken tender and ensures the distinctive dill essence permeates every bite without overpowering the natural chicken flavor.
Step 3: Preheat the Oven and Oil
When your chicken has soaked up the magic of the brine, set your oven to 375 degrees Fahrenheit. Pour the avocado oil into a rimmed baking sheet, roughly an inch deep, and place it in the oven for 10 minutes so it heats up thoroughly. This trick helps crisp the chicken from the bottom as it bakes, mimicking the frying process right in your oven.
Step 4: Prep the Coating Station
While the oil heats, arrange your dredging ingredients for an easy assembly line. Put the flour into a resealable plastic bag—this makes shaking and coating super easy. Whisk the egg and milk together in a bowl to create a smooth wet batter. On a plate, combine the panko bread crumbs, the remaining teaspoon of dill, and the half teaspoon of salt. This herby breadcrumb mix locks in the smell and taste of dill with every crunchy bite.
Step 5: Dredge and Coat the Chicken
Remove the chicken from the brine and give each piece a rinse under cold water, then pat dry completely with paper towels. This step is crucial to ensure the coating sticks evenly. Shake each piece in the flour bag until coated, dip it into the egg mixture, and then press into the panko crumbs mixture thoroughly, covering every nook and cranny. Lay the coated chicken pieces carefully on the now-heated baking sheet, making sure they have some space to crisp evenly.
Step 6: Bake to Golden Perfection
Bake the chicken for 20 minutes, then flip each piece over gently without disturbing the crispy coating. Continue baking for an additional 15 to 20 minutes, or until the chicken is beautifully golden brown and fully cooked. The internal temperature should reach 165 degrees Fahrenheit for safety and perfect juiciness. Once done, transfer to a serving platter immediately to keep that irresistible crunch.
How to Serve Dill Brined Oven Fried Chicken Recipe

Garnishes
To highlight the fresh dill flavor, sprinkle some freshly chopped dill or parsley over the cooked chicken just before serving. A few lemon wedges on the side will add a bright, citrusy zing that complements the herbal notes beautifully and cuts through the richness of the breading.
Side Dishes
This chicken shines alongside classic comfort sides like creamy mashed potatoes or buttery corn on the cob. For a fresher balance, serve with a crisp cucumber salad or a simple green salad tossed in a light vinaigrette. These sides keep the meal vibrant and well-rounded, bringing out the best of this Dill Brined Oven Fried Chicken Recipe.
Creative Ways to Present
For casual gatherings, serve the chicken pieces family-style on a large wooden board surrounded by rustic dipping sauces like garlic aioli, honey mustard, or a tangy ranch. If you want to elevate the experience, turn the chicken into sliders using soft buns and crunchy pickles—an unexpected but delicious twist that everyone will love.
Make Ahead and Storage
Storing Leftovers
Once cooled, store any leftover chicken in an airtight container in the refrigerator. It stays good for up to 3 days and will still maintain most of its crispness if reheated properly.
Freezing
This chicken freezes well. Arrange cooled pieces on a baking sheet in a single layer and freeze until solid, then transfer them to a freezer-safe bag or container. This way, you can pop them straight into the oven whenever a crispy chicken craving hits without sacrificing quality.
Reheating
Reheat leftovers in a preheated oven at 350 degrees Fahrenheit on a wire rack set over a baking sheet to keep the breading crispy. Avoid microwaving, as it will make the coating soggy. Reheat for about 10 to 15 minutes or until warmed through.
FAQs
Can I use other chicken cuts for this Dill Brined Oven Fried Chicken Recipe?
Absolutely! While drumsticks and thighs are preferred for their juicy, flavorful qualities, chicken wings or breast pieces can work too. Just adjust the cooking time accordingly to ensure they are cooked through without drying out.
Do I have to use dried dill, or can I use fresh dill?
While this recipe calls for dried dill for a concentrated herby flavor that infuses well in the brine and coating, fresh dill can be used for garnish or mixed into the breadcrumb coating. Just remember that dried dill has a stronger flavor, so you might want to increase the amount if substituting with fresh.
Is it necessary to brine the chicken?
Brining is the secret behind the juicy and flavorful chicken in this recipe. Skipping the brine means you might lose some moisture and the distinct dill flavor that sets this oven-fried chicken apart, so it’s highly recommended not to skip this step.
Can I make this recipe gluten-free?
Yes! To make this Dill Brined Oven Fried Chicken Recipe gluten-free, substitute all-purpose flour and panko bread crumbs with gluten-free equivalents. Just be sure to check the labels to ensure all ingredients meet your dietary needs.
What’s the best way to get extra crispy breading?
Preheating the oil in the baking pan before adding the chicken is a simple but powerful trick for crispier breading. Also, flipping the chicken halfway during baking ensures even browning and crunch on all sides.
Final Thoughts
This Dill Brined Oven Fried Chicken Recipe is a joyous celebration of flavor, texture, and ease all wrapped into one unforgettable dish. If you want crispy chicken without the fuss of frying, infused with a unique herbal twist, this recipe is an absolute must-try. Get your kitchen ready and treat yourself to this comforting yet fresh chicken masterpiece—you won’t regret it.
Print
Dill Brined Oven Fried Chicken Recipe
This Dill Brined Oven Fried Chicken recipe features tender, flavorful chicken drumsticks and thighs brined in a dill-infused mixture, then coated in a crispy, golden panko crust and oven-fried to perfection. The brining process ensures juicy meat, while the oven frying delivers a healthier alternative to traditional frying without sacrificing crunch or taste.
- Total Time: 5 hours 50 minutes
- Yield: 6 servings
Ingredients
Brine
- 2 quarts cool water
- 1/2 cup kosher salt
- 1/4 cup packed brown sugar
- 3 tablespoons dried dill weed
Chicken
- 4 chicken drumsticks
- 4 chicken thighs
Coating and Cooking
- 1/2 cup avocado oil
- 1/2 cup all-purpose flour
- 1 egg
- 1/4 cup milk
- 2 cups panko bread crumbs
- 1 teaspoon dried dill weed (divided: 3 tablespoons for brine + 1 teaspoon for coating)
- 1/2 teaspoon salt
Instructions
- Prepare the brine: In a pan set over medium heat, combine 1 quart of water, kosher salt, brown sugar, and 3 tablespoons of dried dill weed. Heat gently until the salt and sugar fully dissolve. Remove the pan from heat and add the remaining 1 quart of cool water. Let the brine come to room temperature.
- Brine the chicken: Place chicken drumsticks and thighs in a gallon-sized resealable plastic bag and set it inside a large bowl. Pour the cooled brine over the chicken until fully submerged. Seal the bag tightly and refrigerate for at least 2 hours but no more than 4 hours to allow the flavors to penetrate the meat.
- Preheat the oven and heat the oil: When ready to cook, preheat your oven to 375°F (190°C). Pour avocado oil into a rimmed baking sheet to a depth of about 1 inch. Place the pan in the oven and let the oil heat for 10 minutes, then carefully remove it.
- Prepare the coating stations: Place the all-purpose flour into a resealable plastic bag. In a separate bowl, whisk together the egg and milk until combined. On a plate, mix the panko bread crumbs with the remaining 1 teaspoon of dried dill weed and 1/2 teaspoon salt.
- Coat the chicken: Remove the chicken from the brine and rinse under cold water. Pat dry thoroughly with paper towels. Place the chicken pieces in the flour bag, seal, and shake to coat evenly. Next, dip each floured piece into the egg mixture, then dredge it thoroughly in the panko mixture, ensuring an even coating.
- Bake the chicken: Place the coated chicken pieces carefully onto the hot baking sheet with oil. Bake in the preheated oven for 20 minutes. After 20 minutes, turn each piece over, and continue baking for another 15 to 20 minutes or until the chicken is golden brown and cooked through. Check doneness with a meat thermometer; it should read 165°F (74°C).
- Serve: Remove the chicken from the oven, transfer to a serving platter, and serve hot for a crispy, juicy meal with a bright dill flavor.
Notes
- Do not brine the chicken for longer than 4 hours to prevent overly salty meat or texture changes.
- Pat the chicken very dry before coating to ensure the breading sticks well and bakes crispy.
- Use a thermometer to confirm doneness; undercooked chicken can be unsafe, and overcooking can dry it out.
- Avocado oil is preferred for its high smoke point, but any neutral oil with a high smoke point can be used for the oven frying.
- The dill weed in both brine and coating adds a fresh, herby depth that complements the chicken beautifully.
- Prep Time: 15 minutes
- Cook Time: 35 minutes
- Category: Chicken
- Method: Baking
- Cuisine: American